As product size increases and part geometry grows more complex, it becomes harder to perform measurements and inspections accurately. In this article, Jim Cassady and Jutta Mayer of FARO Technologies discuss how portable 3D technology can help address such issues.
In the world of manufacturing, dimensional control is a fundamental building block that cannot be compromised. It determines part-to-part variation, establishes part-to-CAD comparison to check whether specs are met, and ensures proper fit in a final assembly. Beyond getting part geometries right, however, there are more important reasons for maintaining standards in accordance with design specifications.
Investing in precision equipment for measuring and aligning components helps ensure that everything fits the first time around without any unnecessary rework, saving time and other resources for a company. Further, more serious consequences such as equipment failure or production delays can be avoided when alignment, measurements, and inspections are conducted properly and at appropriate phases of production.
A ‘Greater’ Need for Precision
For industries such as aerospace, automotive, shipbuilding, heavy equipment manufacturing, and many others that handle large components and assemblies, measurement and alignment tasks are a considerable challenge in the overall production process. On the surface, these challenges may not seem too different from what most manufacturers typically encounter. Yet, the difficulties, as well as the consequences of missed specifications, are magnified manyfold owing to the size of the objects being built.
Manufacturers that handle large workpieces would candidly share that as product size increases and part geometry grows more complex, it becomes harder for them to perform measurements and inspections accurately. Conventional hand tools such as rules, gauges, calipers, micrometers, squares, and protractors are effective up to a point, but they are also demanding in terms of time and operator skill, often making them prone to human error.
Portable 3D Technology to the Rescue
Portable 3D coordinate measurement devices have long been the choice solution among manufacturers for large-volume measurement, as they combine accuracy with flexibility. Compared to conventional hand tools, portable 3D technology offers manufacturers a much higher level of precision, efficiency, and productivity all at once. Unlike fixed CMMs, these solutions require much less capital investment at the onset, and are robust enough to perform even in a non-controlled environment, such as right on the production floor, in a dry-dock or hangar.
Besides metrology grade measurement and inspection, however, there are additional ways in which 3D technology can support companies dealing with large assembly challenges. This is done through technical assistance systems for guided assembly and assembly verification based on virtual templating. These systems are based on the underlying philosophy that Quality Assurance starts with the assembly process, and they provide great support for layout and assembly workflows.
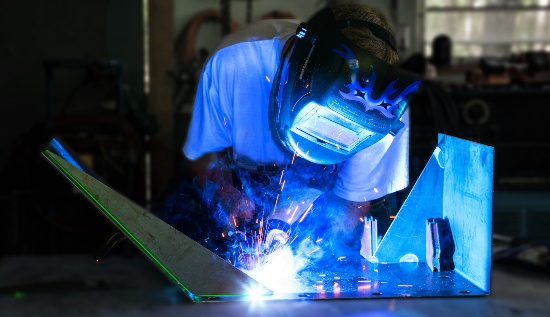
Using the 3D CAD model of a part or assembly, the technical assistance system creates a laser template, which is then used to visually project a laser outline of parts (or areas of interest) onto a surface or object. The result is a virtual and collaborative 3D template to streamline a wide range of assembly and production applications, guiding the user through the layout and assembly process. The system does so by providing clear instructions to users each step of the way, and by indicating the exact location for each component and feature.


