Fraunhofer researchers have developed an extremely heat-resistant ceramic-based ink. For the first time, metal components that are processed in the automotive industry at temperatures of over 1000 ºC can be marked with a code. The code read out via scanner leads to a database in which all manufacturing parameters of the respective component are stored. This means that not only breakdowns in production and faulty components can be identified at an early stage. Far-reaching possibilities are opening up to make the process chains in the industry more efficient and to significantly reduce greenhouse gas emissions. Even counterfeiting of components can be prevented by special additives in the ink.
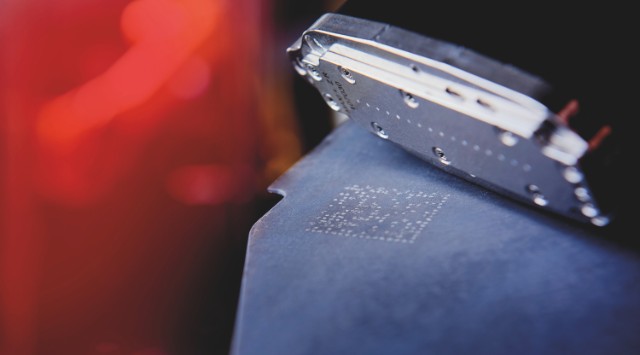
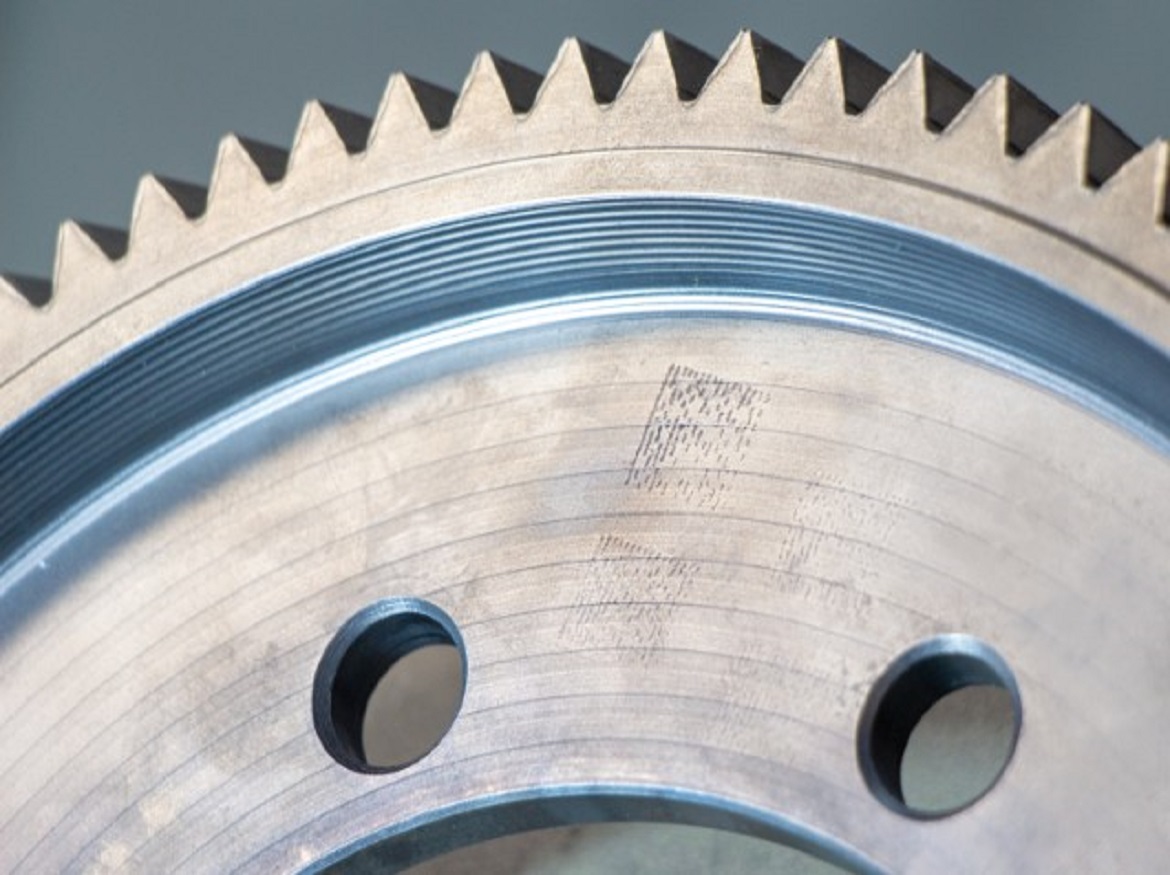
The marking of components for individual tracking is an important prerequisite for the digitization of processes in the manufacturing industry. In metalworking industries, this has so far failed because many metal components have to be heated during individual work steps. Conventionally printed codes are destroyed and can no longer be read. Prof. Thomas Härtling, group manager for optical test methods and nanosensor technology, and his team at the Fraunhofer Institute for Ceramic Technologies and Systems IKTS have now developed an ink that can withstand temperatures of more than 1000 ºC in the oven without being damaged. The Ceracode ®-Ink consists of heat-resistant ceramic particles and a glass component. In the oven, the melting glass ensures that the marking is firmly bonded to the metal and still remains legible. The Ceracode ® ink now makes it possible for the first time to equip metal components, which are heated during production in the automotive industry, with highly stable marking. During the development, the Fraunhofer researchers used their decades of expertise in dealing with ceramics and ceramic-based materials. A spin-off from Fraunhofer IKTS, Dresden-based Senodis Technologies GmbH, is responsible for establishing itself on the market and further developing the Ceracode ® system.
Heat-resistant ink for metal
An application scenario: During a random check in automobile production, the worker discovers a faulty metal component. The geometry does not meet the specifications, the forming is not suitable. An identifier, the so-called data matrix code, is applied to the component, which uniquely identifies it via a serial number. The worker has this code read out by a scanner. A database opens on the display that shows all parameters of the manufacturing process for the component: temperature and dwell time in the oven, geometry data, press pressure, etc. The error is now quickly identified: the press pressure was not high enough for one work step. With just a few mouse clicks, the worker can display all other components that were processed with the incorrect press pressure and are therefore faulty. These are then quickly sorted out – if necessary also fully automatically with a working robot. The time-consuming checking of all possibly affected components and the manual sorting are no longer necessary and the production process continues immediately.

Digitization of the process chains
The combination of Ceracode ® ink and the widely used and standardized data matrix code in the industry gives the digitization of production processes in the metalworking branches a new impetus. “The quality of every component or workpiece can be recorded at any time along the value-added chain, and errors can be identified and corrected in a targeted manner right at the start of production. In this way, the companies not only save energy, they do not waste raw materials and reduce their CO2 emissions «, explains Härtling. Overall, production is significantly more efficient and cost-saving. The process data stored in the database also make it easier to set up adaptive process chains. If a manufacturer knows the physical parameters with which a product was manufactured, he can flexibly adapt and optimize subsequent work steps and processes.
Depending on the application scenario, the database can be filled with any additional information. For example, data on power consumption and the power source could be included for each processing step and then used to calculate the greenhouse gas emissions for each component. “There are more and more manufacturers who are asking for such features in terms of transparent and resource-saving production,” explains Härtling.
Data exchange via Catena-X
In addition to optimizing production, the technology from Fraunhofer IKTS also paves the way for an even more comprehensive exchange of information between manufacturers, suppliers, and subcontractors. In the automotive industry, these are already connected to one another by a complex network. In the future, the exchange is to be implemented using the Catena-X network platform, which is currently being set up. As a cooperative data ecosystem in the automotive industry, it should enable secure and uncomplicated data exchange between manufacturers, while at the same time guaranteeing each participant sovereignty over their own data. The participating companies only exchange data that they actually want to disclose.
With Ceracode ®, detailed information on the process parameters of metal components can now flow into the Catena-X network for the first time. The same applies here: Data that the manufacturer does not want to pass on, for example, in-house details of the manufacturing process or the material composition of a component, remain protected in the company’s internal network.

Counterfeit-proof with Ceracode ®
The solution primarily addresses customers from the metal, automotive and ceramics industries. Manufacturing companies can easily install and commission the system, and retrofitting existing machinery is also not a problem. The Data Matrix printers and scanners are compatible with existing industry standards.
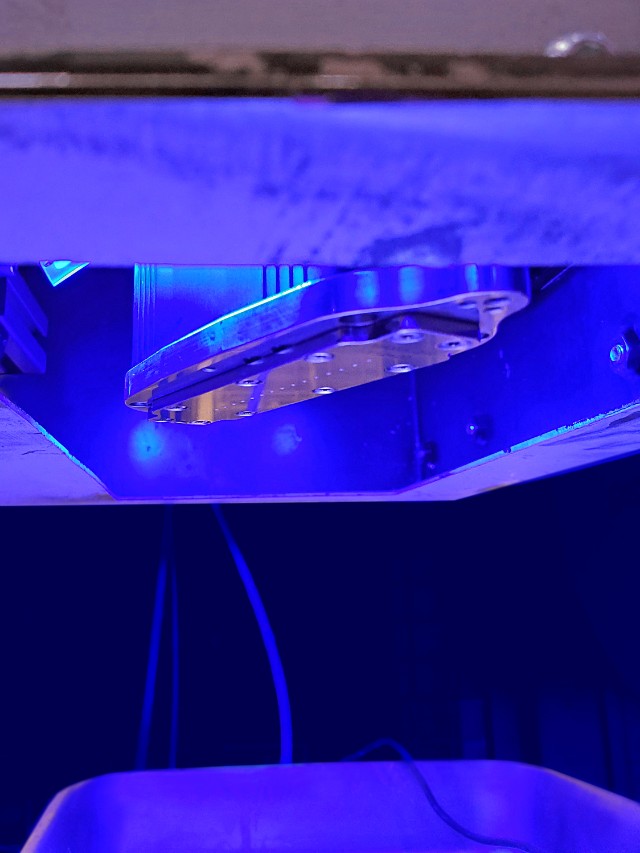
In addition, the ink technology can be largely adapted to the needs and application scenario of the customer. One example is protecting products from counterfeiting. “To do this, we supplement the formulation of the ceramic-based inks with special pigments that glow in a defined color under UV light. This is an interesting option for industrial customers who buy components with particularly expensive metal alloys or components for safety-relevant systems,” explains Fraunhofer researcher Härtling.
In the next step, the project partners Fraunhofer IKTS and Senodis Technologies GmbH are working on optimizing the image recognition algorithms in order to be able to apply the marking to other materials and irregularly shaped surfaces.
Click on the following link Metrologically Speaking to read more such news about the Metrology Industry.


