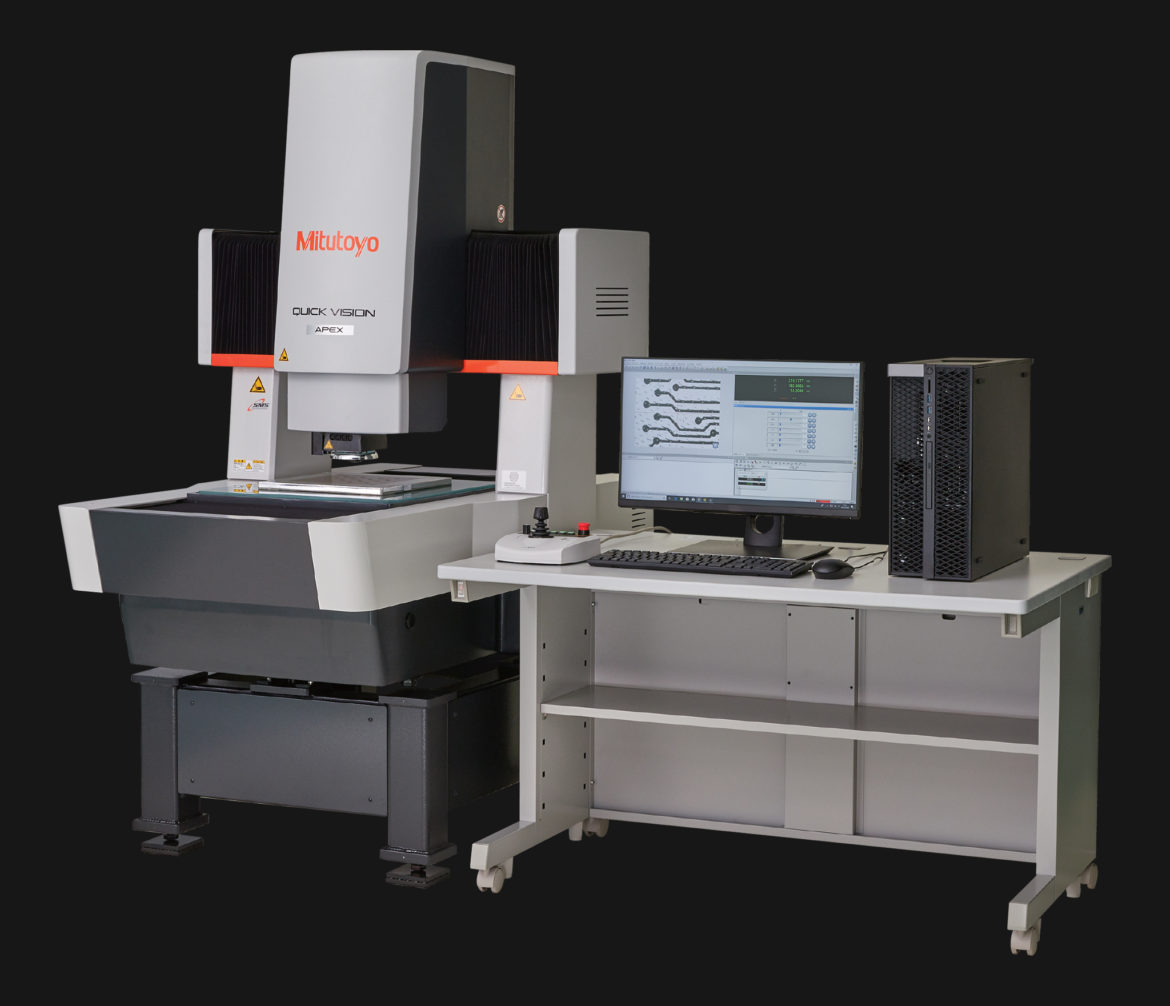
The new Pro versions of this series from the Japanese manufacturer Mitutoyo enable high throughput required by modern industrial practices. Developed to keep pace with today’s technological challenges and innovations, this non-contact measuring range offers just that.
Neuss, July 2021. The recently developed QUICK VISION Pro series from Mitutoyo offers a rich lineup with a wide array of measurement ranges and accuracies, each useful for quality control in any industry. These models expand measurement applications by combining a vision measuring system, non-contact probes, touch probes, and white light interferometer (WLI). The three variations offer different levels of accuracy 1.5 μm, 0.8 μm, and 0.25 μm.
The observation and lighting units on the QUICK VISION Pro are a step up from the previous generation increasing measurement throughput by about 40% over the previous model. A powerful feature contributing to this is Mitutoyo’s Tracking Auto Focus (TAF), where the height of a workpiece can be tracked via laser, automatically adjusting along the Z-axis.
Another important function that reduces measurement time is the machine’s StrobeSnap, a new measuring function that delivers measurements with both high input and high accuracy by pairing a strobe light with image capture. Regardless of the continuity of measuring positions, the measuring time can be shortened by about 35 to 45% for most measurement samples when compared to conventional methods.
It is important to note that not only will these machines come with upgraded measuring functionalities but also multiple reporting features prepared for any industry standard. By following along with the reporting trends throughout manufacturing industries, reports and records can be adjusted to suit the user’s specific needs.
Optimal for high-speed measurements on ultra-small parts, the QUICK VISION Pro provides excellent quality control where physical forms of measurement cannot.
Additional functions of the QUICKVISION Pro series:
RGB Color Illumination – Possible with these models, edge contrast can be emphasized due to changes in emitted light color.
DDPak-QV – Flaw inspection software for QUICK VISION, utilized during measurement to inspect for flaws, such as contaminants, burs, cracks, etc., while simultaneously performing high-accuracy non-contact measurement.
STREAM function – By synchronizing camera motion and the strobe light, extremely high throughput can be achieved due to this enabling non-stop measurement, speeding up measurement times by up to 80% than without while also preventing nonconformities during mass production.
QV Graphics – This function is meant to assist in performing high-level calculations and reports. One of the most useful examples would be calculations between elements and PCD measurements just by selecting the desired diagrams.
MiCAT Reporter – Software that can output data directly into a PDF, allowing operators to create reports, such as those for medical components, with ease.
About Mitutoyo Corporation
Mitutoyo is a global leader in the field of precision measuring equipment.
As a comprehensive manufacturer of precision measurement instruments, the Mitutoyo name is known around the world. Mitutoyo products have a leading market share both in Japan and overseas and continue to be the choice across industries and nations. Major companies all over the world put their trust in Mitutoyo.
For more information about Mitutoyo, visit https://www.mitutoyo.co.jp/eng/


