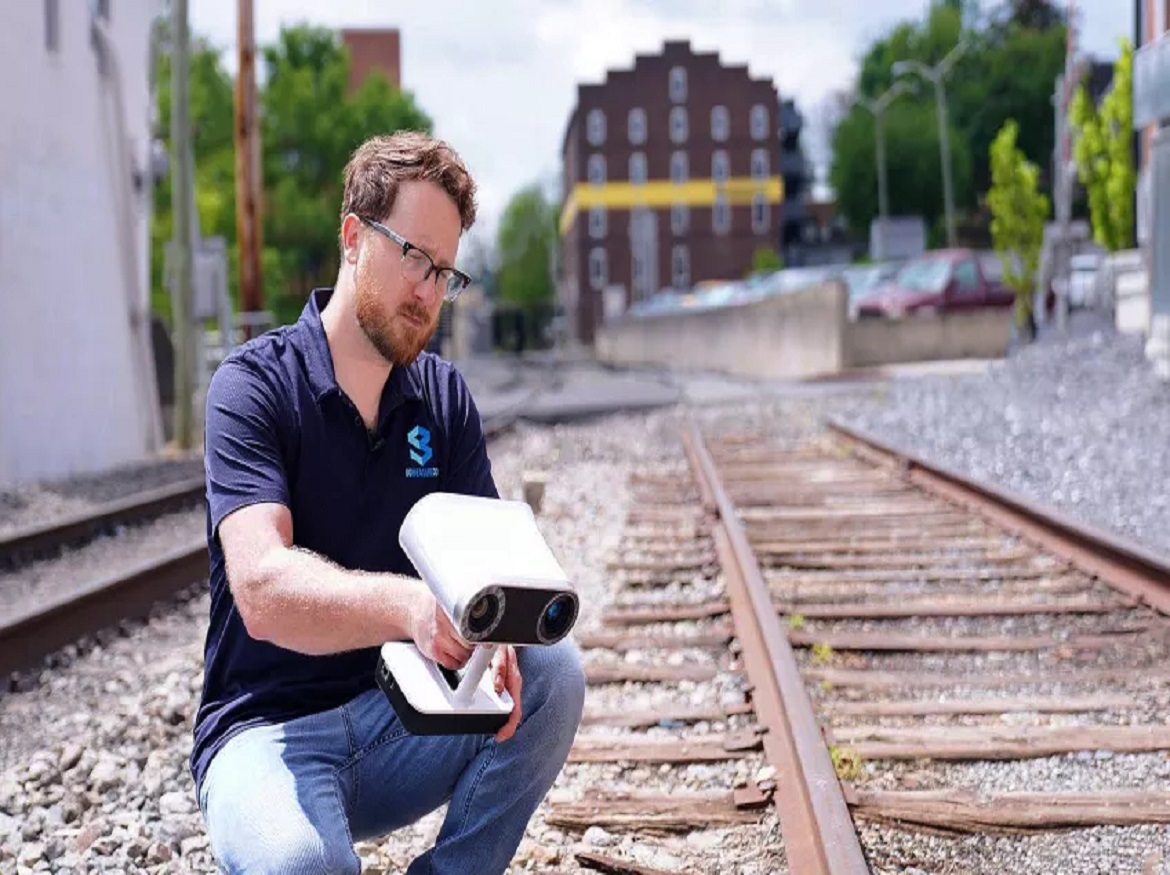
Challenge: With thousands of miles of aging railroad tracks to check on a regular basis, railroad inspectors are busier than ever. Only so much track can be visually inspected in a single day. The trouble is, even if more obvious defects are found, tiny fractures, metal fatigue, as well as dimensional and positional changes can go unnoticed, expanding to the point of failure before the next scheduled inspection arrives. Because of this, rail inspectors are turning to a unique 3D scanner to help solve the problem.
Solution: Artec Leo, Artec Studio, Geomagic Control X
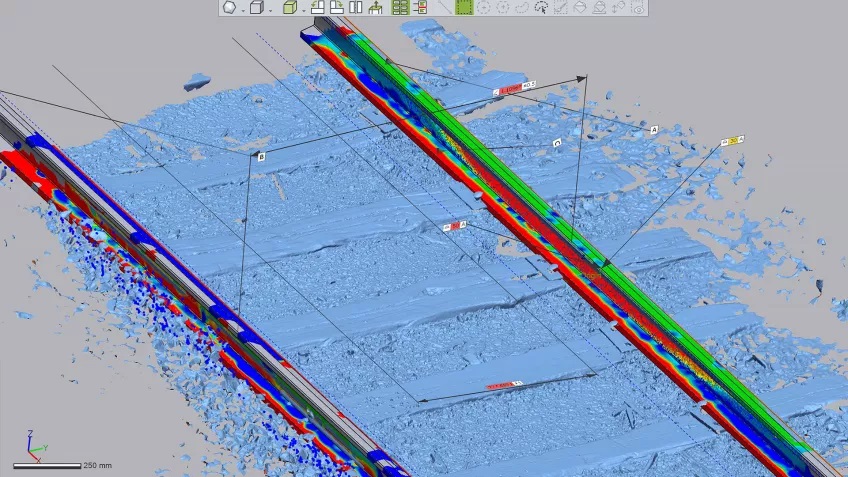
Results: By using the Artec Leo 3D scanner, a rail inspector can digitally capture and document entire sections of railroad tracks, including ties and ballast, in minutes. Since the scans are in submillimeter color 3D, even tiny surface defects and irregularities will be revealed. And repeated scans over a period of time can track any larger structural changes taking place, such as track gauge spread. Railway accidents can also be documented, with the resulting 3D scans used for reconstructing the event and analyzing the damage.
Why Artec 3D? In less than an hour after opening the case and clicking the On button, railroad inspectors can be capturing tracks, railcars, and other objects, with submillimeter accuracy, in just minutes. No cables or extra laptop needed. Leo makes it a snap to perform in-depth 3D scanning inspections faster than ever before.
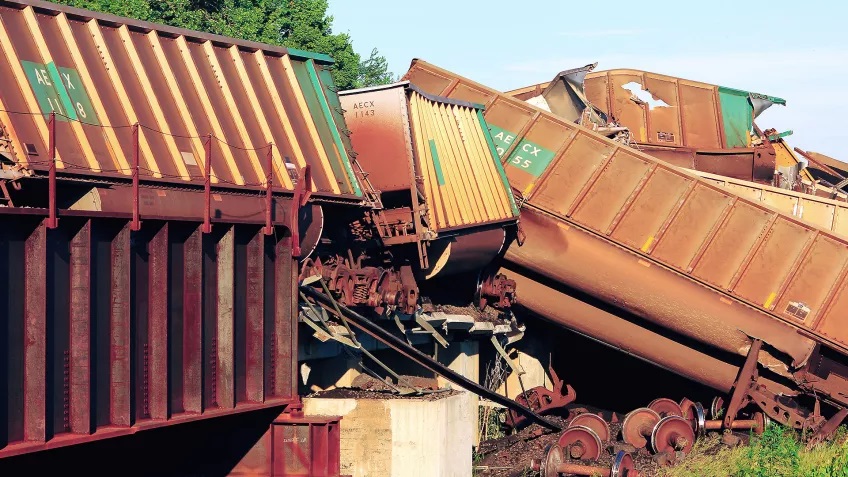
It was late one California midsummer night when a Southern Pacific train winding its way along a sharp curve derailed and sent one engine and seven tanker cars plunging over the side of a trestle.
One of the tankers landed upside down in the middle of the Sacramento River, where it began leaking metam sodium, a highly toxic, water-soluble pesticide.
It took hazmat specialists six hours to show up, and another six hours to determine that all 19,000 gallons of the sulfurous insecticide had already gushed out into the once-pristine waters of the river, killing countless thousands of salmon, trout, and all other signs of aquatic life, down to the algae.
In the hours and days to follow, hundreds of local residents along the river were rushed to hospitals with serious skin, eye, and respiratory disorders, as the spill’s poisonous green plume reached as far south as Lake Shasta.
The impacts were severe: aside from the immediate environmental devastation, there were millions of dollars in damages and untold losses to the local tourist industry for months and years to follow.
Train derailments: a worldwide threat
Every year, thousands of train derailments occur around the globe. While most take place without fatalities or ecological destruction, the repercussions from any property and infrastructure damage, as well as disruptions in service, can resonate throughout a rail company even decades later.
The great majority of derailments are triggered by track defects such as broken rails. Other causes can be “gauge slippage,” track misalignments, broken switches and wheels, etc. In many countries, government regulations require quarterly or even monthly in-person inspections of every section of track across a company’s rail lines.
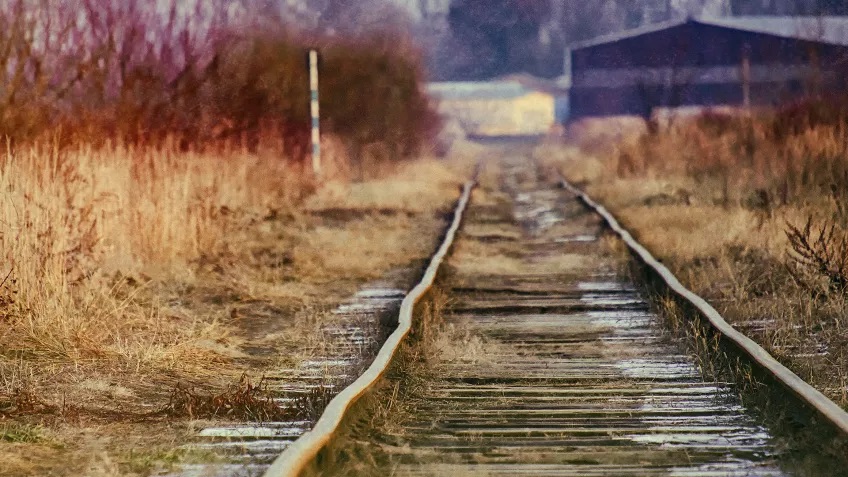
Many of these railroad companies have deployed automated, high-speed ultrasonic inspection solutions for detecting rail fractures and other anomalies and defects. These have proven to be excellent when there are thousands of kilometers of track in need of inspection on a regular basis.
From high-speed to in-person rail inspections
Then, when a questionable section of track is discovered, a railroad inspector can be dispatched to this location for an up-close and in-depth visual inspection.
But there are limits to how much track an inspector can visit and reliably examine during a single shift. Not only that, but when surface defects are encountered, they may or may not be detected, depending upon how visually conspicuous they are.
Often enough, tiny fractures, metal fatigue, as well as dimensional and positional changes can go unnoticed, expanding to the point of failure before the next scheduled inspection arrives.
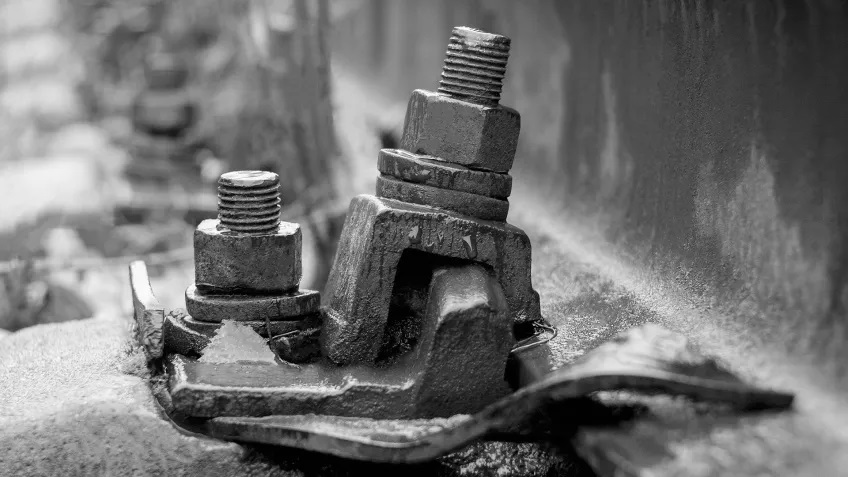
Additionally, visual inspections can be challenging from a documentation perspective, with each inspector subjectively deciding whether or not a rail component or section of track should be checked out.
If not, then no quantifiable measurements from that moment in time will be available, leaving a potentially risky blind spot in the safety inspection records.
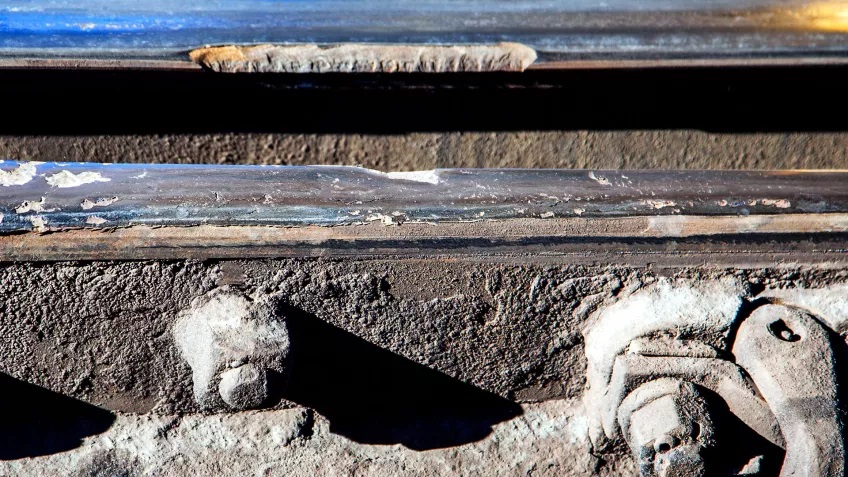
Where 3D scanning enters the scene
For this reason, more and more rail inspectors have begun turning to professional handheld 3D scanners as a solution to fill the gap in a cost-effective and timely manner.
But for many rail inspectors, the benefits of such devices are diminished by the idea of having to carry with them not only the scanner, but also a laptop, as well as a power pack and cables.
Taking a cue from quality control specialists, rail inspectors are discovering the Artec Leo as an ideal addition to their visual inspection toolbox. Like ultrasonic rail inspection systems, Leo is a nondestructive testing (NDT) solution.
Artec Leo: a 3D scanner unlike any other
But unlike high-speed, ultrasonic rail-based inspection systems, as well as other 3D scanners, Leo is 100% wireless and portable, with its own self-contained power pack and touchscreen display, giving you the ability to capture any suspicious section of track in mere seconds, with submillimeter levels of accuracy.
After seeing a rising level of demand from rail inspection specialists, Artec Ambassador GoMeasure3D decided to put Leo to the test and see how well this unrivaled 3D scanner could meet the challenge.
In synergy with Artec Studio software, Leo’s capacity to quickly produce definitive, in-depth inspection reports makes it all the more invaluable from an auditing and compliance point of view.
And when used in conjunction with Artec Cloud, a rail inspector can continuously scan anything from rails to switches to railcar wheels, and send those scans up to the Cloud for processing and sharing with colleagues.
For example, after capturing a specific section of track for inspection, you can continue on to scan fasteners, joints, stretcher bars, etc. while an engineer or other inspector back at the office runs surface distance mapping inspections on the rails you scanned just minutes before.

These Leo scans can be compared with reference CAD models to check whether the rails or any of the other parts are within acceptable tolerances.
Easy-to-read visual heat-maps show you in one glance any variances from the reference model, down to submillimeter levels. With Leo and Artec Studio, you can even create your own set of CAD reference models by using the software’s scan-to-CAD functionality.
Change-over-time monitoring with Leo
By using Leo to fully document all the surface geometries of any specific stretches of track, as well as all kinds of rail components, rail inspectors can easily do what aircraft manufacturers have been doing to test the long-term structural performance of wings and fuselages: change-over-time analyses.
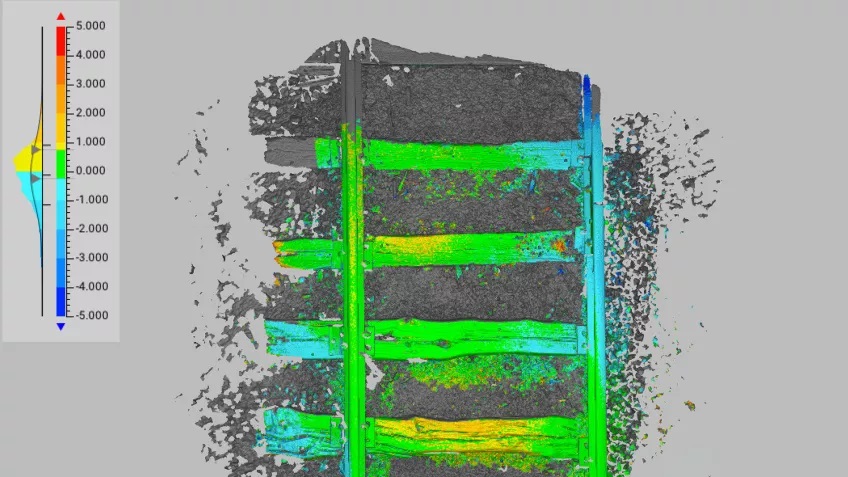
Such analyses will not only determine whether tolerances have been exceeded, or are on the verge of doing so, but also help ascertain whether the cause may lie elsewhere.
For example, if the gauge (width) of the tracks begins to surpass acceptable tolerances over a period of months, it could likely be due to insufficient depth or drainage of the underlying track ballast.
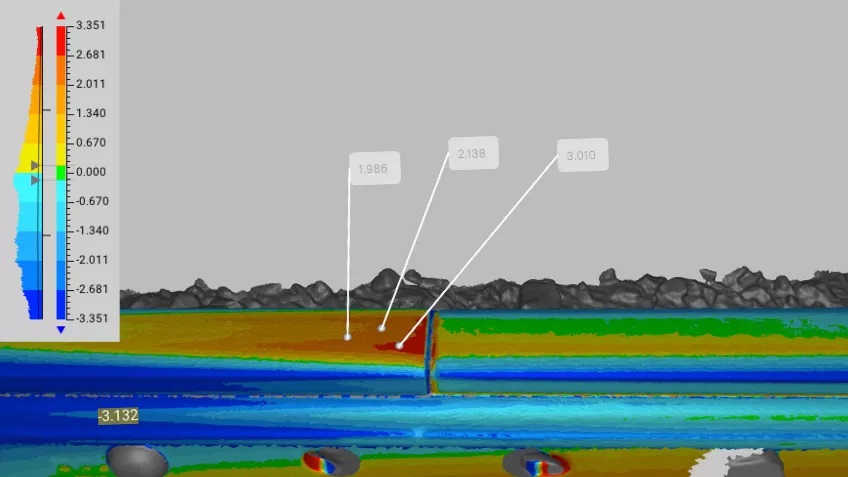
For users demanding even higher levels of scan-to-inspection power and flexibility, Artec Studio software offers seamless integration with the industry-leading solution Geomagic Control X.
With one click, you’ll receive comprehensive inspection reports on one or up to dozens of scans, all generated behind the scenes, and ready for sharing with your colleagues, with management, insurance companies, et al.
When disaster strikes: how Leo helps reconstruct railway incidents
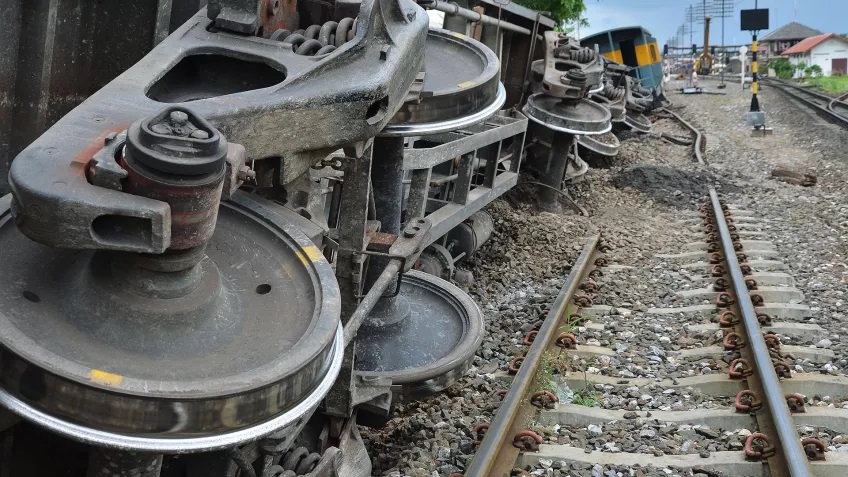
In the unforeseen event that a derailment or other rail accident occurs anywhere along the lines, rail specialists and investigators can depend on Leo to lend a helping hand. Every section of broken track, ties, or crushed ballast at the accident scene can be captured in minutes.
And when scanning these objects with Leo, including wrecked railcars, the resulting 3D models can be used by railway accident reconstructionists and investigators to document and analyze any derailment and impact points, as well as crush deformation, all of which will provide crucial insights needed for reconstructing every stage of the accident, from beginning to end.
Combining Leo with other 3D scanners
When it’s time to scale up or down to scanning very large or very small objects, there’s also Artec Ray II and Artec Space Spider, two 3D scanners that have been used in inspections, forensics, and throughout other industries for years.
With Ray II, you can capture large objects (such as railcars) or even entire scenes from up to 130 meters away, with engineering levels of accuracy. Space Spider excels at scanning small objects, e.g., capturing minute metal-on-metal tool marks at accident scenes, tiny cracks, submillimeter fractures, etc.
Artec Studio software makes it a snap to combine scans from Leo, Ray II, and Space Spider into one or more highly-precise 3D models of small or large sections or rail or components, all the way up to full accident scenes including any wrecked or intact railcars, the surrounding landscape, and everything within it.
From there, you can run inspection reports, as well as create millimeter-perfect overhead diagrams and cross-sections of rails, components, railcars, and more.
3D scanning for reverse engineering legacy railway components in-house
Railroad companies can further leverage the ROI of their Leo or other Artec 3D scanners by using them for reverse engineering legacy parts and machinery. In the decades since they rolled off the assembly line, many thousands of components have stopped being manufactured.
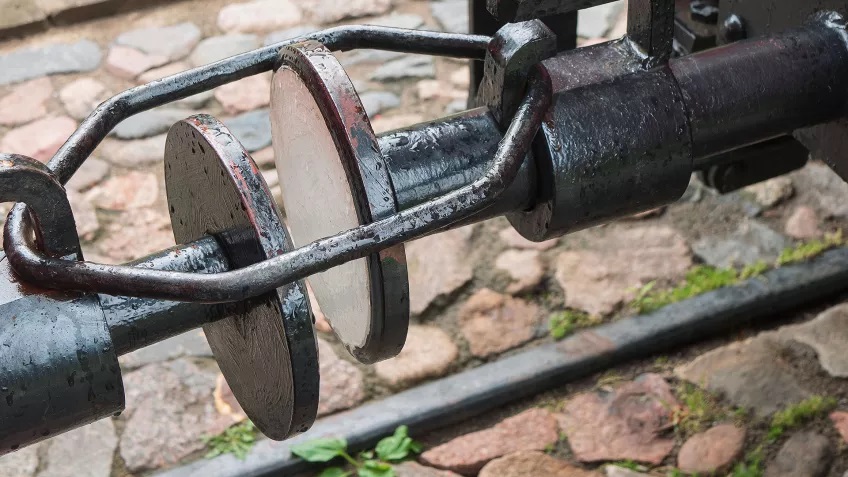
Oftentimes when a critical gear or valve, not to mention a complex assembly such as a gearbox, fails and cannot be found on the market, the most common, albeit costly, recommendation is to replace the entire machine with a new one.
But with Leo or one of the other 3D scanners, depending on the size of what you’re scanning, you can digitally capture these same legacy objects in minutes, and then recreate them yourself, first in CAD, and then in the real world, whether that’s via CNC milling, 3D printing, casting, or another medium.
Conclusion
For 3D rail inspection and much more, Leo and the other scanners in the Artec 3D family of professional 3D scanners easily open up a broad horizon of inspection and reverse engineering possibilities for you and your company, for years to come.
Click on the following link Metrologically Speaking to read more such case studies about the Metrology Industry.


