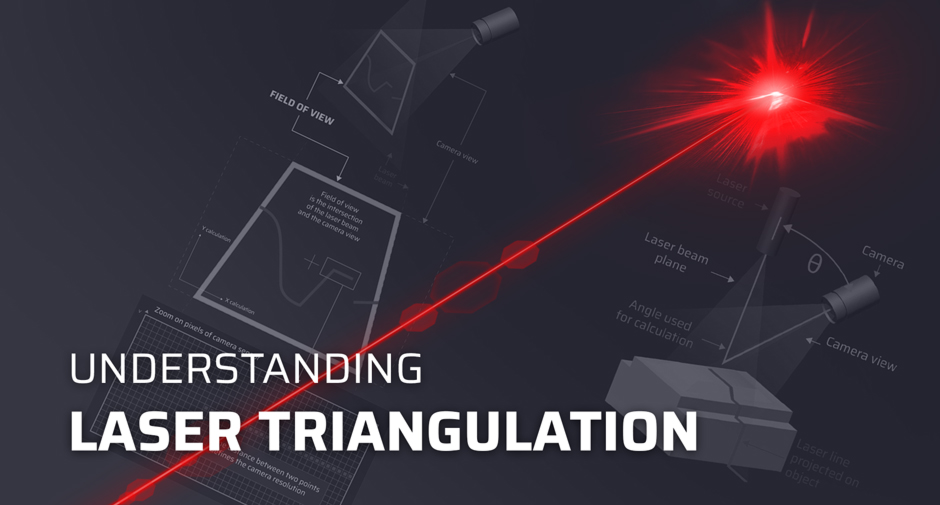
At its core, laser triangulation 3D scanning relies on a simple yet ingenious principle using a metrology scanner that takes 3-dimensional measurements of any object by scanning with laser light.

What is laser triangulation 3D scanning technology?
The laser triangulation principle functions with the combination of a laser and a camera. A beam of laser is projected onto the surface of the object and using a camera it captures the reflected light. By knowing the angles and the distance between the laser and the camera, the system calculates the exact coordinates on the object’s surface using a trigonometric relationship.
Advanced 3D scanners like Kreon scanners engineered for laser triangulation measurements ensure robust data capture of the exact shape and features of the components with remarkable accuracy, all with the help of a laser beam.
This enables manufacturers to confidently meet their quality control and product development goals across a wide range of industrial applications.

The term “triangulation” in the context of 3D scanning originates from two main aspects:
1. System configuration: The components of the system, which include the laser source (1), the camera(2), and the laser line (3) on the object being digitized, are arranged in such a way that they form the three points of a triangle.
2. Mathematical principle: The method uses principles based on similar triangles. This involves using the relationships and ratios from triangles, with trigonometric calculation, to convert the 2D information captured in the digital image into real-world 3D coordinates.

A representational functioning of a laser triangulation 3D scanning technology
In laser triangulation 3D scanning, the known parameters are the length of one side of the triangle, the distance between the camera and the laser transmitter, and the angle formed between the laser emitter and the camera. The precision of the scanner is tied to the accuracy of measuring the distance and angle between the laser emitter and the camera, and how consistently these parameters are maintained over time during scanner operation. Additionally, the scanner’s precision depends on the resolution of the camera sensor.
By observing the position of the laser point in the camera’s field of view, the angle from the camera’s side can be determined. These three parameters define the shape and dimensions of the triangle and pinpoint the position of the laser point.
The image below shows how the camera perceives the laser line. The line appears distorted based on the object’s surface shape. The coordinate Y of a point on the laser line in the image increases with the altitude of the corresponding point on the actual object.

How does the laser triangulation principle function with a scanner?
Here’s a step-by-step process explained
1. A laser line is projected vertically onto the object to be digitalised.
2. A camera, inclined at an angle (θ)relative to the laser plane, films the scene for the object’s position.
3. The digitised line is transformed into a series of 2D points with a common abscissa.
4. When moving the scanner, the camera records a new laser line after the first one and so on, forming a succession of laser lines which can overlap to form the entire shape of the object in 3D.
The best approach to accurately acquire 3D point cloud data
Accurate positioning of the scanner within a 3D workspace
Accurate scanner positioning is crucial for placing scan lines effectively. This requires a thorough understanding of the scanner’s location within the workspace.
The main approach to achieving this is the External Positioning System which includes external devices like a measuring arm or a Coordinate Measuring Machine (CMM) that can be used making it completely independent and for high-precision measurements.
A higher frequency for the fastest movements
The frequency of the scanner determines the speed of line acquisition. The higher the frequency, the closer the lines are, and the faster the operator’s movement can be.
Multiple scans and point cloud integration
To ensure comprehensive coverage and accuracy, multiple scans may be conducted from different angles or positions relative to the object. The data from multiple scans are aligned and merged into a unique point cloud, which represents the precise spatial coordinates of points on the object’s surface.
Surface reconstruction and data output
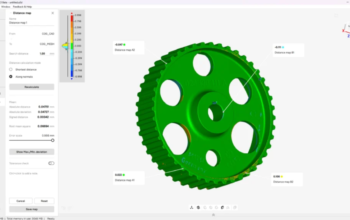
The point cloud data is processed to reconstruct the surface geometry of the object in three dimensions, possibly generating a mesh surface. The final output of the scanning process is a digital model of the object, which can be used for various applications such as inspection, quality control, reverse engineering or digital preservation of artworks.
Applications of laser triangulation scanning across various industries
Laser scanning offers significant benefits across various industries. In manufacturing, it ensures micron-level precision for quality control, detecting defects and verifying complex geometries. The automotive industry uses laser scanners for part validation and tooling inspection, supporting the development of more reliable and safer vehicles. Aerospace engineers rely on laser scanning for non-destructive and non-contact testing to capture from intricate details to large assemblies without damaging sensitive components.
Conclusion
In conclusion, laser triangulation 3D scanning technology is incredibly precise and helpful for measuring and capturing industrial objects in their finest details. It helps industries be accurate, work faster and analyse and implement reliable data. This technology is used in many different ways and keeps getting better, accelerating industrial projects to maximise their productivity.


