Inspecting large-volume parts have long been a challenging task. The wide application of portable 3D laser scanners provides a new solution to quality control of parts of this kind.
Difficulties for 3D inspection
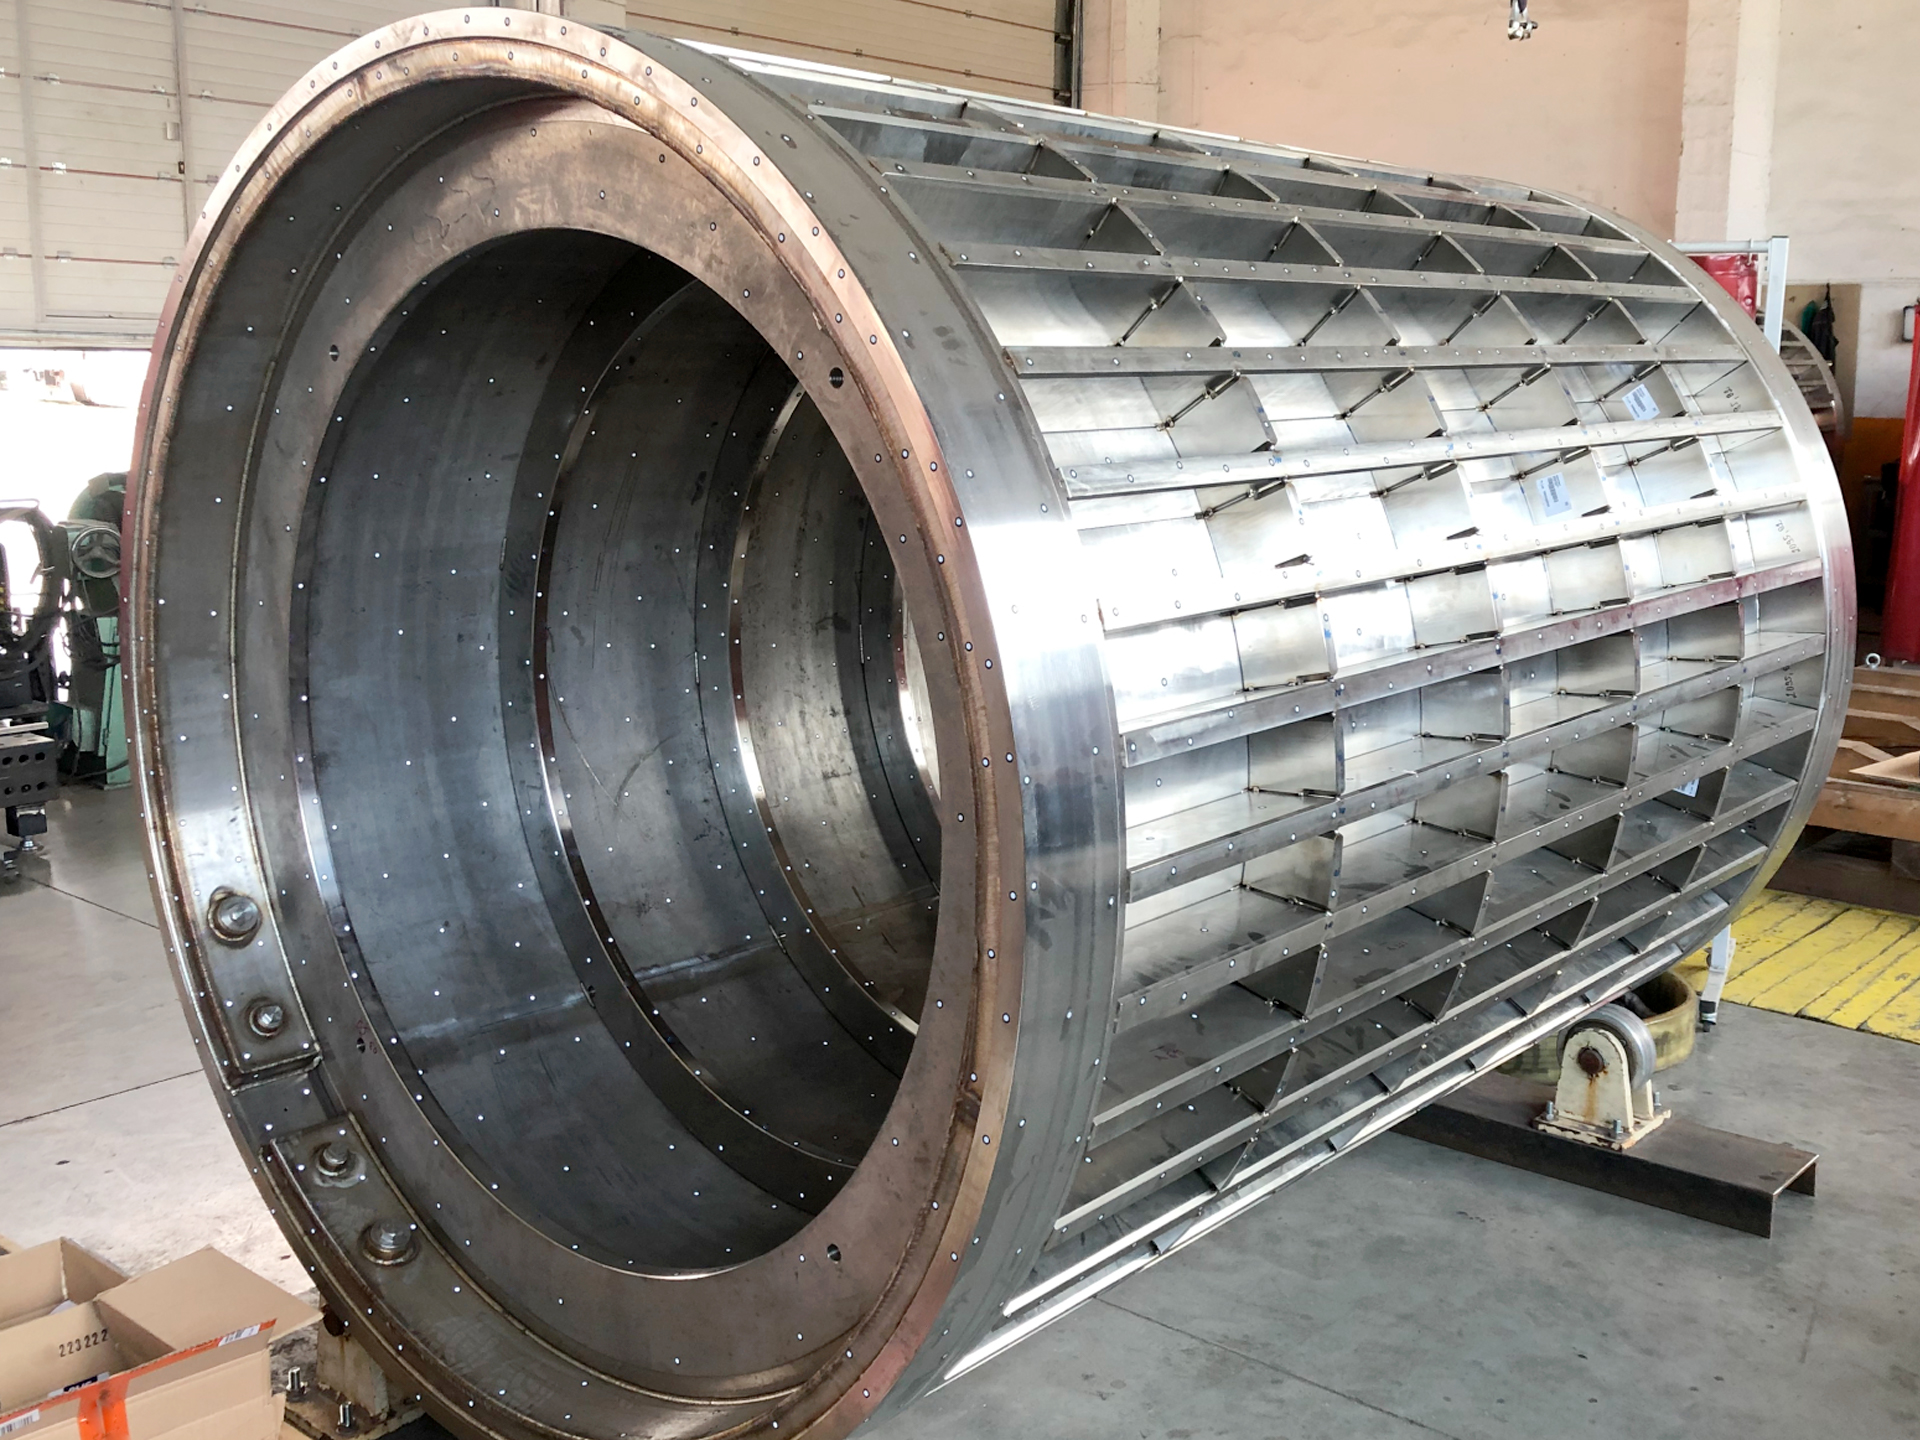
ABBAS.a.s, an overseas customer, needs to inspect a bulky and heavy part measuring 2.5m long and 1.5m wide and weighing about 10 tons, making it nearly impossible to move. In the meantime, the part also involves extremely complex manufacturing processes that result in a multitude of details like grooves, corners and curved surfaces that are difficult to measure manually.
Prior to the adoption of 3D laser scanning, the customer relied on manual work to measure large-volume parts that can be conveniently measured, leaving other details untested. This is not only time-consuming, but the quality of parts cannot be effectively controlled, leading to the potential of huge deviations. However, with handheld 3D laser scanners, all these details can be effectively measured, offering a simplistic inspection 3D solution for large-volume parts.

Inspection procedures
The customer completed the inspections using SCANTECH’s KSCAN Composite 3D Scanner solution, the specific procedures are as follows:
Step 1. built-in photogrammetry system
Built-in photogrammetry system is used to capture the coordinates of positioning markers for laser scanning so as to eliminate cumulative errors.

Step 2. 3D laser scanning
KSCAN 3D scanner offers multiple work modes including high-speed scanning, precision scanning, and large format scanning. Users can freely switch to different scanning modes when measuring different locations in order to capture all details around curved surfaces, grooves and corners.

Step 3. obtain inspection results
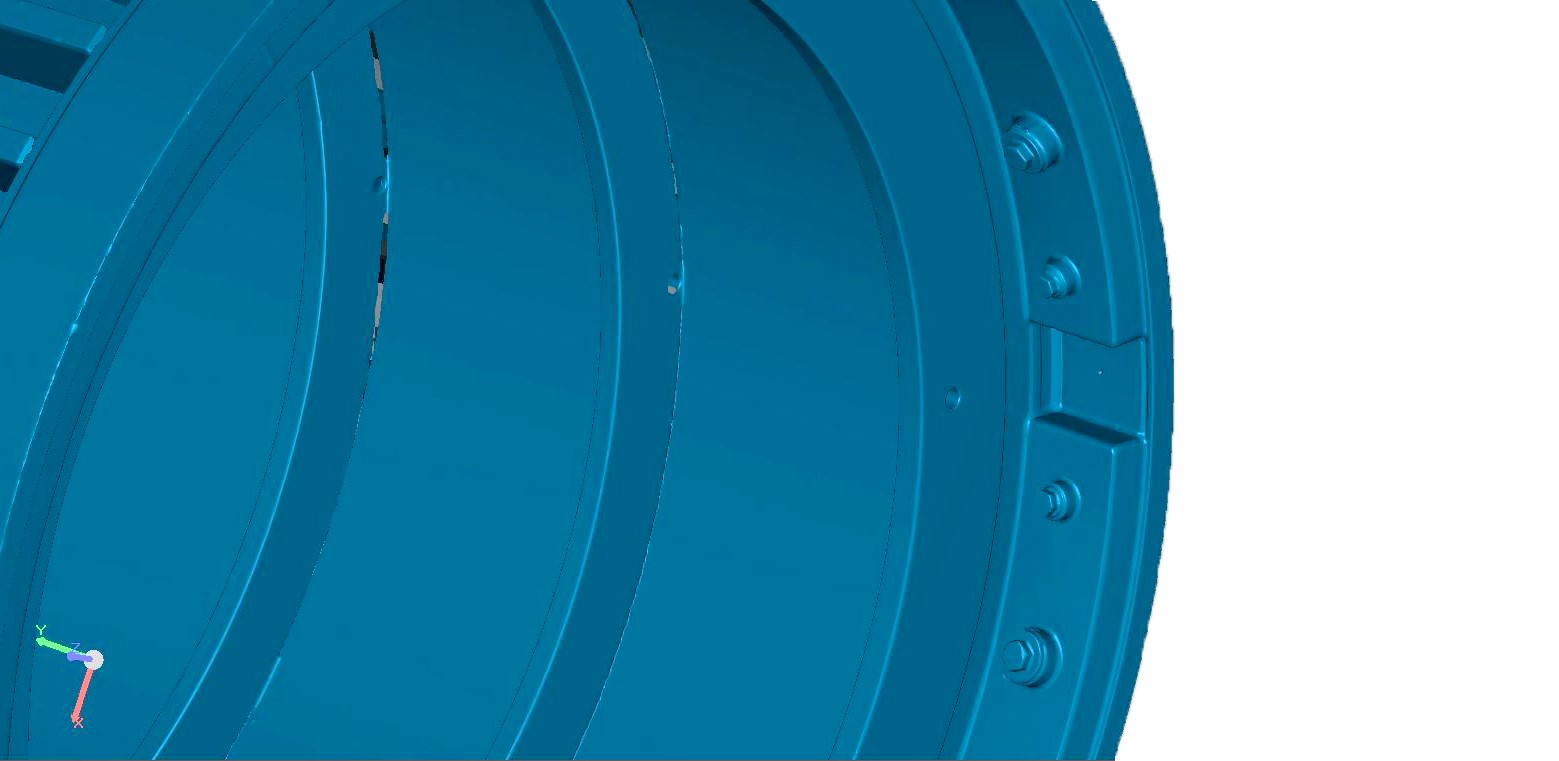
The STL data obtained from scanning can be compared with CAD digital analogy to derive test reports.
Advantages of SCANTECH 3D solutions
The major advantages of using KSCAN Composite 3D Scanner for 3D inspection are as follows:
First, built-in photogrammetry system. When using markers in scanning, the increase in times of marker jointing leads to cumulative errors. However, cumulative errors do not increase in a linear fashion. When the size of a part exceeds 1.5m and high precision measurement is required, it is advisable to use the photogrammetric system (also known as the global positioning system).
Built-in photogrammetry adopts a single-camera system to take photos at 2-4m away from the marked points of the part. Code points are joined, and a single photo shooting covers a range larger than 2.5m. In this way, high precision coordinates of marked points can be obtained, which can be subsequently used in laser scanning.

Second, ultra-high precision of 0.020 mm, super-large format up to 1440 mm × 860 mm and a maximum of 1,650,000 measurements of scanning per second ensure high precision, and in the meantime, improve work efficiency and save time and human costs to the greatest extent possible.
Third, flexible and convenient. Immovability of large-volume parts means that testing equipment should be deployed in a mobile fashion in testing. KSCAN is advantageous for its small size, lightweight and operable when being held in one hand, significantly reducing testing burdens.
Forth, multiple work modes. Different modes can be used based on the locations of parts to make sure scanning can be implemented in a targeted manner.
KSCAN Composite 3D Scanner has distinct advantages in measuring large-volume and heavy parts and can help control the precision and quality of the entire part, thereby fulfilling quality control for the product line and substantially improving production quality and efficiency.


