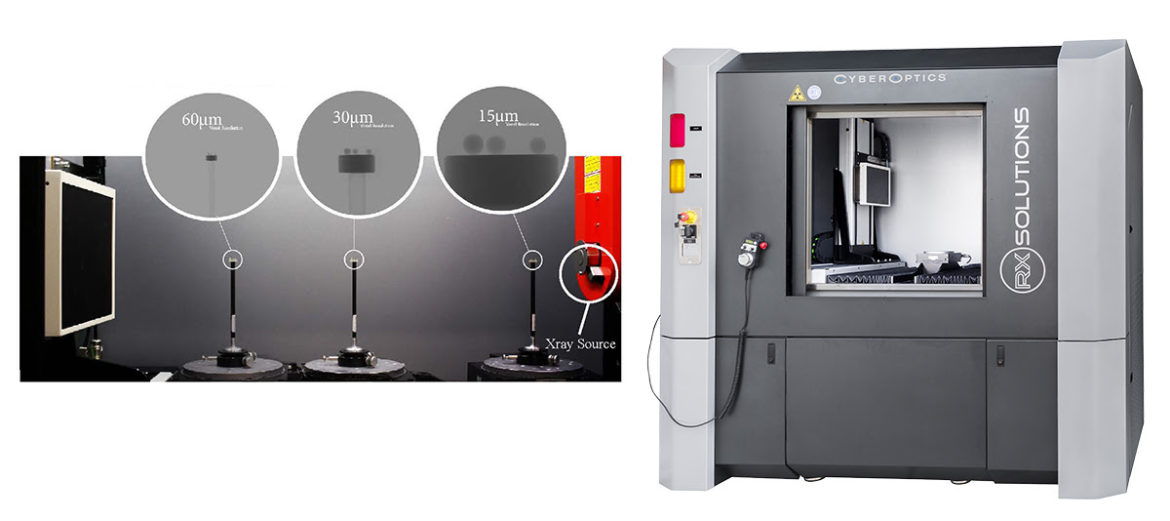
| CyberOptics recently published a white paper looking at Xray technology, more specifically Computed Tomography (CT), which has been adapted for use as an instrument of industrial metrology. Early adopters have quickly recognized the benefits of internal and external nondestructive testing for 3D defect detection and geometric analysis, while those considering adoption may be uncertain how to implement the technology effectively. Learn more about how this study was conducted to demonstrate the accuracy and precision achievable using RX Solutions®, EasyTom 150kV Xray microCT (μCT) system for metrology applications. |
| Xray technology, more specifically Computed Tomography (CT), has been adapted for use as an instrument of industrial metrology. Early adopters have quickly recognized the benefits of internal and external nondestructive testing for 3D defect detection and geometric analysis, while those considering adoption may be uncertain how to implement the technology effectively. This study was conducted to demonstrate the accuracy and precision achievable using RX Solutions®, EasyTom 150kV Xray microCT (μCT) system for metrology applications. Traditionally, measurement system performance is characterized by the result of standardized testing. For example, gantry CMM + tactile probe systems are commonly qualified using ANSI B89, ISO 10360, or similar test procedures. Inherently, the aforementioned studies are not directly applicable for CT measurement systems due to non-uniform parameterization required to achieve an optimum result for scan specimen of varied shape, size, and material. For this reason, we have conceived a test to evaluate general machine performance by blending principles of B89 ball bar study and VDI/VDE 2630, an industry leading procedure designed to quantify uncertainty of Xray μCT measurements for industrial metrology applications. Briefly, our study evaluates measurements of a calibrated scan artifact, repeated at intervals throughout the usable work volume of the machine. Optimized scan parameters are deployed at each machine condition to evaluate global system performance. Global results are also compared with results of local parameter sets to demonstrate the accuracy and precision achievable when best practices and application specific controls are administered. |
To VIEW this White Paper – please use the below link :-


