This blog/article has been written by KEN FRESCOLN and has been reproduced here. The link to the original blog/article is given below :-
“https://blog.hexagonmi.com/key-considerations-for-enhancing-orthopaedic-implants-inspection/”
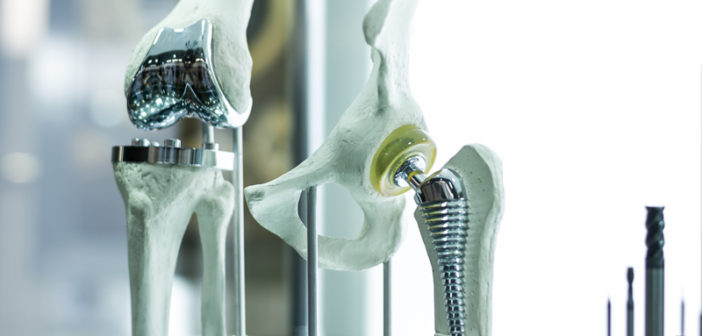
“Orthopaedic implants” can refer to quite a wide range of parts. These implants could be designed to last the lifespan of a patient, for example as permanent elbow, knee, or hip joint replacements but can also refer to temporary prosthetics, including screws, wires, and plates, that are used until bones heal.
Orthopaedic implants are an extremely challenging manufacturing application. Manufacturers of these life-changing parts must meet highly stringent regulatory requirements to assure the safety and quality of their products.
As such, orthopaedic implants typically require 100% inspection. This places great demands on the quality department’s resources, but the nature of these products often provides compounding difficulties.
So how can orthopaedic implant manufacturers make production and inspection of these products as effective and efficient as possible?
Firstly, utilising a single, multisensor metrology solution is a significant advantage. A single orthopaedic implant can comprise a variety of components and features demanding different inspection requirements. Non-prismatic features and complex geometries are typical in the orthopaedic implant world. Similarly, you may work with different material finishes and need solutions that can address both matte and reflective surfaces, for example.
The key point here is that orthopaedic implants often require a combination of multiple inspection methods. As such, you need the right sensor solutions to meet these challenges. For less sensitive surfaces, a high accuracy contact probe will be ideal for point-to-point measurement. By comparison, a non-contact sensor is the optimal solution when the materials are highly sensitive, susceptible to deformation, or reflective.
You will save a good deal of time in both part setup and measurement routine execution by including both contact and optical measurement on a single multisensor CMM. In addition, a high-quality single system should leverage automated sensor exchange, making the process much quicker. A good example is Hexagon’s HP-OW optical sensors, which can be auto-exchanged with a contact or scanning sensor. In addition to fast sensor exchange, the sub-micron sensor delivers quick and accurate free form scanning to the tightest tolerances. In turn, consolidating the varying inspection requirements into one CMM minimises footprint and helps maximise floorspace for value-added activity.
Operators can free up even more valuable time with the adoption of software that pushes automation further. For example, with PC-DMIS Inspect, the operator doesn’t need to edit any aspect of the orthopaedic implant measurement routine; they simply push a button and follow the short, intuitive instructions to begin the automated inspection routine.
Given the importance of addressing regulatory requirements in this industry, a key consideration for the orthopaedic implant manufacturer is enhancing traceability. Obviously at a minimum you’ll want a complete history of each part that consists of quantifiable, traceable data. But to optimise traceability, the CMM software should make these records watertight: this might include password protection of routines, electronic signatures for users, and recording of user access into the system. Tools like PC-DMIS Protect enables complete traceability of validated part programs, automatic documentation of routine changes, and easy revalidation when changes occur. Ensuring that systems are properly setup to protect programmes and store/monitor processes not only helps avoid headaches – it ensures that time spent raising paper or digital reports is minimised so there is more time, again, for value-added activities. In addition, Hexagon’s SFx solutions can help identify significant CMM and machine tool downtime. Integrating solutions like these into your ERP system enhances traceability throughout the factory.
One of these value-added activities could be putting data to work to identify opportunities for process improvement. In the era of Industry 4.0, we talk a great deal about the digital thread, namely the ability to connect data throughout the product lifecycle to remove silos, enhance processes and ultimately improve the product. 100% inspection obviously puts pressure on quality, but the greater volume of data is also an opportunity for improvements.
By using statistical process control (SPC) software to feedback data to production, orthopaedic implant manufacturers can identify process trends and use these insights to make improvements, for example anticipating where a problem is typically occurring during product run times. In addition, with tools like Q-DAS IMC, this data feedback can be used to implement machine tool corrections.
Hexagon offers a range of options to ensure you are equipped with the solutions to measure more efficiently. Want to learn more? Check out our growing series of videos that explore the inspection methods and technologies that drive smarter measurement.


