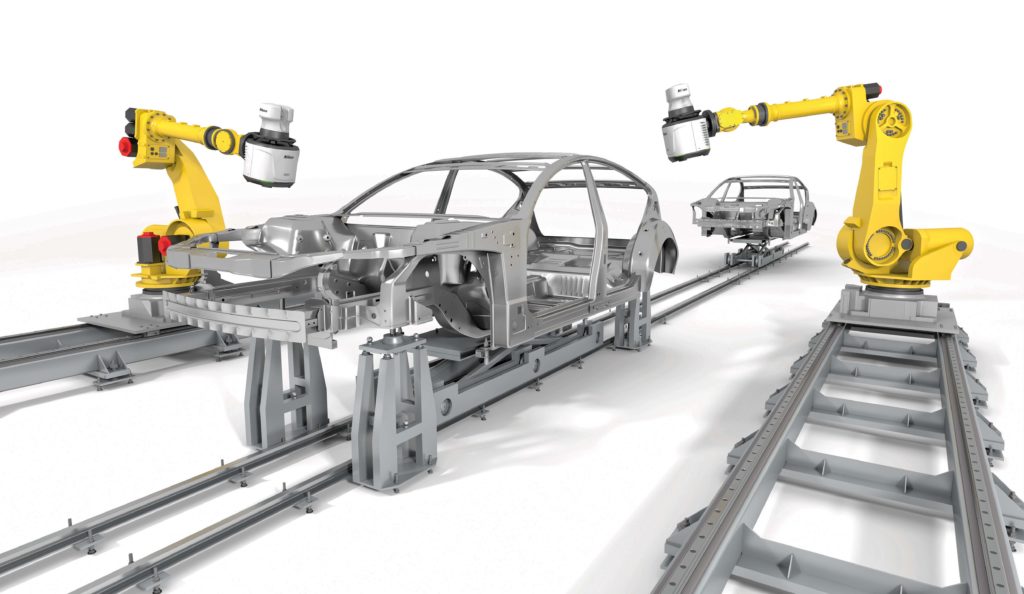
A new APDIS laser radar inspection system from Nikon Metrology is twice as fast as its predecessor whilst maintaining ultra high levels of accuracy.
After thousands of hours of rigorous testing, a new laser radar system that is said to deliver a paradigm shift in shopfloor quality control has been introduced by the metrology arm of Japanese camera giant Nikon.
The APDIS laser radar, an automated, non-contact metrology solution, inspects features at double the speed of the previous version and delivers high accuracy measurements equivalent to those provided by a horizontal-arm coordinate measuring machine (CMM).
Nikon Metrology’s laser radar products stand apart in the market in that they employ a focused laser beam and heterodyne interferometry to measure range accurately. This configuration produces the most sensitive radar possible, capable of performing measurements on almost any surface, irrespective of the reflection.
Such technology is well established at small scales, in a laboratory for example, but over large distances up to 50m it is claimed by Nikon to be unique. It means that features and surfaces can be measured precisely and efficiently in absolute coordinates.

Ideal for repetitive, labour-intensive, complex measuring of objects from a long stand-off distance and able to access even hard-to-reach areas without the need for photogrammetry targets, retroreflectors, handheld probes or surface preparation, APDIS may be used in numerous manufacturing sectors including aerospace, automotive, renewable energy, research and indeed any large-scale environment.
A new, high definition camera coupled with new Nikon confocal optics allow for better viewing of what is being inspected. Usability has been improved by reducing the unit’s weight by 40% and its size by a quarter, while internal changes and comprehensive testing have further raised the level of reliability, which now includes IP54 protection against dust ingress and water.
The APDIS range comprises four models, two of which are the MV430E and MV450E having a 30m or 50m radius measuring range respectively. These versions include Enhanced Feature Scan technology, offering up to double the feature measurement speed compared to previous laser radars, made possible by hardware and software improvements.
They also allow Enhanced APDIS scanners to be used as a non-contact accelerometer by pointing the laser beam at any surface to measure vibrations to micron resolution at up to 2,000Hz, which can be useful when assessing installations or equipment.
There are also MV430 and MV450 Standard versions without the improvements for applications where top speed and vibration analysis are not required. Typical length measurement accuracies for all models range from 28µm at 2m to 313µm at 30m and minimum range is now shorter at 0.5m
Nikon Metrology
www.nikonmetrology.com
AUTHOR
Michael Tyrrell
Digital Coordinator


