Some measuring tasks or workpieces place particularly high demands on the devices used to inspect them. Our customer, a producer of large crankshafts and camshafts, had to master several challenges at once. He succeeded with two specially tailored measuring stations from Mahr Engineered Solutions.
In the beginning there is the challenge
The reasons which require an individual measuring solution are manifold. Usually, there is a problem that common standard measuring machines cannot solve or can only solve in a very labor-intensive way. In the case of our customer, the Mahr Engineered Solutions (MES) team faced the following challenges:
- Particularly large workpieces: The length of the shafts to be measured is up to 1,350 mm
- Different locations and tasks: Manual measurement of individual features in the measuring room as well as fully automatic measurements for production monitoring on the shop floor.
On the one hand, the customer wanted a measuring station for fast, efficient and simple measurement of specific features in the measuring room. On the other hand, he was looking for a fully automated solution that could be operated by the personnel in the production area and that would simultaneously perform a large number of highly accurate measurements for production monitoring in a timely manner.
The solution: Two measuring stations individually adapted to the task
In order to keep costs low for our customers, the MES team draws on its in-house portfolio of metrology and sensor systems to search for suitable solutions. As a manufacturer of metrology for 160 years, we have carried out countless joint projects tailored to specific needs with our customers from all over the world – and bring quite a bit of experience to the table. Together with our customer, we finally decided to develop two measuring stations for different tasks and applications.
No. 1: Manual measuring station for the measuring room
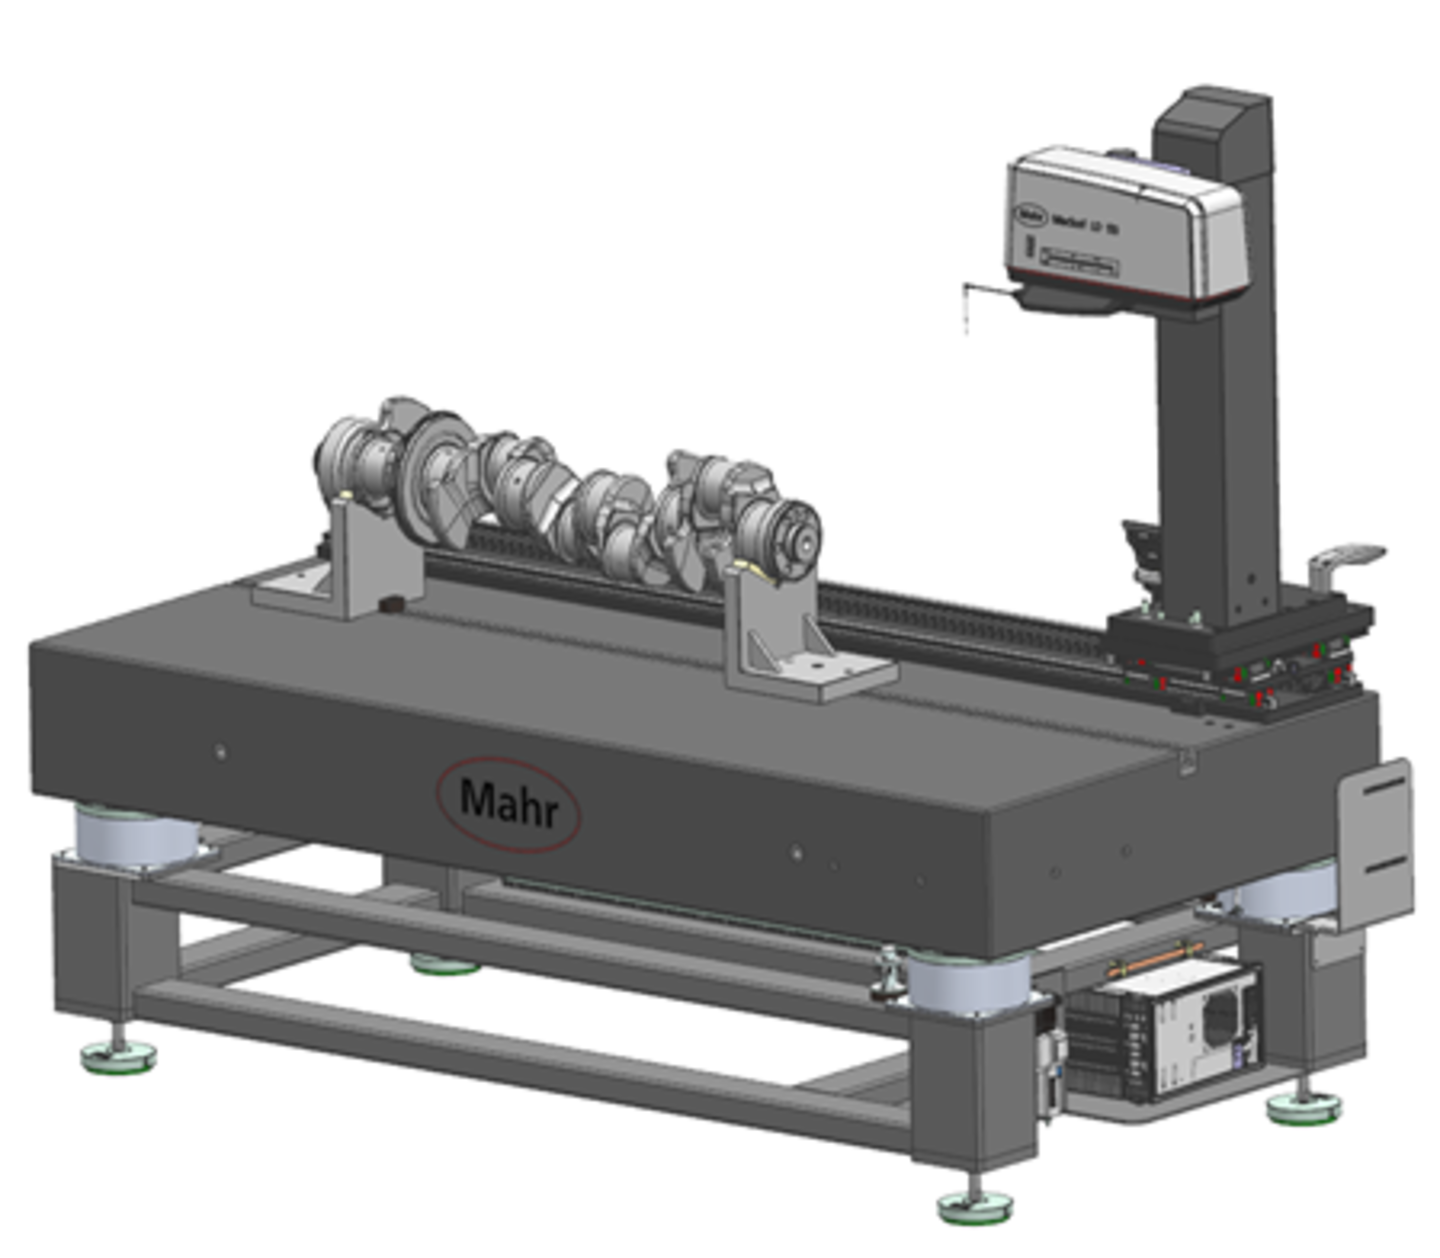
At this manually operated Series 004 measuring station, the measuring technician places the shafts in prisms aligned with the positionable measuring column. In this way, he can very easily carry out complex measurements at different points on the workpiece quickly and efficiently in the measuring room.

This MarSurf measuring station is designed for measuring tasks on large and heavy workpieces. It is loaded by the measuring technician and the measuring position is determined by manually approaching the measuring column. The column is mounted on a manual HX axis, which is aligned parallel to the workpiece axis. An additional HY axis aligned at right angles to the workpiece axis is used for fine adjustment and zenith search. The crankshaft can be manually rotated within the POM-coated workpiece fixtures, allowing maximum accessibility to the features to be measured, including in particular the crankshaft bearings.
Features of the manual measuring station:
- High flexibility and speed
- Easy positioning for the measuring task
- Use in the measuring room
- Specially designed for large and heavy workpieces
- With personnel commitment
No. 2: Fully automated measuring station for production monitoring in manufacturing
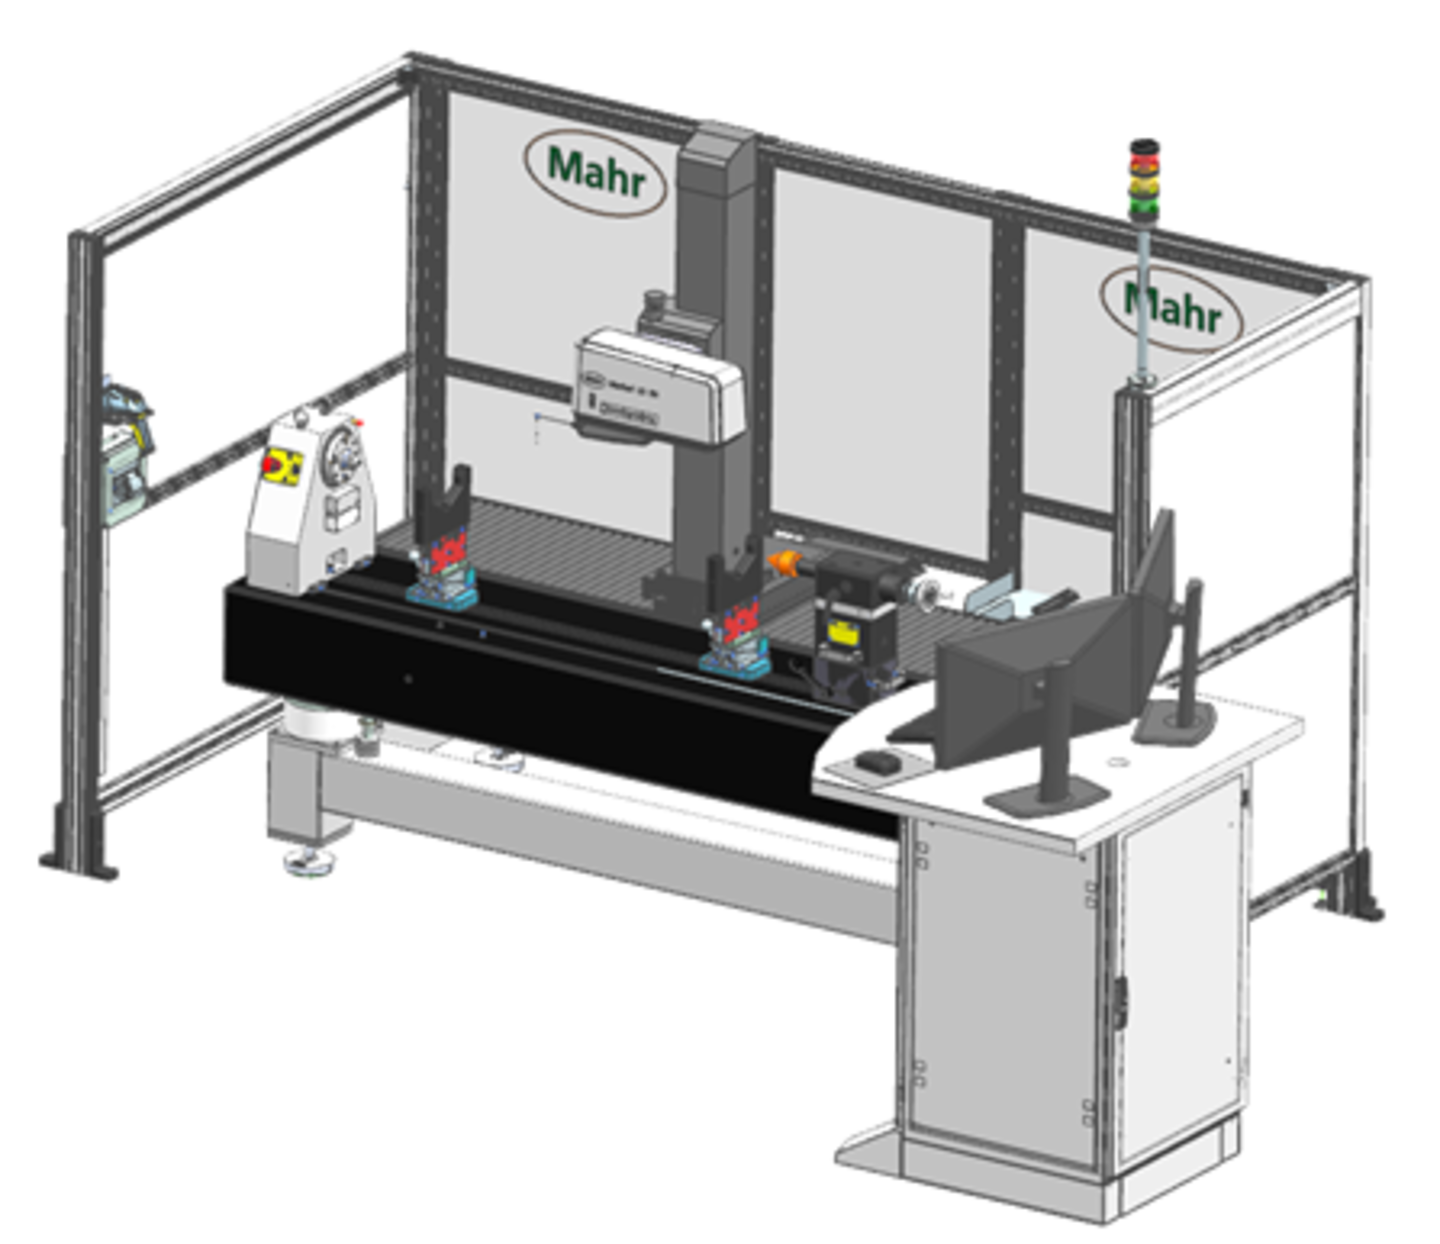
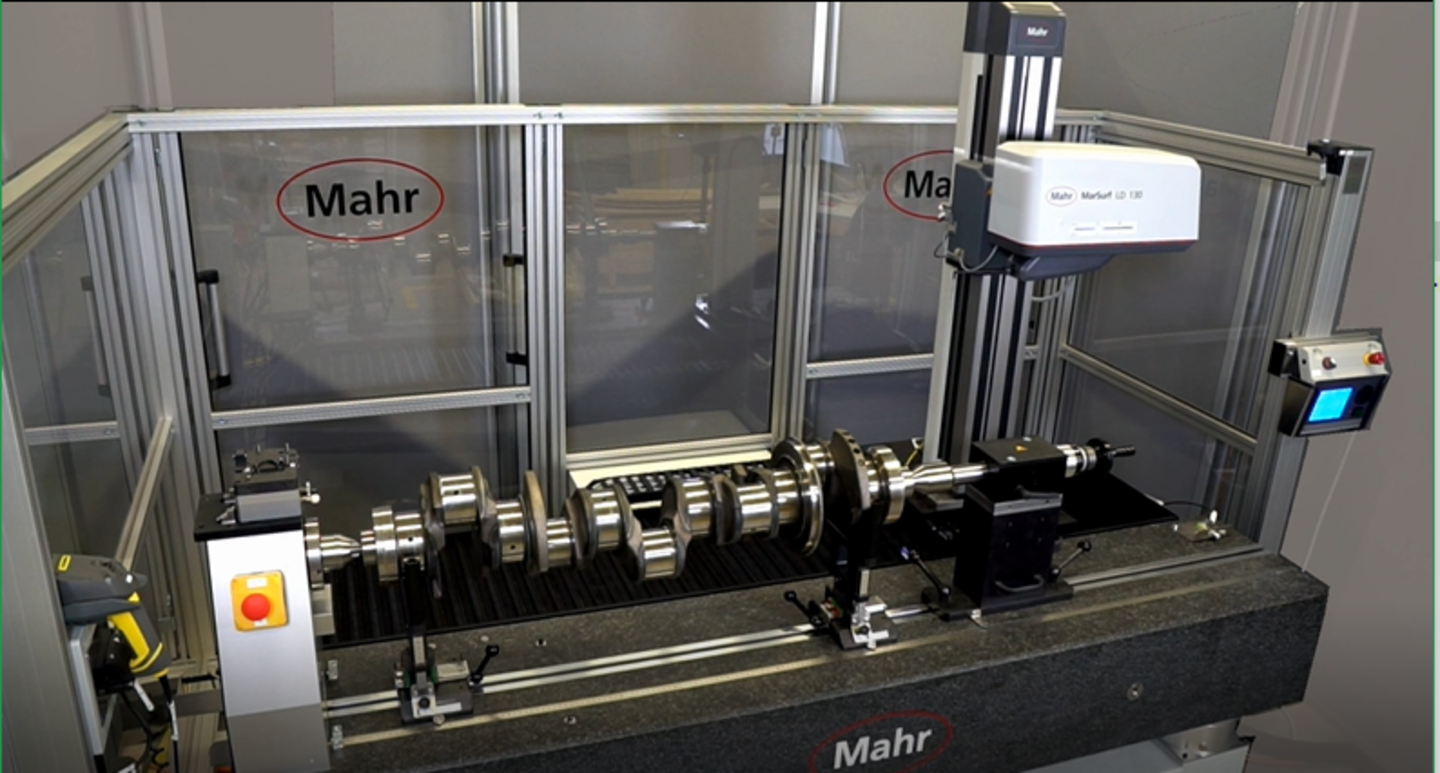
The concept of this measuring station is characterized by a maximum degree of automation, with which Mahr sets the standard worldwide. The shop floor operator inserts the workpiece and starts the measurement. The operator can then leave the measuring station and pursue other tasks, as the measuring process is fully automatic without any further interaction.

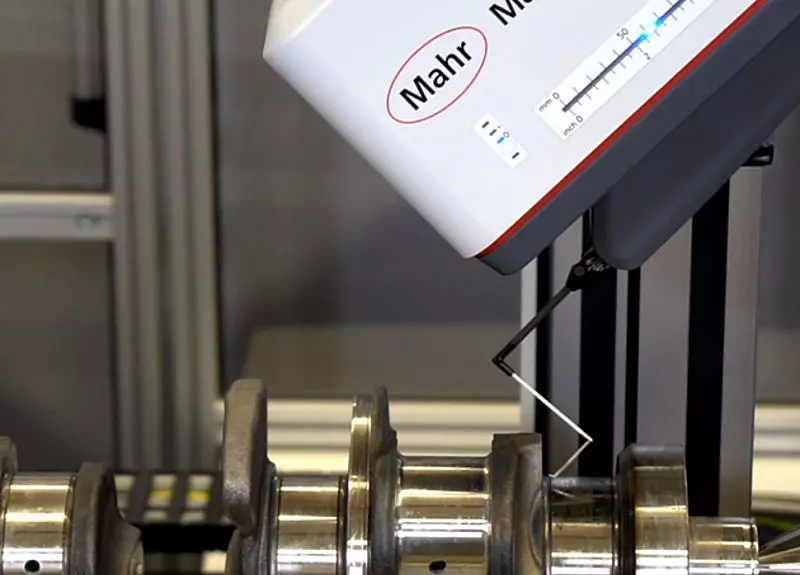
This MarSurf Series 3200 measuring station is specially designed for the fully automatic measurement of roughness and contour features on large crankshafts and camshafts. The fully automatic process enables reliable and reproducible measurement results for complex and demanding measurement tasks without operator influence. It can also be used in everyday applications by personnel who are not trained in metrology. The feed unit is tilted +/- 45° during operation, minimizing the number of different clamping positions. The two holding prisms can be moved axially. This allows workpieces of different lengths to be inserted and then clamped between centers.
Functions of the fully automatic measuring station:
- Reliable and reproducible results
- For complex and demanding measuring tasks
- No operator influence, no personnel commitment
- Specially developed for large and heavy workpieces
- Use in production


