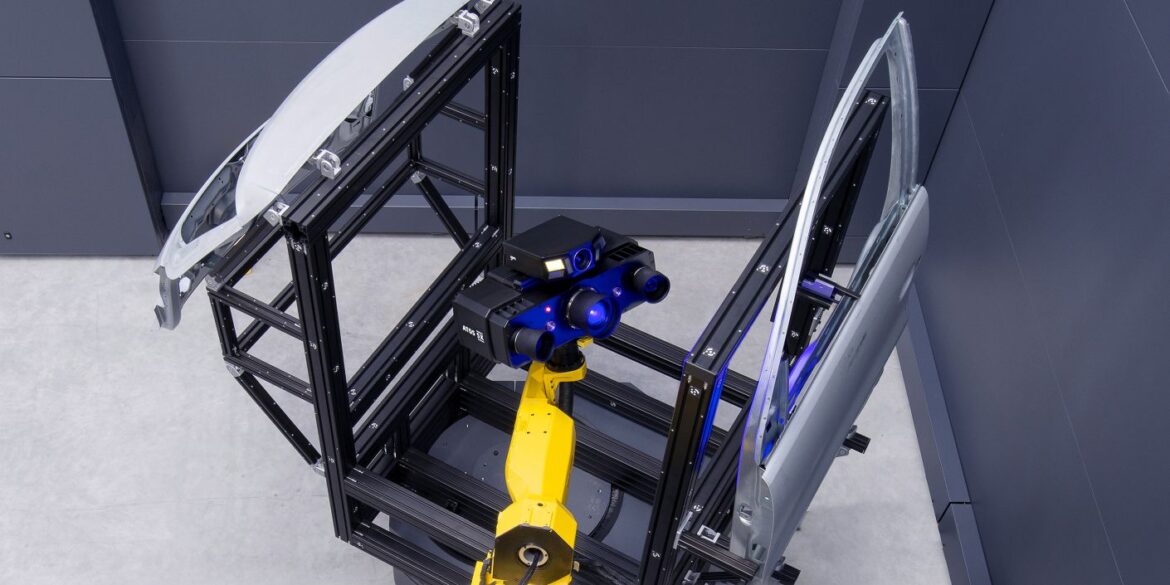
Why send parts to a separate measuring room when inspection can be carried out in production?
Many companies are rethinking their metrology setups and moving their measuring technology from the measuring rooms to the shop floor. GOM’s ATOS ScanBox series offers standardized optical 3D measuring machines that can be used to conduct efficient quality controls in the production environment. Eleven models are available for different part sizes and applications. There are both all-round systems and customized solutions for specific industries and for parts with special requirements. The models can be loaded manually or automatically.

The all-rounder in automated metrology
An ATOS ScanBox is an all-in-one solution. The system covers every process step, from programming to automated digitization, inspection, and reporting. Whereas mechanical measuring machines capture data in a point-based or linear manner, the ATOS ScanBox automatically delivers full-field data about deviations between the actual 3D coordinates and the CAD data. The software also automatically generates GD&T information as well as trimming and hole positions.
The all-round models in the series include machines for parts from 500 mm to 3,000 mm. All systems for small parts are compact and mobile, while the larger 3D measuring machines can be used in a fixed position for quality assurance in production but just as well for tool try-out and product development.
Customized solutions for industries with sophisticated demands
GOM has developed customized ATOS ScanBox models and a modular series for industries and production processes with specific requirements. For instance, airfoil inspections, such as those carried out in turbine manufacturing, require extreme levels of precision. GOM has developed a system that digitizes parts up to 800 mm in high resolution. Another example is automotive engineering, where a special modular series makes it possible to scan complete car bodies. The 8-axis kinematics – a combination of a horizontal rail, a vertical lift, and an articulated robot – allows for a great deal of flexibility in positioning the sensor. This means that the interior of car bodies can also be completely captured.
Virtual measuring room (VMR)
The virtual measuring room is an indispensable part of every ATOS ScanBox. It is the central control station and measurement planning software for all elements of the ATOS measuring cells, providing a functional simulation of the actual measurement environment. Thanks to the VMR, users do not need any special robotics expertise. The VMR software automatically calculates all the necessary sensor positions, including path optimization, for all inspection features and CAD surfaces.


