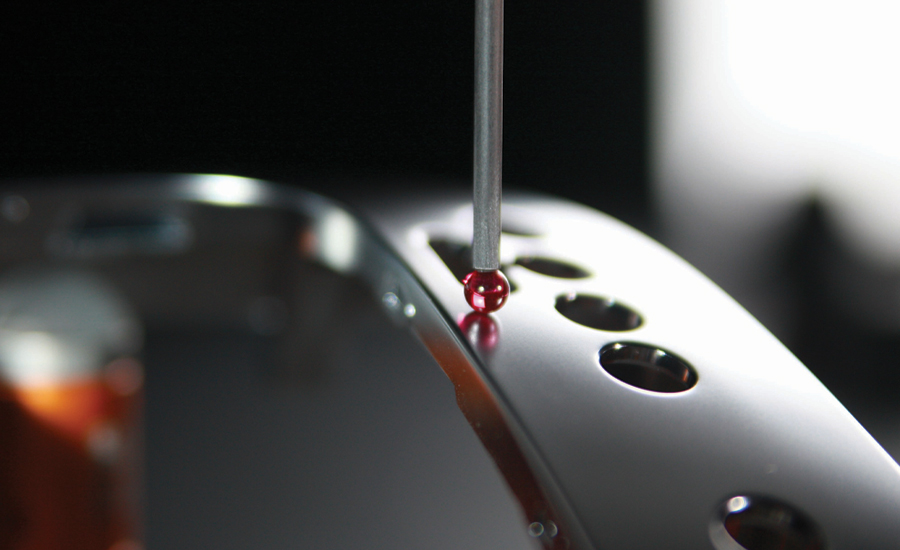
While in-line/near-line inspection is fast becoming the new standard, manufacturers are encountering challenges in their efforts to integrate it into their production processes. These challenges include lack of space available for installation of an additional piece of equipment, day-to-day manufacturing floor temperature variances that can affect the repeatable accuracy of the equipment, and vibrations from the constant traffic of port trucks on the shop floor. Dust, debris and other contaminants—another unavoidable fact of life in industrial environments— can also affect the accuracy and reliability of these extremely delicate technical instruments.
Because many production facilities operate around the clock, the ability of the equipment to provide 24/7 uptime for constant measurements is another major concern. Just-in-time manufacturing—in which multiple product types are manufactured simultaneously—adds additional complications. First is the need to measure multiple parts without slowing down the production line, followed by the challenge of frequent, significant resets.

Today’s components are more complex than ever. The more complex the part, the greater the need for flexibility in the measurement process. By bringing these capabilities to the shop floor, manufacturers can more easily and quickly change setup and make design changes to improve the component. Today’s flexible coordinate measuring machines (CMMs) can often change setup in a matter of hours.
Many CMMs are now available that can meet the challenge of today’s fast production rates. Their smaller footprints make it easy to mount them in challenging locations on the floor—some inside CNC machining center enclosures—or with open-air designs on multiple sides that make it easy to integrate them into parts handling systems and for operators to use.
Given all the challenges on the shop floor, it is important to carefully consider the construction of the CMM to ensure it will perform effectively in your manufacturing environment. An absolute requirement for a CMM that must operate around the clock in a manufacturing facility is the structural design. Consideration must be given to durability to ensure stable operations and accuracy under a wide range of temperature environments. The machine should also be easy to maintain. Where space allows, an enclosure can help keep contaminants from affecting performance, but machines should also be able to overcome certain levels of contamination.
| CMM Type | Features | Applications |
| 3D Bridge CMM | “Workhorse” CMM, measures object surface, repeats to describe the surface areas of interest | Measuring machined parts with higher tolerances |
| Cantilever CMM | Provides open access on three sides, can enable automatic loading and unloading | Measuring relatively small parts |
| Gantry CMM | Later than bridge CMM, requires a substantial foundation, often mounted directly to the floor | Heavy parts can be loaded directly on the floor |
| Horizontal arm CMM | Plate-mounted or runway-mounted | Measuring large surfaces or difficult-to-reach features |
Mitutoyo’s shop floor CMM systems are designed to meet today’s manufacturing challenges for a wide range of workpieces. The MiSTAR 555, Mitutoyo’s newest in-line/near-line measurement solution, features a convenient open-access design and space-saving ergonomic structure for fast, accurate, reliable measurements to a wide range of midsize workpieces.


