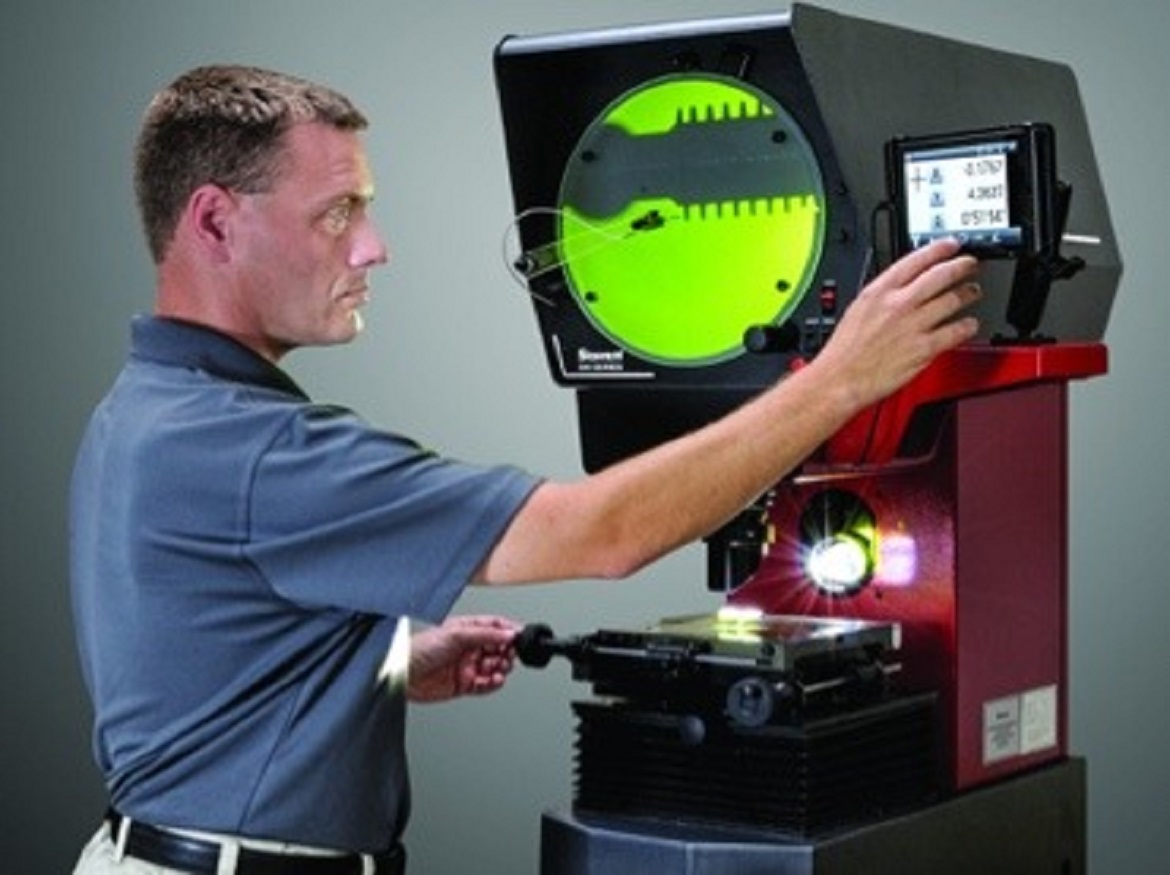
The ideal metrology system for your application is something you want whether you’re replacing or buying equipment for the first time. Which inspection system will provide the most accurate results is something you need to know.
Choose the right measurement solution for your inspection process.
With our vision, optical, and force measurement equipment, Starrett Metrology assists a wide range of manufacturers in the automotive, aerospace, medical, plastics, power and gas, and precision engineering sectors.
Various devices are more appropriate for particular applications, settings, and industries. Depending on your unique demands, you can choose either one.
Vision
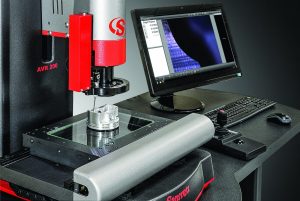
AVR200 CNC Automatic Vision Metrology System with Touch Probe and M3 Software
What are Vision Systems?
KMR video-based microscopes and video-based measurement systems are two examples of Starrett Metrology vision systems. High-resolution photographs, robust, user-friendly software, and precise mechanical platforms are all combined in vision measurement systems. In a variety of applications, they produce outcomes with exceptional accuracy and repeatability. They can be controlled manually or automatically.
The HDV Series
Because it has the same body, stage, and design as a conventional optical comparator but uses a video camera and touchscreen monitor in place of lenses, lights, and mirrors, the HDV series is also referred to as a “digital comparator.”
The AVR/MVR/AVX Series
The AVR/MVR/AVX family are vision systems for vertical orientation. Both the darkfield quad light and the touch probe can be used with these systems. When observing surface flaws and micro etching, the darkfield quad light regulates surface illumination. An optical comparator would be unable to collect data from recessed or difficult-to-reach locations, such as boreholes, without the use of the optional touch probe.
The MetLogixTM M3 software serves as each system’s operator interface. A live visual view of the component is shown, together with geometry tools and data readings. With only the touch screen, you may collect measurements and resize the part’s image.
What can you do?
Calculations, data analysis, and feature profiling are all performed using vision systems.
Vision systems from the HDV series are employed for the non-contact measurement and inspection of items. Place the component in front of the camera on the workbench. A report will be given after a brief inspection of the component.
The AVR/MVR/AVX series is employed to inspect parts that an optical comparator cannot reach.
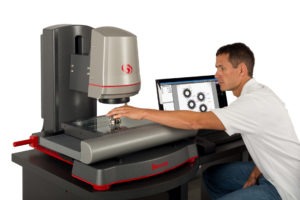
What applications is it best for?
Suitable for production, research, and quality control labs where small to large-scale high-precision measurement is essential. The best systems for difficult tasks like thread measuring are vision systems. The greatest metrology system is also this one for doing rapid measurements.
How does it compare to Optical?
The key benefits of inspection on vision systems in general are simplicity and speed. Optician subjectivity is a problem with optical comparators. On comparators, optical edge detection practically removes this risk, but it comes at an additional cost and requires special training.
Optical
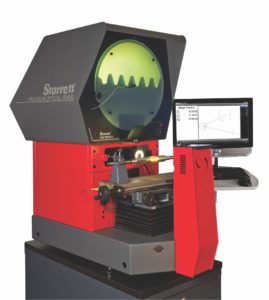
What is an optical comparator?
An optical comparator, sometimes referred to as a shadowgraph or profile projector, projects the enlarged external profile image of an item onto a screen using a high-intensity light source (either LED or halogen).
The only components of the technology required to produce the image on the screen are a light source, a lens, and mirrors. A Starrett optical comparator will last for many years due in part to its reliability and ease of maintenance due to its simplicity.
The image can then be measured and compared to a master overlay that is fixed to the screen, or utilizing measurement tools that are compatible with the projector slide and table. The coordinate display for the X and Y linear axes as well as the Q angular values for screen rotation is provided by the MetLogixTM program.
What can you do?
To compare a part to a scaled drawing, profile projectors are employed. A digital display can also be used to measure the component. These non-contact measurements are used to assess the degree of precision, accuracy, and quality.
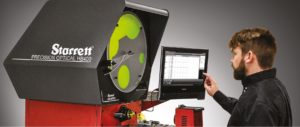
HB400 optical comparator with edge detection.
What metrology applications is it best for?
The profile projector works best for precisely measuring and capturing complicated parts and small, hard-to-reach forms. Also, it enables you to inspect components without having to touch them directly or run the risk of damaging them.
In numerous sectors, including those producing plastics, rubber, glass, pharmaceuticals, automobiles, aerospace, and precision manufacturing, projectors are widely used. They can be found in tool rooms, laboratories, and shop floors.
Best metrology applications for optical comparators
Profile projectors help engineers measure and inspect an endless variety of components including:
- crankshafts, con rods, camshafts, pistons, and driveshafts (automotive)
- turbine blades, engine shafts, turbine discs (aerospace)
- inspect turbine blades (power generation)
- window extrusion (double glazing)
- pressings
- springs
- gears
- switches and small electrical components
- tool, tips, and taps
- tools pre-setting
- glass and plastic bottles and containers, screw threads, wall thickness, and form (packaging industries)
- replacement hip joints (Medical)
coin dies and coins (mint)
How does it compare to vision?
When compared to other measuring systems, projectors are inexpensive things. They are adaptable and will fit in well in both inspection labs and shop floors.
For many years to come, a Starrett profile projector will provide you with outstanding service. For parts for equipment older than 30 years, we have received inquiries. Even if there are more cutting-edge alternatives available, users still choose profile projectors for this reason. The traditional optical comparator requires little upkeep and has fewer potential problems while providing very accurate, dependable results.
When is a Starrett profile projector the best metrology system to use?
The finest metrology solution for your company may be a profile projector if you’re looking for a dependable, cost-effective option. The world’s widest selection of profile projectors is offered by Starrett. For more than 60 years, we have produced them in our facility in Jedburgh, United Kingdom. Every machine that leaves the factory is made with the quality and accuracy you would expect from Starrett, thanks to our highly qualified engineers.
Force
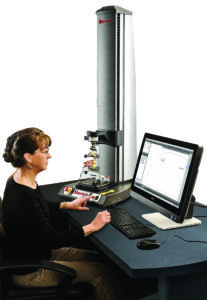
MMS-1000 Force Measurement System application
What is force measurement?
You apply a force to a calibrated measuring device, which resists the force and records or indicates its amount.
Flexural, cyclical, or shear forces as well as tension, compression, or friction are examples of applied force. All industries use our force systems, which comprise testers, sensors, and gauges, to measure force for production testing and quality control.
When is Force the best metrology system?
Force measurement is used by engineers and quality employees for a variety of tasks, such as characterizing and testing materials. It can be applied anyplace you need to determine a substance or sample’s tactile characteristics. Even groundbreaking medical research to determine the characteristics of human cells has made use of our systems.
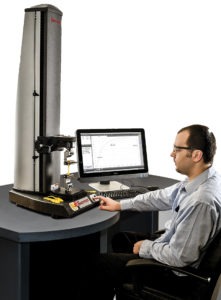
FMS-1000 Force Measurement System application
Examples of Force measurement:
- Tensile Testing – Identifying tensile force characteristics such as peak load is critical in making sure a product is safe and works well. Used in consumer products, packaging materials, and fasteners in the building trade.
- Creep and relaxation testing – The yield strength of a material such as foam is measured and analyzed while under an applied load. Used in applications such as car seats.
- Shear testing – Helps measure the deformable mechanical properties of cosmetics, plastics, composites, and other samples.
- Peel testing – Adhesive strength properties are measured to understand the bonding capabilities of coatings and glues on various types of materials.
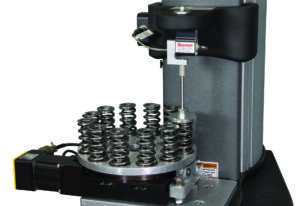
- Compressive testing – Springs are analyzed under load to determine the spring rate based on free length.
Conclusion
Every Starrett Metrology solution has a different set of benefits. For quality control, vision works best. Optical comparators offer a low-cost, tried-and-true solution that can be used in the lab or on the manufacturing floor. For testing materials, force is ideal.
Regardless of the system you require, it will all provide accuracy and precision for your quality assurance.
Starrett Metrology has a solution if you’re looking for the best metrology system for your application. Starrett provides a variety of metrology products that continue to be among the most precise, durable, and dependable available thanks to tight quality control, cutting-edge machinery, and a continual dedication to providing exceptional quality goods.
Click on the following link Metrologically Speaking to read more such blogs about the Metrology Industry.


