In order for Thor3D employees to better know and understand the product, the company conducts periodic in-house scanning training sessions. Such lessons are invaluable because they allow you to look at what you are selling through the eyes of the consumer. All of this inspired me to write this article. So, here’s their top of obvious and not-so-obvious tips from newbie to newbie (perhaps experienced users will be interested in reading it too):
1. You can be great at theory, but practice makes the difference
It’s a well-worn truth, but they’ve confirmed it once again. During the scanning process, they made a number of silly mistakes. Silly they were for they knew perfectly well HOW to scan, (and they had even mentioned it to my colleague who was conducting the training) but, whenever they pointed the scanner at the object, all my knowledge vanished somewhere. It was very much like the paradox of learning a foreign language: you can have a large vocabulary and know the grammar perfectly well, but talking to a native speaker will require you to overcome some internal barriers. It was the same with scanning. The only way out is to just have more practice.
2. Scanning should become second nature
This recommendation builds on the previous one, but there are a few nuances, so they wanted to emphasize it.
Working with a scanner reminds me a lot of working with a professional photo camera — there are a lot of important details that you have to keep in mind to get a beautiful shot. In addition to the fact that an experienced photographer seems to automatically select the right settings (of which there are many!), (s)he also pays attention to the object (assessing the lighting, framing the shot, etc.) If you have ever seen the work of professional photographers, it may seem very simple from the outside. But if you immerse yourself in the work, you realize how difficult it is! Beginners spend a long time fiddling with settings, whereas professionals do it almost instantly, because most of their actions have become second nature.
Just like in photography, there are many nuances in scanning, which may seem daunting in the beginning. But, if you overcome the fear (and most inexperienced users have it, especially when some warning pops up on the screen) and hone your skills, the scanning will become effortless.
3. Don’t underestimate the importance of preparation
First, check the calibration of your scanner. If necessary, calibrate it. This should be taken as a baseline.

They was fine with the calibration, so the next stage of preparation was to “frame the shot”. By this they mean both preparing the workstation itself and “analyzing” the object.
They took a white vase as a scanning object. Generally, you shouldn’t do this, as such symmetrical and minimalist objects are considered quite difficult to scan and assemble. It is better to start with something containing a lot of geometry: small statuettes, busts, maybe even bas-reliefs…. But personally they am always more interested in working with what they like, so in this case they went a bit against the rules.
Since the vase has no pronounced geometry, they added it myself with the help of paper. At the beginning they added a small piece and later they had to add more so that there was enough data in the scanner’s field of view.
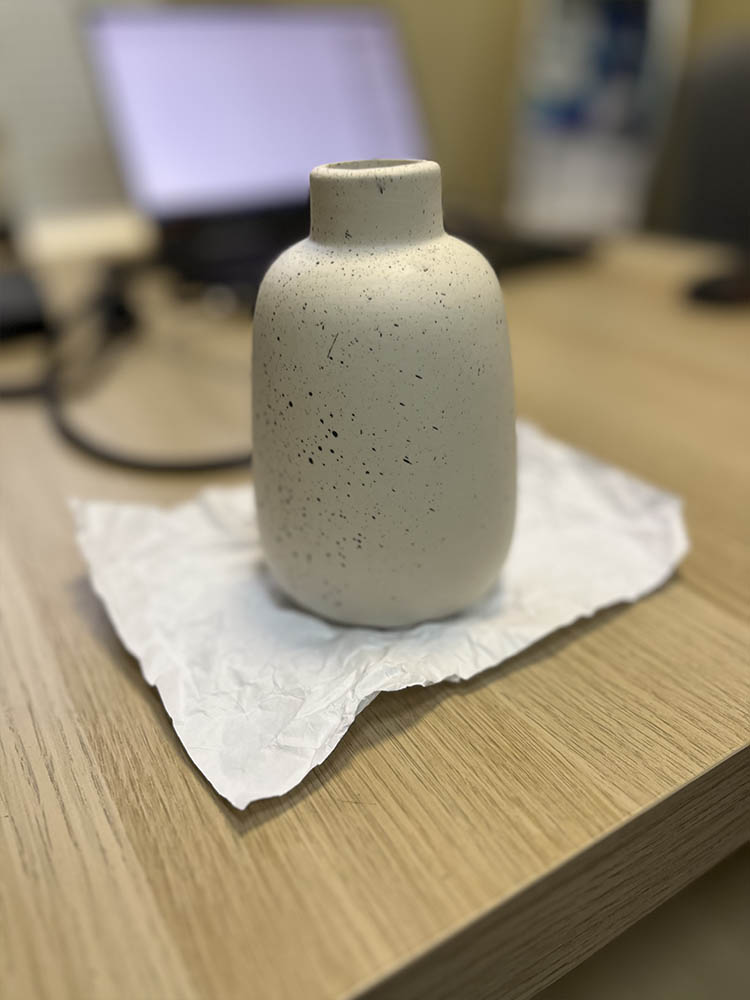
One thing they almost forgot to consider: how to process the data and cut off the excess geometry later on. If the vase stands on a plain piece of paper, during post-processing stage the parts of vase might be cut off. they quickly corrected this by adding a stand.
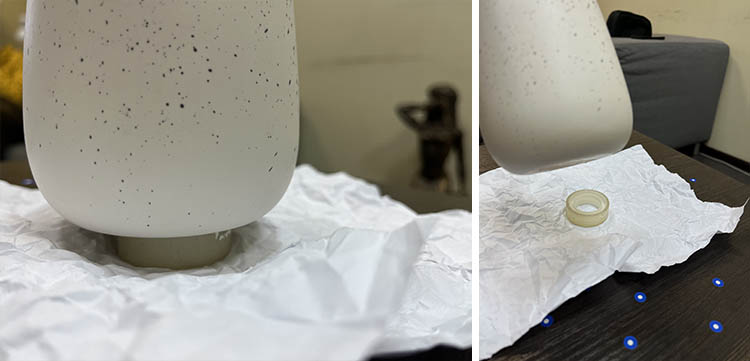
This is not the only thing they missed during the preparation stage. It wasn’t a critical error, but it was a bit of a hassle. We always say in our tutorials that the preparation is important, but it’s only when you start scanning on your own that you realize this fully.
So, plan in advance how you’ll scan the object and collect data – this will simplify your work and save time.
4. Work at your own pace
Professionals scan quickly and operate the device with ease. For example, my colleague had no trouble keeping a sheet of paper (extra geometry), the entire vase in view, while moving around the vase effortlessly.
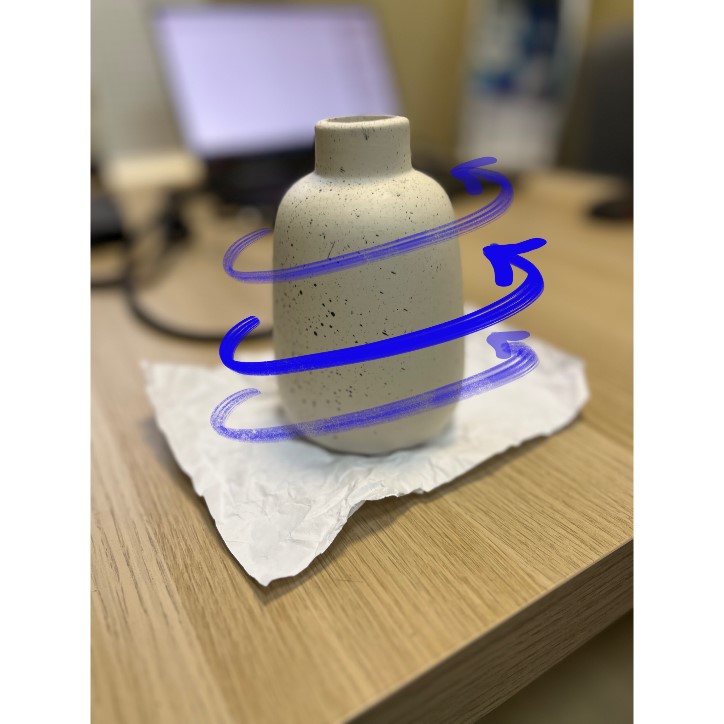
It was challenging for me to do the same. When they concentrated on the vase itself, they immediately lost track of the additional geometry…they forgot about the power cable and got tangled up in it. They also failed to remember the point where they started scanning from. As a result of jerky movements, the scanner kept loosing tracking. They needed a different pace and a completely different approach.
In my case, it worked great by moving slowly around the vase clockwise, scanning from bottom to top and lingering for a few seconds on the extra geometry before they had to make the next step. That way, whenever the scanner would get a little sideways because of me moving the power cable, no tracking was lost. They was also able to capture the neck of the vase at these few-second “stops”.
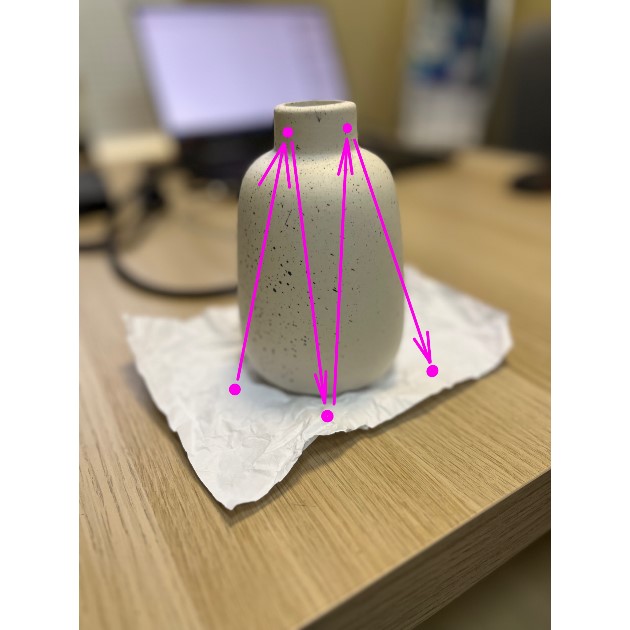
Then it was my turn to scan the bottom, and this is where my mistake became evident – they did not properly plan how they would connect the parts of the scan in a single model. Since the vase does not have a pronounced texture, how could they figure out the proper order in which to connect parts of the scan? Fortunately, there was modeling clay in the office, which could be used as a reference points.
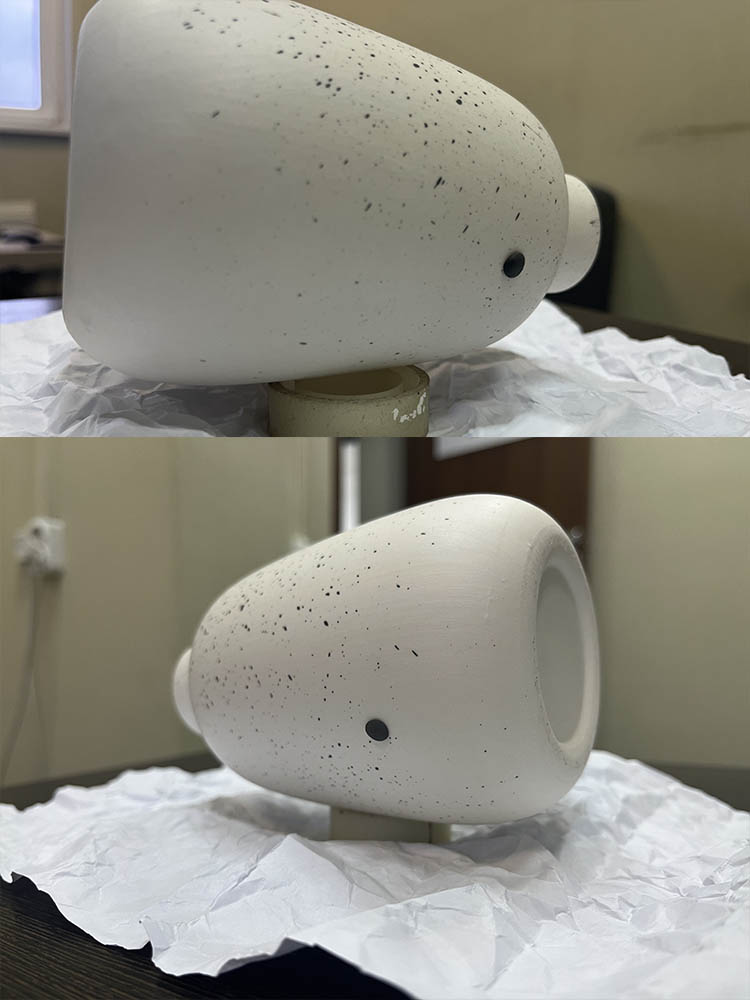
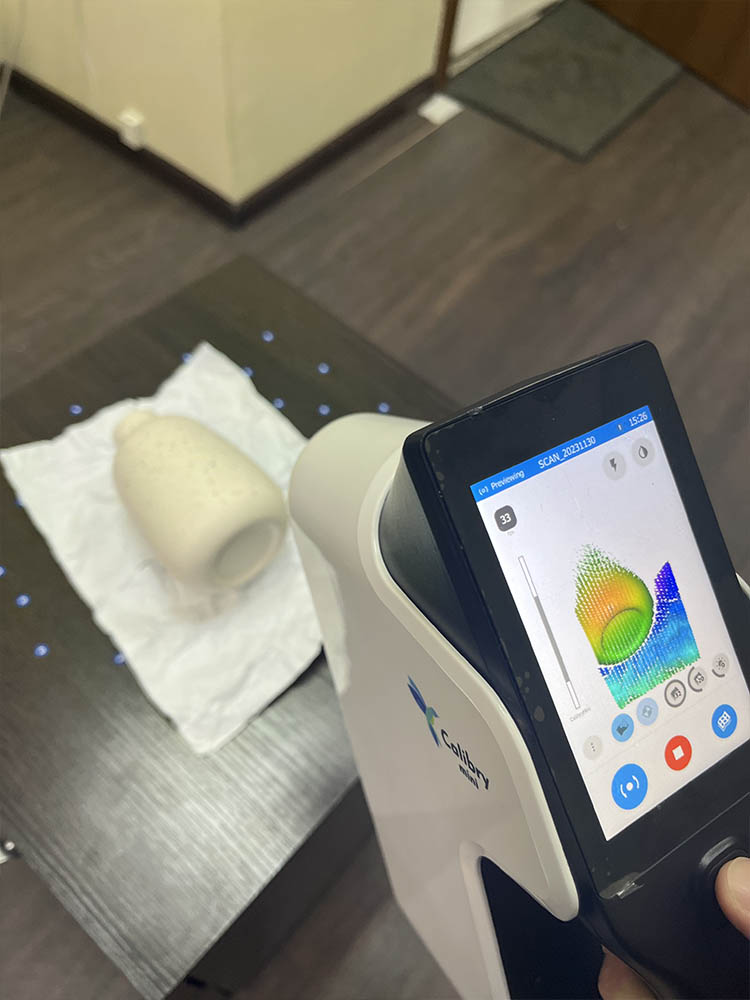
If you are a beginner, plan scanning and post-processing almost step by step. Don’t try to scan like a pro. Let yourself be slow and work the way you feel comfortable; your main goal is to collect enough data and get a dense point cloud. And yes, it’s okay to scan the same thing several times and try different approaches.
This is the scan of the vase they ended up with:
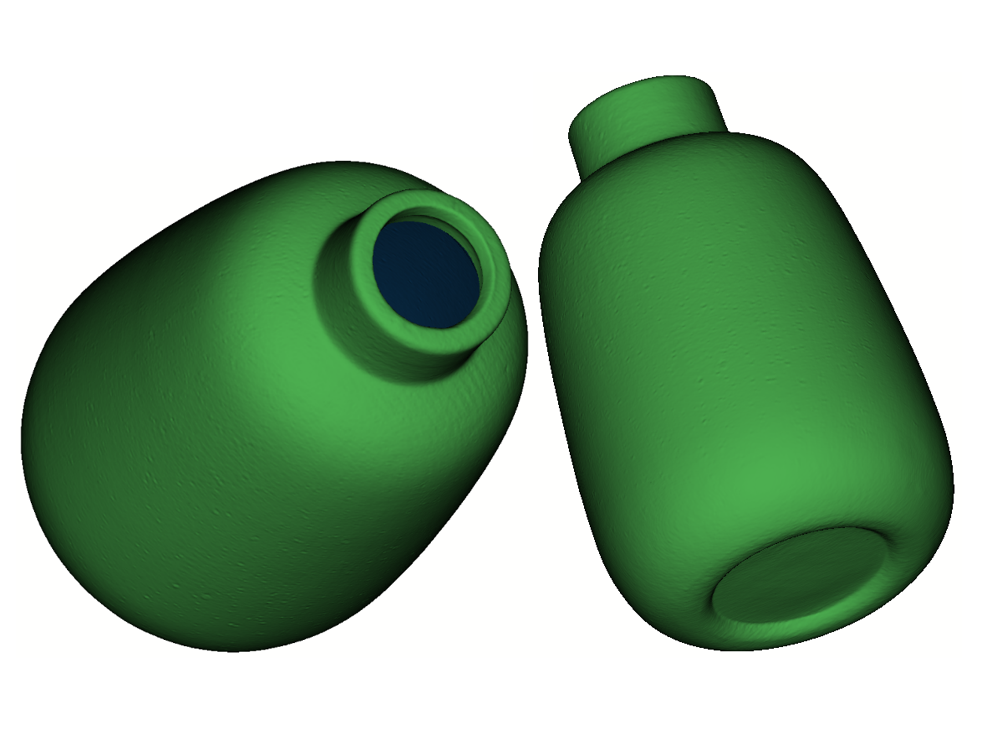
The model is also available on p3d.in


