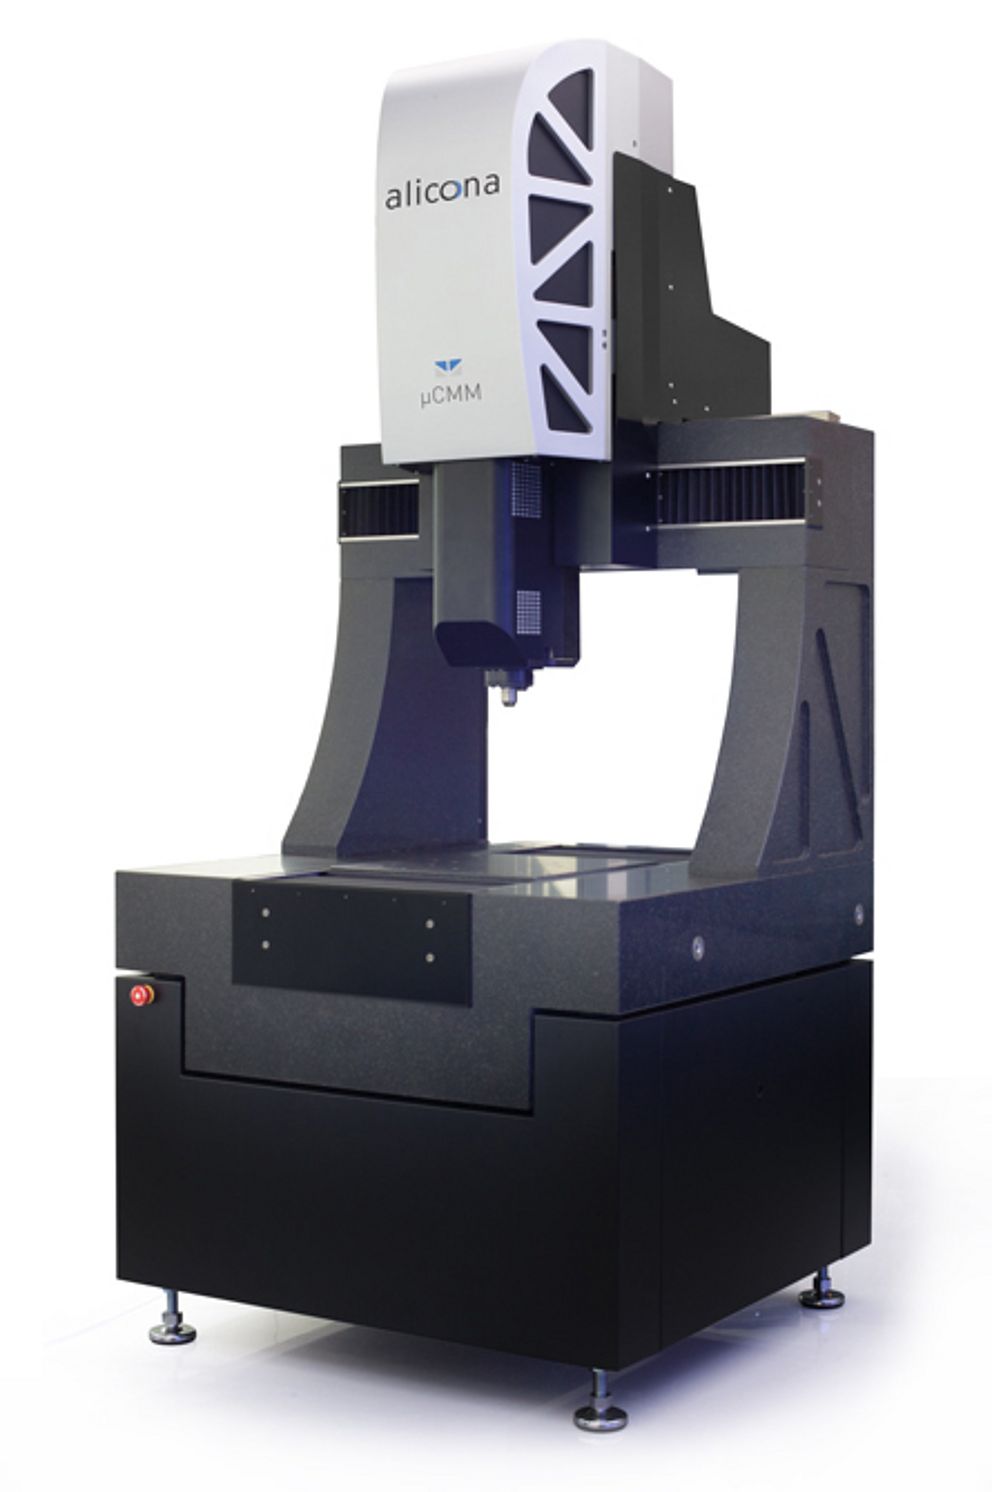
The optical μCMM offers high accuracy for the fast measurement of components with tight tolerances. It reproducibly measures matte to highly polished surfaces and is designed to be easily used by multiple operators. Simple automation options and optional accessories extend application areas. Interfaces for networking with existing production systems ensure the implementation of future-oriented, integrated production strategies.
PRECISE
High accuracy and fast measurement over large measurement volumes
μCMM enables highly accurate measurements of the smallest geometric features, even on large components. The individual surface characteristics are verified with large measuring point density. Due to the high accuracy of the axis systems, these individual measurements can be precisely set in relation to each other within the entire measurement volume. A 3D measurement is only done at the relevant measuring positions and thus in a very short time. Users now have the ability to measure both surface roughness and GD&T features with tolerances in the single-digit μm range with only one measurement system.
SIMPLE
Measure matte and highly polished surfaces easily with SmartFlash
The measurement of complex component geometries is easy for an operator to carry out. μCMM adapts to the surface with one single sensor and measures all common industrial surfaces, all with dramatically different reflection properties.
SmartFlash 2.0
The measurement of matte to highly polished components is done with SmartFlash technology developed by Alicona in 2004. The core of SmartFlash is the use of modulated illumination during the vertical scanning process. Each measurement point is optimally illuminated, resulting in a robust and high 3D depth resolution. The further development of SmartFlash 2.0 is based on intensity modulation as a function of time and simultaneously as a function of the lateral position. While a single measurement point is illuminated with varying intensity at different points in time, two measurement points are illuminated with varying illumination at the same time. As a result, users not only gain a robust and high depth resolution, but also a significantly more robust and higher lateral resolution. Rough, smooth, and reflective surfaces are optimally illuminated and measured in 3D.
Networking and machine to machine communication
Modern production facilities are increasingly moving towards SmartManufacturing, where measurement technology is already an integral part of production that is linked to existing production systems. μCMM has all the prerequisites to be integrated into a production line. The robust technology of the Focus-Variation as well as the stable construction make the optical CMM suitable for production. Interfaces such as .net remoting and various connectivity options (i.e. QDAS) or a CAD CAM connection ensure networking and communication with existing production systems, machines and quality management systems.![]()
μCMM offers high accuracy of several optical 3D measurements to each other. A 3D measurement is only done at the relevant measuring positions and thus in a very short time. Due to the high accuracy of the axis systems, these individual measurements can be precisely set in relation to each other within the entire measurement volume.
Simple automation of measurements
In combination with the automation interface AutomationManager, μCMM offers fully automatic measurement and evaluation of component geometries. An administrator defines corresponding measuring programs which are started by an operator in e.g. production at the push of a button. Programs are selected via a drop-down menu or barcode scanner. The measurement result is completely independent from the operator.
Intuitive, ergonomic controls
A simple operation, which can be learned quickly is one of the most important criteria for efficient use. This includes intuitive user guidance through a GUI and the ergonomic handling of operator panels such as the corresponding controller. The μCMM controller has a touchscreen including live view, intuitive precision control and a compact design to provide the best possible ergonomics for fast and easy teach-in of measuring positions and settings.
EXPANDABLE
3-axis system turns into 5-axis system
A high-precision rotation unit with calibrated and motorized tilting and rotation axes allow the μCMM to expand from three to five axes. With the Advanced Real3D Rotation Unit, users can measure their components from a variety of perspectives. This means that surface features such as flank angle, lead angle, thread pitch or undercutting on components can also be measured easily and optically.


