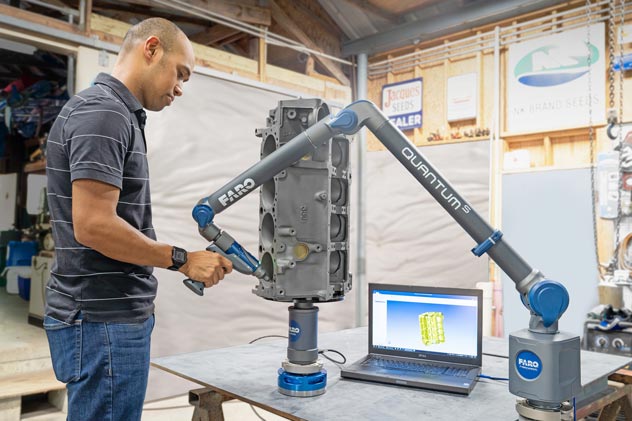
Point probes are a specific sharp pointed probe design that needs special consideration when calibrating them and using them. They differ from a ball probe in that they do not rely on the diameter of a ball to contact the part and then rely on a specified radial offset that calculates the location of the center of the ball to measure accurately. Instead, they rely on the finite sharp point of the probe that defines the point that is tracked in space by the portable cmm arm. In general a point probe is not considered a great fit for high accuracy applications and here is why. An arm is capable of measuring down to .001″ and even tighter in some instances.
Imagine you have the sharp tip of the point probe, if that tip has any type of radius to the end or if it wears even slightly you are essentially moving the point that the arm is tracking causing inaccuracies in your measurements. For reference the probe tip is typically made out of carbide which is incredibly hard but also brittle. When you are putting the carbide tip in contact over and over with various varieties of steel, cast iron, or other hard and abrasive surfaces it will wear over time. With that said there are cases where a point probe is a great fit for measuring a user just needs to have realistic expectations related to the accuracy they are expecting to stay within. One advantage a point has over a ball probe is that there is not any compensation or offset needed. This provides a very direct result and can be very useful.
For example if you are reverse engineering a profile it can save time and remove complex offsets if you can directly digitize a line or spline. When you are looking at performing layout with the portable arm and you are driving to a specific x,y location or x,y,z location it can be advantageous to look at your digital readout and actually point at the surface of the part knowing that the tip of the probe is the exact point you are looking for. Some customers even use it to put a small dimple or mark on a part if the part is plastic for example.
In order to accurately measure with a point probe it must be Calibrated after being installed on the arm. There are two methods that can be used although one of them would be a recommended method, the sphere calibration, and the other would be a use in a pinch method, the simulated cone method.
The sphere calibration is preformed on a calibration sphere. The diameter of the sphere is not as important as the sphericity. It is recommended that a grade 50 or better sphere be used. If the diameter of the sphere is known if can sometimes be input and used in the calculation of the calibration.
MetrologyWorks stocks a 3/8 inch diameter calibration sphere with an M6 thread that works well for this type of sphere fit calibration. While different manufacturers routines may vary the FARO routine requires to you measure eleven points while moving in a spiral from the top of the ball towards the equator and then the orientation of the probe is changed multiple times each time taking eleven points thus providing amble coverage of a large portion of the sphere.
If a operator either does not have a sphere or is having difficulty calibrating using the sphere method there is one other way. The simulated cone method can be used although it would not be recommended. It would not be considered as accurate and could also potentially damage your probe. In this method a user presses the point probe, at a 90 degree angle, into a material that is softer than carbide, an aluminum plate for example, and then performs a cone calibration routine using smaller than usual movements so that the probe tip does not move on the plate.
For more details visit www.metrologyworks.com (Author Jason Gorden)


