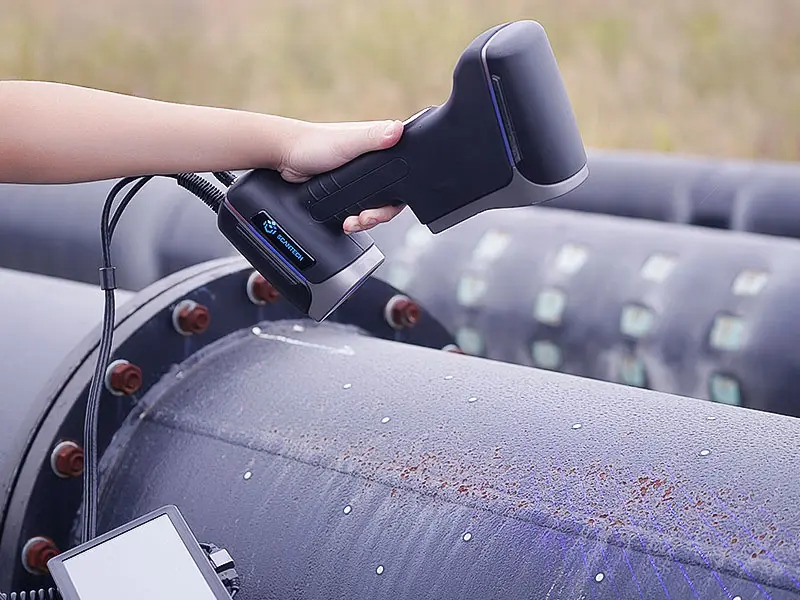
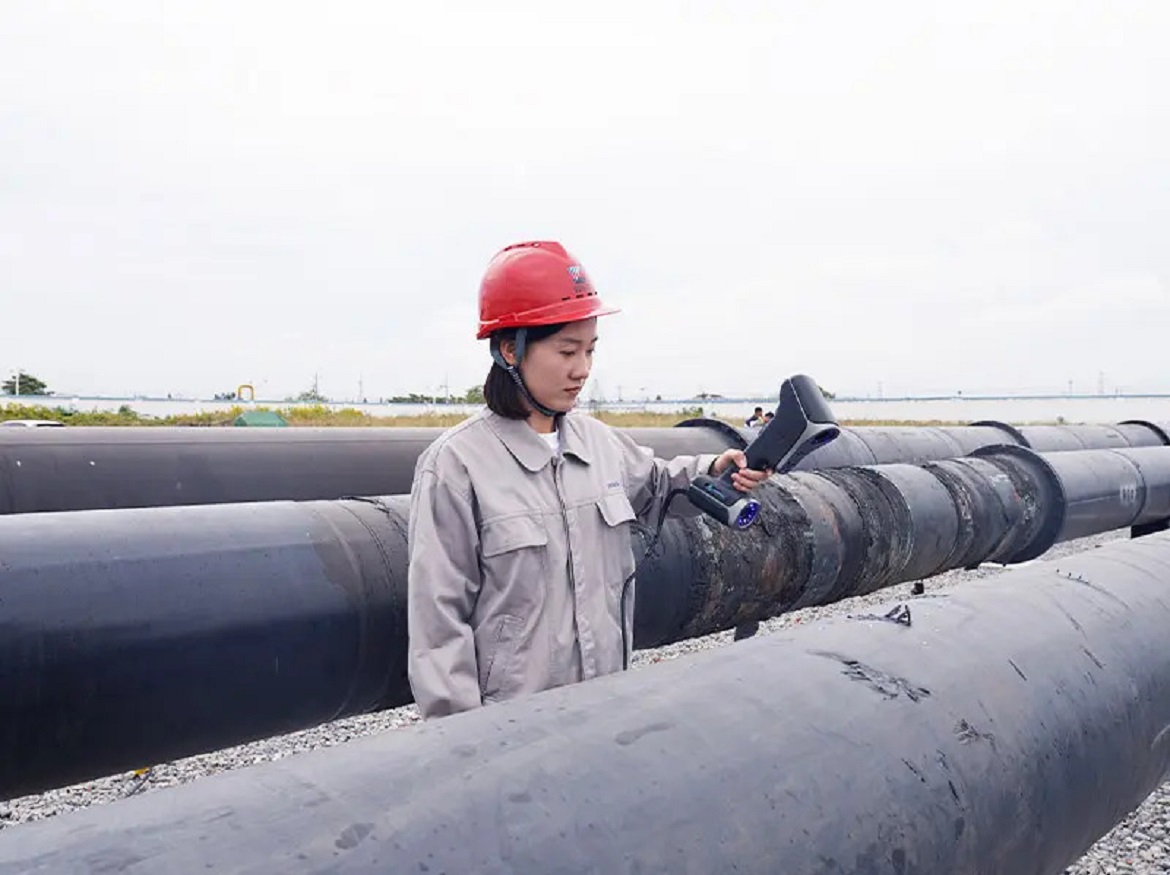
Scantech recently supported the Research Institute of Zhejiang Province Energy Group Co., Ltd., a premier integrated energy provider in China, in its inspection of gas pipes for cracks, corrosion, and mechanical damage.
Pipeline collapse incidents have the potential to cause enormous economic losses, fatalities, and ecological catastrophes. For pipeline integrity management to keep pipes in excellent shape, gas pipeline inspection is essential.
According to the safety rules, experts must do routine internal and external inspections of these pipes to make sure they are kept in a functional condition.
NDT Gas Pipeline Inspection
Operators can efficiently test pipelines using non-destructive inspection techniques such as magnetic flux leakage technology and ultrasound technologies.
A modern NDT inspection method for inspecting pipelines without sacrificing accuracy, safety, or integrity is high-tech 3D scanning.
Scantech’s NDT 3D scanning system can assist pipeline operators in ensuring pipeline integrity while adhering to strict budgets and timeframes when combined with 3D software and a clever modeling methodology. In comparison to conventional measurement techniques, this new approach is more effective and precise.
Our all-encompassing 3D solution provides rapid deployment, high portability, rapid setup, precise measurement results, non-destructive testing, flexible analysis, full-filed 3D data, and clear reporting.
Customer Info
The Research Institute of Zhejiang Provincial Energy, a sizable state-owned company in China, is the client in this instance.
The business focuses in producing electric and heating power, investing in and using coal mines, selling coal, using natural gas, providing energy services, and other things.

The goal of the Project
The project’s objective is to obtain thorough 3D visualizations of the investigated regions in order to conduct detailed and in-depth evaluations of the damages.
The measurement and evaluation, which must be effective and accurate, primarily concentrate on corrosion and denting on the exterior surfaces of gas pipes. Defect measurements and 3D model reconstruction accuracy must be greater than 98%.
Challenges of 3D Inspection for Pipelines
The diameter of the pipelines in this situation, which are composed of steel or PE, ranges from 100 mm to 1014 mm. The steel pipelines have relatively reflecting surfaces that are smooth. Pipelines are elliptical, making it difficult to reconstruct the pipes and damage to their surfaces.
To find damages, numerous inspection methods have been devised. Nevertheless, there aren’t many on-site measurement techniques that can handle complex circumstances and damages or are feasible enough to use.
Traditionally, engineers have examined damages using manual pit gauges and rulers. During excavation, operators measure the size of the damages found, and experts analyze the data and do calculations to estimate and evaluate the damages in accordance with applicable regulations.
The drawbacks of these ineffective methods, however, include erroneous measurement results, drawn-out inspections, ineffective damage appraisal, data administration, and the expertise required.
In some cases, inappropriate physical inspections might make older pipelines leak more frequently. For pipeline distribution systems to undergo high-quality inspection, advanced and NDT 3D inspection is required.

Workflow of the Project
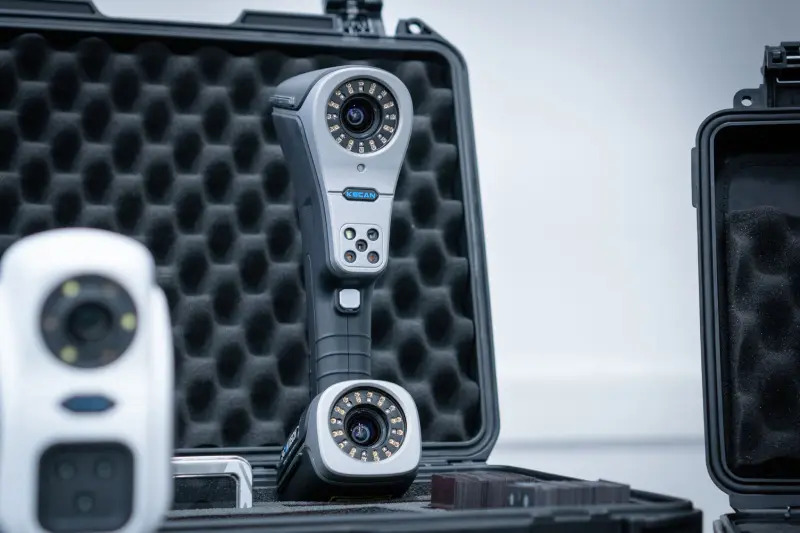
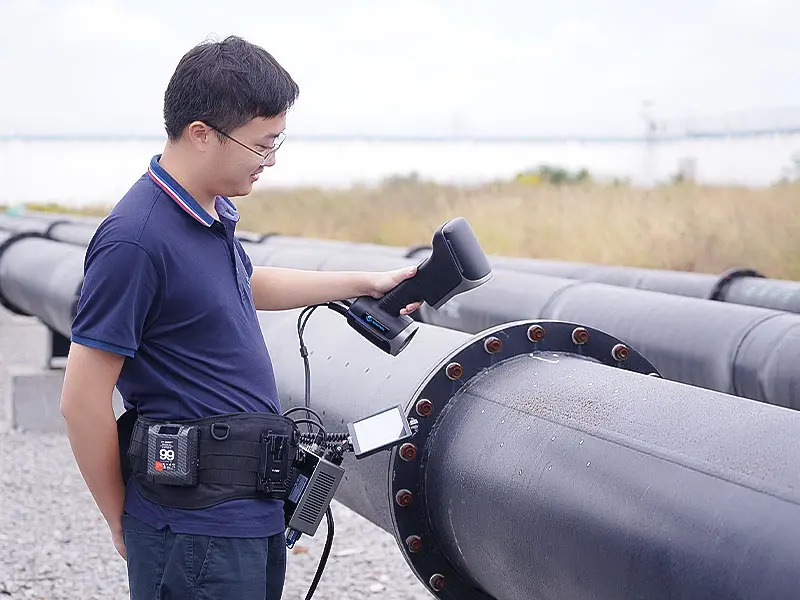
To examine the damage to pipes, engineers employed Scantech’s composite 3D scanner KSCAN and smart module AirGo Power (for powering the metrology 3D scanner in the field without a power supply). The task was finished in around 20 minutes.
Engineers were able to create 3D models of the damaged areas with specified values by obtaining high-resolution and high-precision 3D data on corrosion and denting. Minor traits, like pitting corrosion, were quickly acquired.
The damaged point clouds were analyzed to correctly determine the lengths, widths, depths, and curvatures of faults on the outside surfaces of pipes. These data make it easier to immediately examine and pinpoint the origins of damages.
Engineers created a pipeline damage database with 3D models of damages recorded for further comparison and analysis using the 3D data that was collected.
They can later examine the damage and forecast how pipeline deterioration would develop. Engineers are thus able to assess risks precisely, project the pipelines’ remaining lifespan, and quickly implement preventative actions.
Advantages of Scantech’s 3D Solution for Pipeline Inspection
On-site 3D Scanning for Areas Without a Power Supply
The KSCAN 3D laser scanner may provide on-site measurement in remote locations without a power supply when combined with the smart module AirGo Power. It eliminates the hassle of using lengthy cords to connect industrial 3D scanners to a power source, allowing for free and easy 3D scanning.
High Accuracy and Resolution to Capture Intricate Details
The five standard operating modes of the KSCAN professional 3D scanner include fine and large-area scanning. It methodically carried out the 3D scanning of pipes using two sets of high-definition industrial cameras.
It is highly suited for capturing intricate details of minute flaws due to its sophisticated algorithm and delicate scanning. These damages were measured with great precision using a 3D industrial laser scanner with an accuracy of up to 0.020 mm.

High Efficiency
The KSCAN allows for quick surface capture while providing high-quality scanning performance thanks to its measurement rate of up to 1.65 million measurements per second.
The field measurement of pipes typically takes a half-day to complete. The measuring time was cut in half to just 20 minutes, dramatically improving inspection efficiency and cutting down on both labor and time expenditures.
Intuitive Report
The pipeline inspection software that is included with KSCAN is specialized and metrology-level, and it can provide precise measurements of length, width, depth, diameters, and defect areas. For instance, the holes are depicted in a range of hues from pale green to dark blue so that engineers may easily determine their depths.
Damage Evaluation System
An intelligent method for assessing damages was developed using the data, and this contributed to the establishment of a central location for damage management, evaluation, and storage. Users can rapidly create damage reports by accessing information and damage characteristics via an online database.
The Potential for More Applications
Zhejiang Energy Group’s pipeline division has used the 3D measuring technology for pipeline inspection with success.
High-accuracy measurement findings and effective measurement procedures can save manufacturers and businesses a significant amount of money on labor and time.
This system can speed up emergency pipeline leak repairs and provide a thorough database for pipeline lifetime evaluations.
Click on the following link Metrologically Speaking to read more such blogs on Metrology.


