As the global warming crisis and the demand for clean, carbon-free electric power intensify, renewable energy sources such as wind power have experienced tremendous growth in adoption.
Therefore, the demand for precise and high-quality components in wind power generating industry is on the rise.
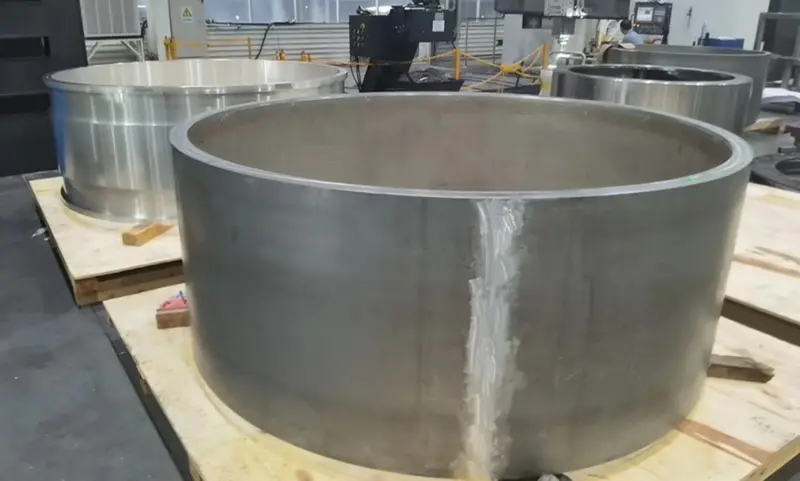
In the wind power industry, the stator frame plays a pivotal role as it secures and supports coils, ensuring their precise and stable positioning, which directly impacts the performance and operational capacity of wind power generators.
To guarantee the quality of the final product and the accuracy of precision machining, high-precision 3D laser scanners are increasingly used by customers to inspect blanks of stator frames.
Through this blog, we delve into how 3D scanning technology can revolutionize workflows in the wind power industry.
Customer Requirements:
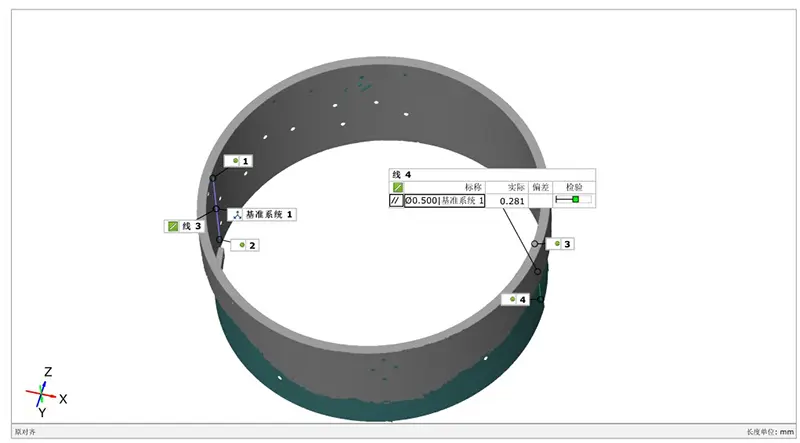
In processing stator frames, locating the datum is paramount, as it directly influences the precision of the entire process.
Any deviation in the flatness, perpendicularity, or parallelism of the datum can lead to dimensional variations and positional shifts during subsequent processing, potentially causing part malfunctions.

The customer in this scenario seeks to obtain geometric dimensions of the stator frame blank surface to properly locate the datum. This ensures subsequent processing precision while minimizing errors.
Traditional method of locating the datum with a dialgauge can be inefficient and time-consuming. With 3 hours to locate a datum, only a few hundred pieces are output, which could not meet the expected production capacity requirements.
Project Challenges:
As the wind generator’s stator frame features with large size, a 3D scanner that has a large measurement volume, high resolution accuracy is necessary to capture precise 3D data of its key features.
The stator frame has a metallic reflective surface and hard-to-measure geometric features, such as curves and edges. These pose challenges for the complete collection of data by conventional measuring equipment.
Solution: TrackScan-Sharp
Fast Scanning: Leveraging the TrackScan-Sharp tracking 3D scanning system enables rapid scanning of stator frames without the need for markers. This eliminates time spent on applying and removing markers, streamlining inspections in just five minutes.

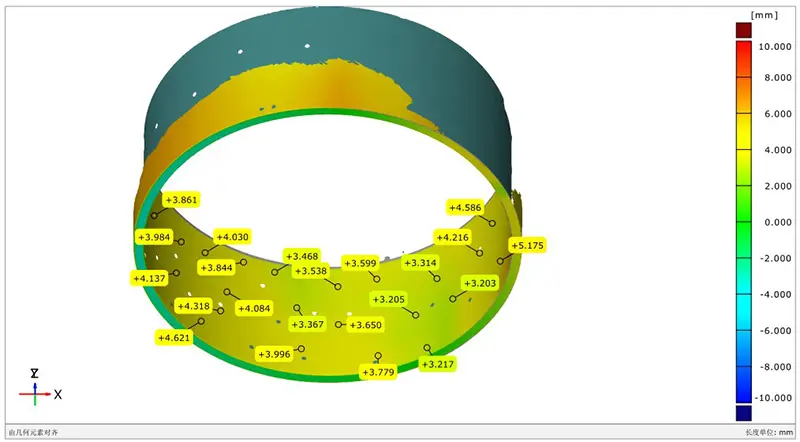
Model Acquisition: With a maximum accuracy of 0.025mm, TrackScan-Sharp swiftly acquires high-precision 3D point cloud data. This data is imported into professional software to generate clear and intuitive 3D model of the stator iron frame.

Machining Allowance Analysis: The software facilitates comparison and analysis between 3D models and standard CAD models, confirming machining allowances on each processing surface of the blank. The intuitive report assists in locating the datum, providing guidance for subsequent machining processes.


Advantages of the Solution:
Ensuring Precise Processing: The 3D data acquired by TrackScan-Sharp guarantees more precise processing, allowing each step to be executed in the correct position and direction, thereby enhancing overall processing precision.
Improving Processing Efficiency: With a point cloud acquisition rate of 2.6 million measurements/second, the dimensions, shapes, and key data information of the blank can be quickly obtained, greatly shortening the processing cycle compared to traditional measurement methods.
Reducing Production Costs: Allowance analysis helps to determine the amount of material to be removed when machining the blank, thereby minimizing material waste, significantly reducing rework and scrap rates.
What Customer Says:
Scantech’s 3D scanner facilitated the acquisition of precise 3D data from the stator frame blanks, enabling us to accurately determine the datum and machining allowances.
This significantly enhanced the quality and efficiency of our machining processes, preemptively addressing potential issues and minimizing resource wastage due to deviations.
Committed to innovation, Scantech continually advances 3D scanning technology, injecting fresh momentum into digital transformation across industries.
Through our dedication to cutting-edge 3D solutions, we strive to drive forward more sophisticated and sustainable technological advancements in industry development.


