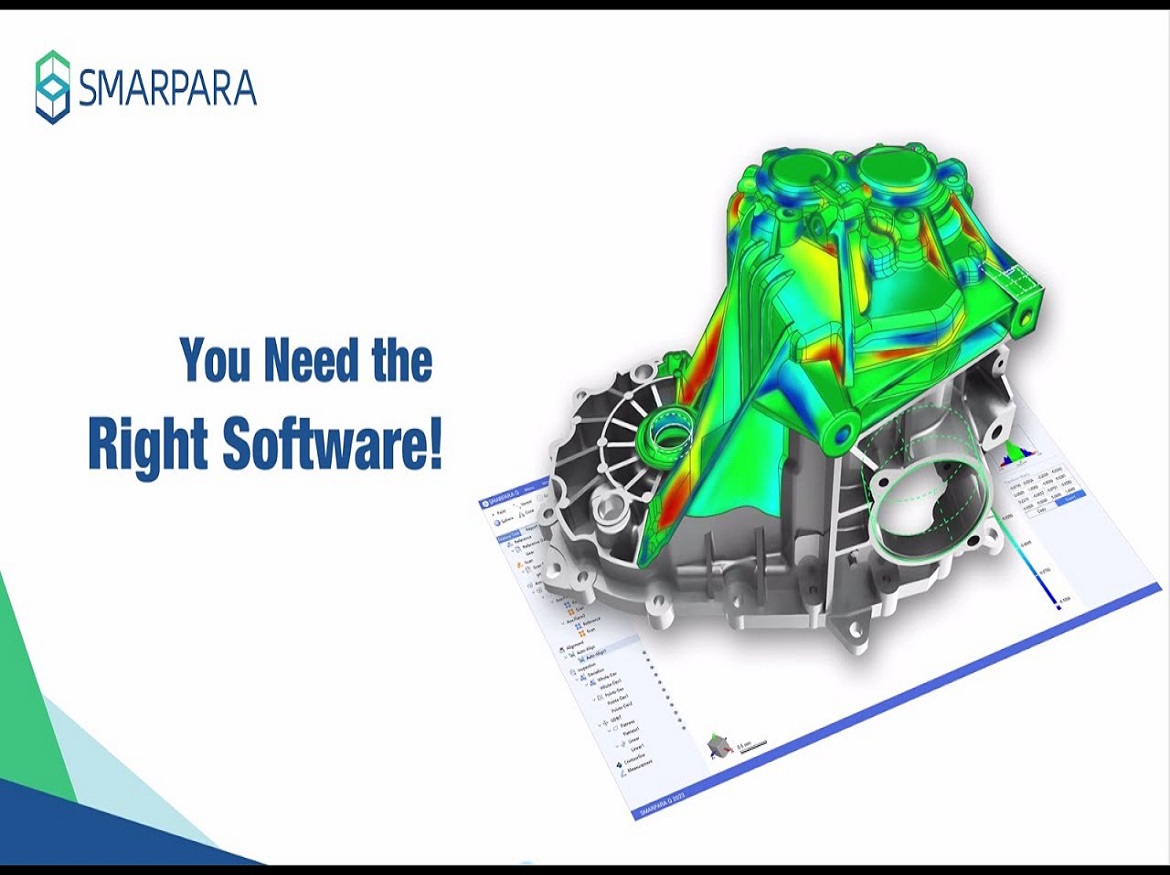
The SMARPARA Q 3D Digital Inspection Software developed by Hongshen Technology Ltd. is based on discrete 3D scanning data technology, which can accurately align reference CAD data and scanning data, and perform deviation analysis and geometric tolerance (GD&T) calculation. SMARPARA Q software obtained the Precision Certification issued by the German Physikalisch-Technische Bundesanstalt (PTB) in November 2020.
SMARPARA Q 3D Digital Inspection Software can select appropriate inspection functions and methods according to industrial product
inspection and inspection technical regulations, and implement intelligent inspection operations. SMARPARA Q can form measurement and inspection data packages, store and analyze data packages according to the 3D scanning results, and automatically generate a “Product Inspection Report”.
Highlight 1: Support Various CAD Data
Formats Import of all major CAD file formats including CATIA®, NX®, Creo®, Pro/ENGINEER®, SOLIDWORKS®, Solid Edge®, Autodesk Inventor, etc.
Highlight 2: 3D Contour Line Analysis
Calculate 3D height data and visually display it with a color cloud map and contour lines. Extract 2D section profiles from 3D topography, measure deviations, and accurately quantify the extent of defects. Automatically export reports, record 3D graphics and analyze results.
Highlight 3: High-Precision
Auto Align Provides various alignment methods such as Automatic Alignment, Optimal Alignment, DATUM Alignment, RPS Alignment, 3-2-1 Alignment, Transformation Alignment, etc., fully satisfying various application scenarios.
Highlight 4: Batch Inspection
Retrieve the scanned files under the specified path, import them in batches, and automatically recalculate all inspections. items according to the current inspection items, update the inspection results and realize largescale automatic inspection.
Highlight 5: Full Support for ASME Y14.5
GD&T Tolerance Standards and Geometric Dimension Automatically calculate the Geometric Dimensioning & Tolerancing according to the ASME Y14.5 standard.
Highlight 6: Online Real-Time Inspection
Set the folder path. After the device scan is completed when the data is saved to this path, it will be detected by SMARPARA Q and automatically imported for inspection, and the report will be output.
Highlight 7: Trend Analysis
Analyze statistics and trend charts for dimensional control. Provide a variety of interactive methods to filter the statistical sample data that need to be analyzed. Use a variety of parameter settings to update the statistical trend charts to make the display of quality cycle management more intuitive and clearer.
Highlight 8: Automatic Output Reports
Automatically generate inspection reports based on predefined templates, quickly export analysis images and calculation results, and support PDF, Word, and PPT formats.
Machinery Manufacturing
It can be applied in product optimization, first article inspection, assembly analysis, quality control and etc. It can efficiently realize nondestructive testing of mechanical parts, greatly improve inspection efficiency, and reduce time and labor costs.
Energy Equipment
Energy Equipment includes solar energy, geothermal energy, wind energy, ocean energy, etc., which involve many large-scale special structural parts. They are large in size, special in shape, difficult to process, and high in processing quality. How to quickly detect such giants is a difficult problem.
Automotive Industry
It can be applied in product development, die-casting parts inspection, automobile body inspection, trial production, and supplier quality assurance in the automotive industry. Comparing the scanned data with the original digital analog, the deviation chromatogram can be obtained, and the measurement results can be displayed visually.
Electronic
With the rapid development of electronic technology, the miniaturization of components is a general trend. The requirements for production and manufacturing processes are becoming more and more demanding. Effective inspection is the guarantee for continuous improvement of performance.
Consumer Goods
Consumer goods market segments are diverse. There is also diversity in products, materials, manufacturing processes, and measurement requirements. SQ can complete a series of analysis and testing tasks to realize the quality testing of consumer products.
Others
In addition to the application of the above five aspects, 3D scanning inspection technology is widely used in construction machinery, foundry, medical equipment, education, and other industries.
SMARPARA Grader is a 3D model scoring software with a friendly user interface, easy to learn and use. The software can import files generated by CATIA, Inventor, SIEMENS NX, Pro/E, Solid Edge, and SOLIDWORKS, and also support STP formats. According to the set scoring rules, compare with the standard digital model to calculate the score. SMARPARA Grader is mainly used in the assessment and evaluation of 3D CAD drawing ability in Machinery-related majors in vocational colleges and universities. It can also be used to judge the drawing ability of relevant engineering and technical personnel in enterprises and institutions.
Traditional CAD test papers have low scoring accuracy and slow speed, which is difficult to meet the needs of efficient examination paper marking. Using SMARPARA Grader, you can quickly and accurately read out the geometric information, topological relationship, and other graphic attribute information of the model, as well as the surface line, outline, shape position, and other graphic information, and compared with the standard 3D digital model, the score is given according to the set weight. The whole scoring process
is fast, accurate, and objective.
Credits: SMARPARA
Click on the following link Metrologically Speaking to read more such blogs about the Metrology Industry.


