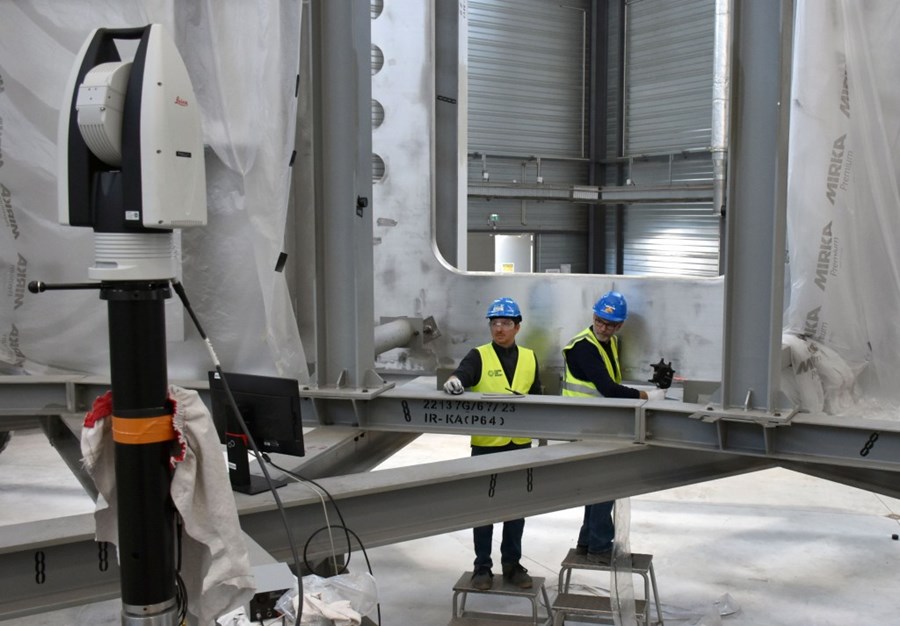
Metrologists have performed the first “as-built” survey of a completed ITER component—the cryostat lower cylinder—before it was wrapped for outside storage.
At the completion of every major ITER component, metrological surveys will be performed to identify variations in the “as-built” dimensions with respect to design. The information is critical to the final assembly of the component in the machine and to the connection of interfacing components and systems.
Javier Fuentes leads the As-Built Data Management Working Group that manages the process. “We need to assess the impact of a component’s actual dimensions on interfacing systems and decide on a case-by-case basis if the systems can be used as designed or whether they require adaptation.”
All measurement tasks require a fixed reference base (or datum) from which measurements can be made and calculated. For large-volume metrology applications, the reference base typically takes the form of a 3D coordinate system that consists of a collection of target “nests” and/or instrument stations that have known geometry and uncertainty.
At the start of the as-built survey on the cryostat lower cylinder, which took place in March, metrology experts placed 53 fixed nests, also called “fiducials” or “target points,” inside the structure and established the fixed points for laser tracker stations. The stations then served as a reference base for hand-held laser scanners.
Equipped with calibrated cameras, the hand-held laser scanners can measure the exact distance to the scanned object and place it within the network of known coordinates. Operators used laser scanners to conduct not only spot measurements but also complete sweeps of large areas of the lower cylinder’s surface.
Metrologists also collected information on “drifting”—or dimensional changes due to the thermal expansion or contraction of materials. Eight sensors were distributed on the inner shell of the lower cylinder to record temperature, and scanner measurements were automatically adjusted to compensate for deviations from the reference temperature of 20 °C.
Computer analysis of all this information makes it possible to establish the precise location of the scanned areas in three-dimensional space and thus establish exact “as-built” measurements.
“It’s the first time that we conducted this type of scanning survey,” says metrology engineer Lionel Poncet. High-priority areas of the cryostat lower cylinder were charted first, including the interface areas for one neutral beam penetration, several cryopumps and a number of port openings.
Metrology Group Leader David Wilson assessed the results: “The survey met the requirements for measurement uncertainty which is in the range of 0.5 millimeters—a tiny value considering the size of the lower cylinder.”
The outstanding measurements, including of the complete lower cylinder shell, will be performed before the component’s installation in the Tokamak Building.
Click here to view a video of the cryostat lower cylinder being moved into storage.


