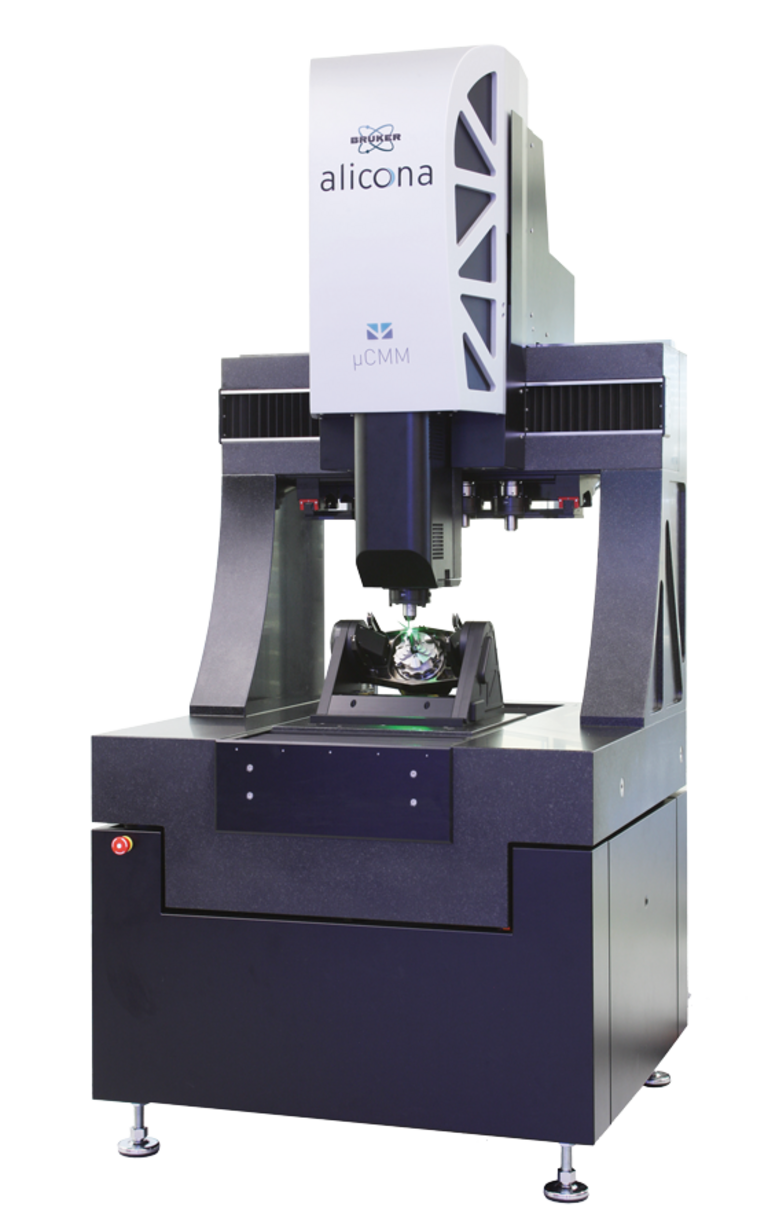
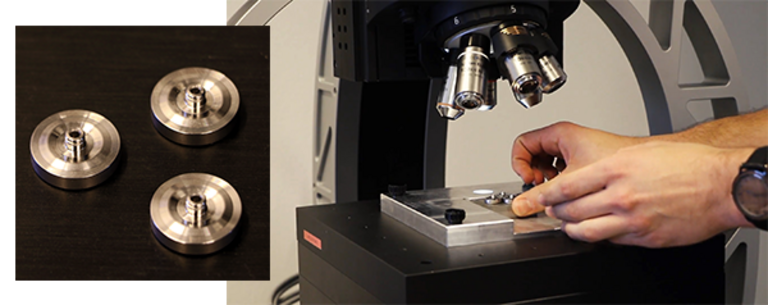
µCMM µCMM, the first purely optical CMM machine, is used to measure extremely tight tolerances in high accuracy. Users combine advantages from tactile coordinate measuring technology and
Tag: Inspection
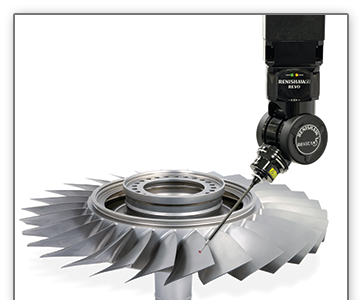
Core CMM v/s LHG WITH REVO — And the WINNER is…?
This article highlights the contrast and compare two CMMs with their best applications of two of the seven systems we use in our 7-Systems Analysis.
ZEISS X-ray machine: The ace to win new customers
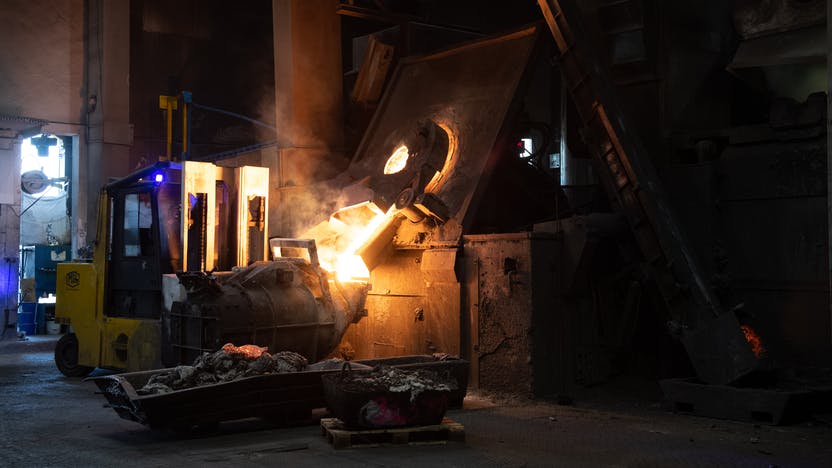
MRB Guss guarantees quality with the ZEISS BOSELLO MAX 450kV Since December 2020, MRB Guss GmbH Herzogenburg near Vienna has been assuring the quality of
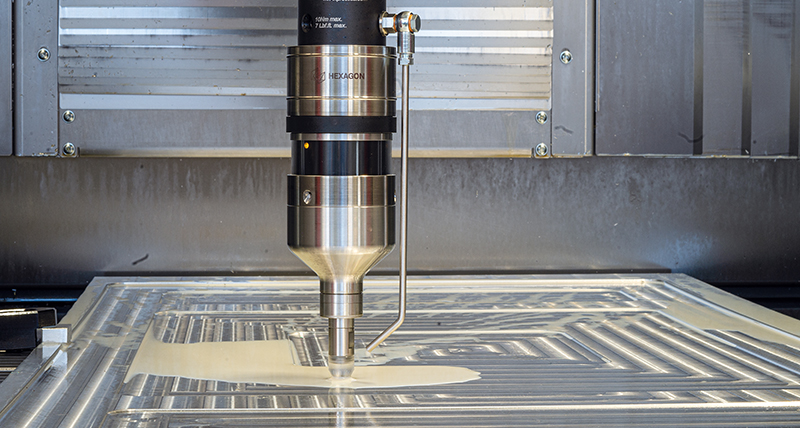
Wall thickness measurement on machine tools now available for wet applications
Hexagon’s Manufacturing Intelligence division has enhanced its ground-breaking ultrasonic probe for automated wall thickness measurement on machine tools with the launch of two new versions
How to Choose the Right Dial Indicator
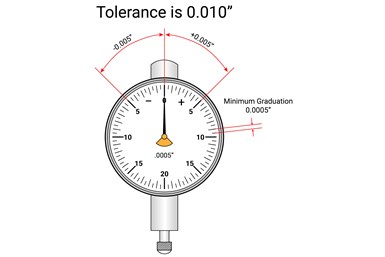
The article has been originally written by :- GEORGE SCHUETZ Director of Precision Gages, Mahr Inc. Digital alternatives are replacing dial indicators – but dial indicators can
Dimensional measurement of valves reduces rejection
Kendrion, supplier of automotive components, applies Alicona for the dimensional measurement of valves and successfully reduced rejection rates. Precise measurement accuracy and significant reduction in
At Lofty Heights: 3D SCAN of a Wind Turbine Blade
The maintenance of wind turbines, and whole wind farms, is a challenge. Normally wind turbines are designed to operate for 20 years. During these 20
Think big, but please be accurate to the thousandth : philosophy of FORMA MASCHINEN BAU Zerspanungstechnologie GmbH& Co. KG
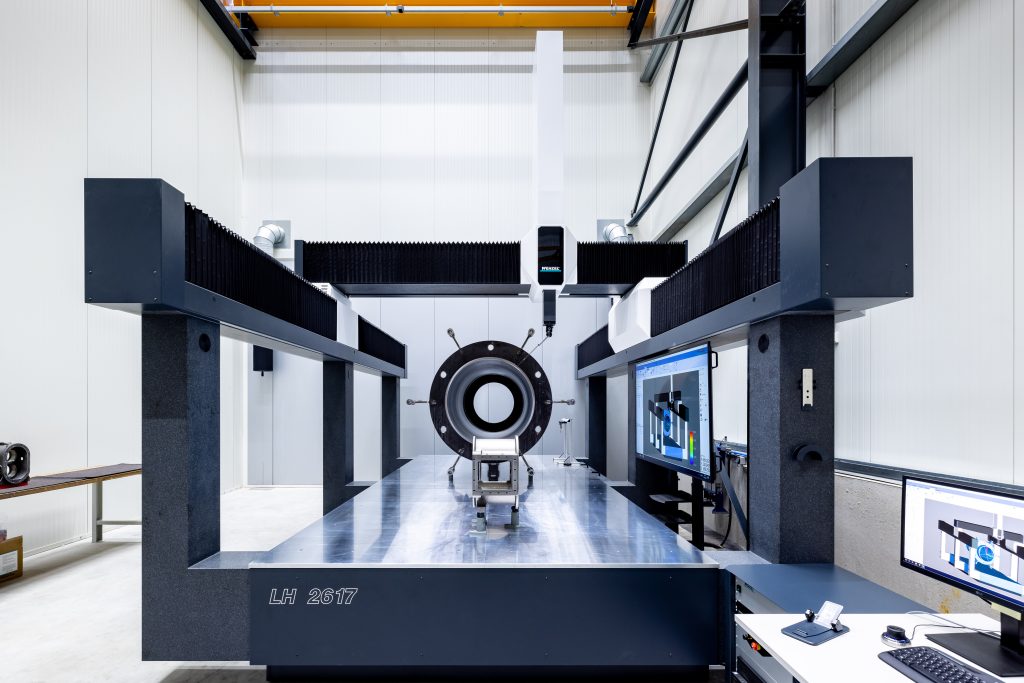
Atributions: Christian Klostermann FORMA Transcript by :Sarit Cepeda THE LARGEST GANTRY MEASURING MACHINE DEVELOPED AND BUILT BY WENZEL UP TO THIS DAY, HAS BEEN IN
3 Key Benefits of an Automated Non-Contact Metrology System
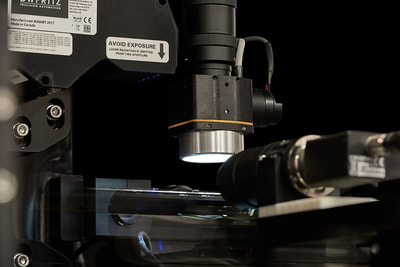
In the precise world of high volume manufacturing (HVM), microns and milliseconds matter when inspecting medical staples, fitness trackers and smartphones to meet either government
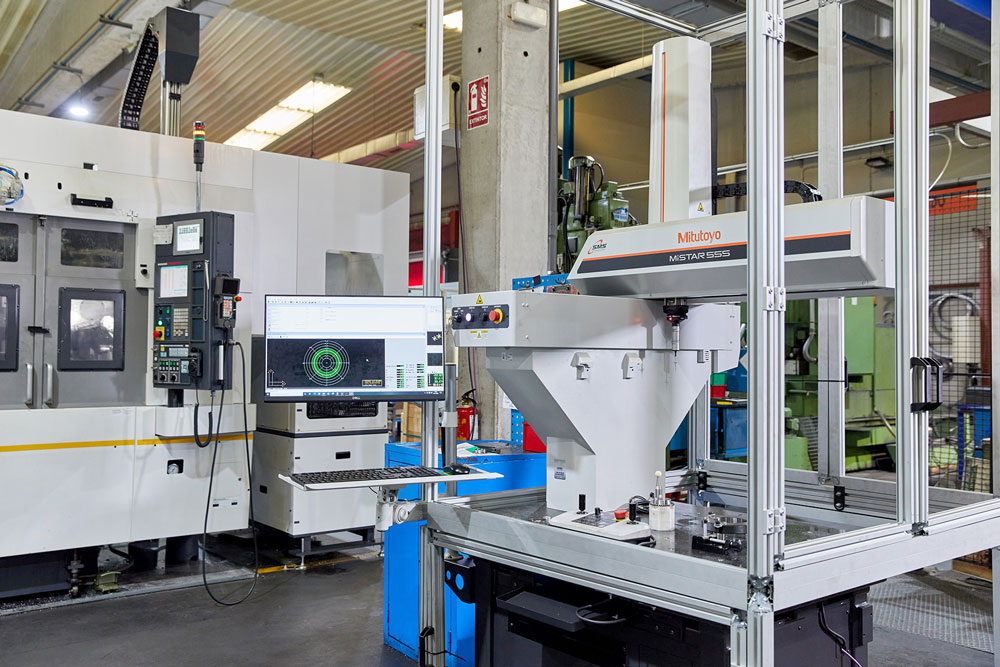
APRIM using MiStar 555, Vici Vision MTL 1 to measure its high precision parts directly in production.
APRIM, founded in 1965, is a high precision machined component manufacturer, located in Leganés (Madrid). Although at first, they were specialized in the automotive sector,


