The aeronautics sector, well known for its demands in terms of quality, requires parts where the tolerances are respected absolutely. The Ace arm is very capable of validating machine tolerances.
K-MP focuses on machining mechanical precision parts for the aeronautics sector as well as for the motorsport (Renault Sport, Pipo Moteur) and energy (hydroelectric and nuclear) sectors.
For Sébastien Korczack, CEO of the company, their choice of the Kreon system was determined by numerous reasons. The good name of Kreon, which has been manufacturing top quality scanners in France for almost 30 years, was immediately decisive. He was also impressed by the excellent price-quality ratio of the Skyline Open 3D scanner which suited the investment capacity of his company.

Being able to integrate this solution combining Kreon measuring arm and Polyworks software creates greater confidence in purchasers in the aeronautics sector. This satisfies their wish to see their subcontractors adopt what they consider today to be a standard in metrology.

Which applications prompted the company to choose a 2.5 m Ace arm with a Skyline Open scanner?
- Geometric inspection of the positions of drilled holes, centre-to-centre distances, etc.
- Inspections during production, thus saving time and securing parts that cannot be dismantled
- Inspection of deformations in both thin and very large parts
- Reverse engineering for more atypical projects.
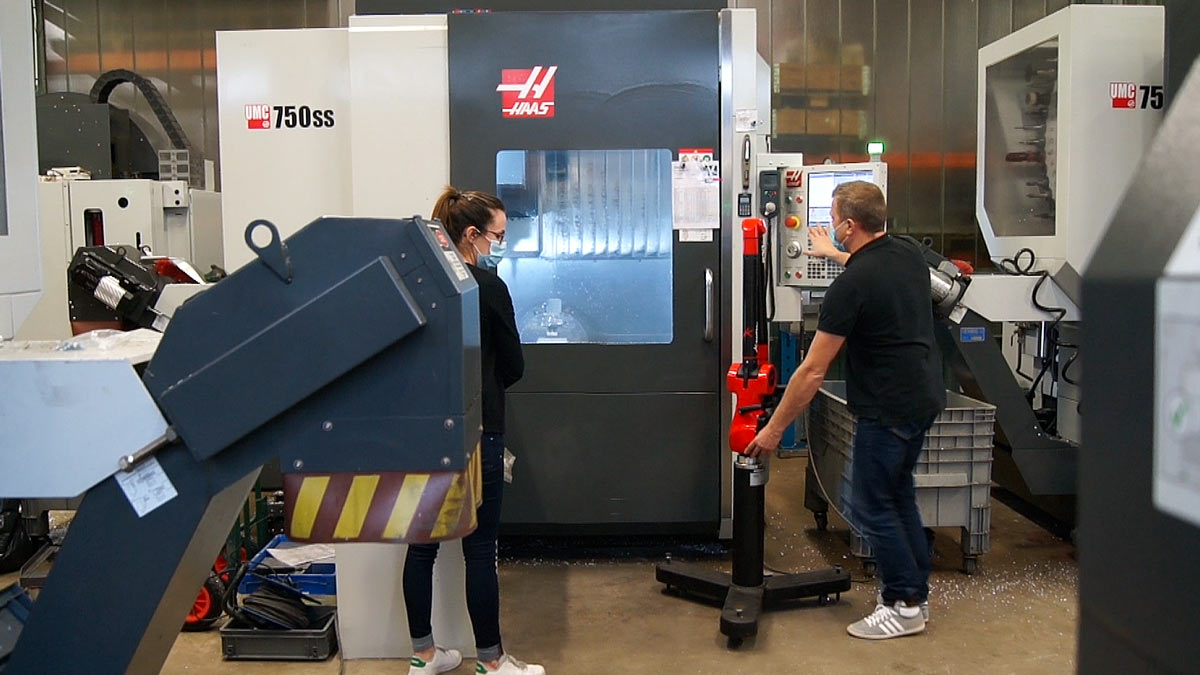
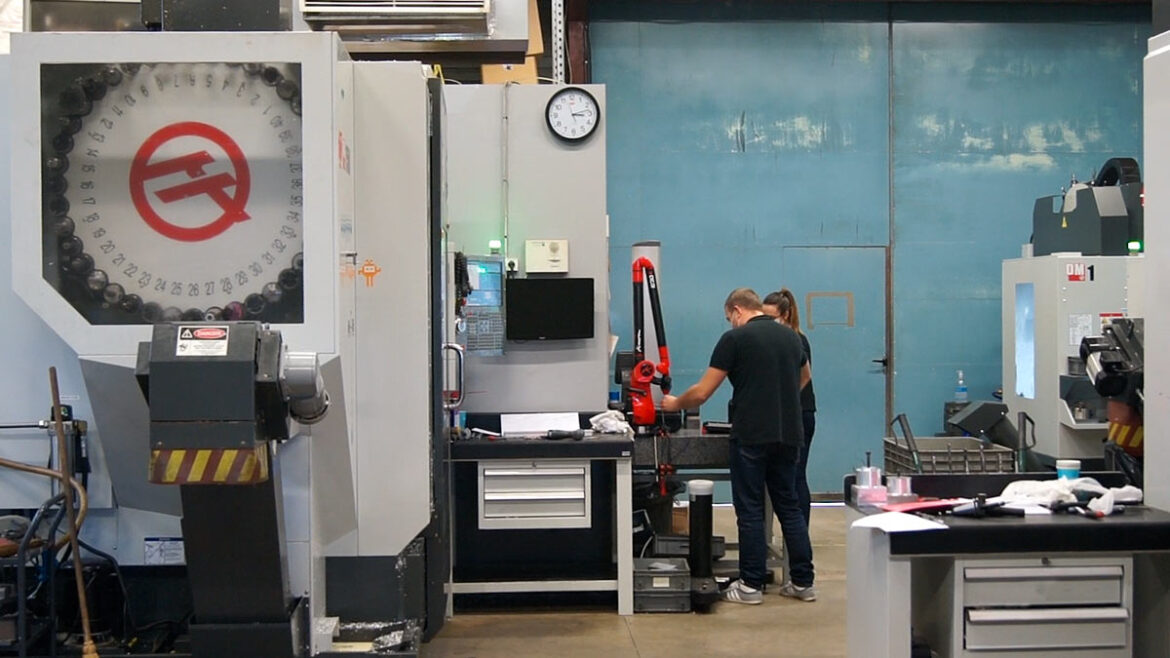
The Ace arm is used mainly on a heavy tripod and can easily be moved around the workshop to be as close as possible to the parts. Frequently used alongside machine tools to carry out inspections during machining, it has the capacity to adapt and correct programs according to any errors discovered, thus reducing the rate of rejects significantly.
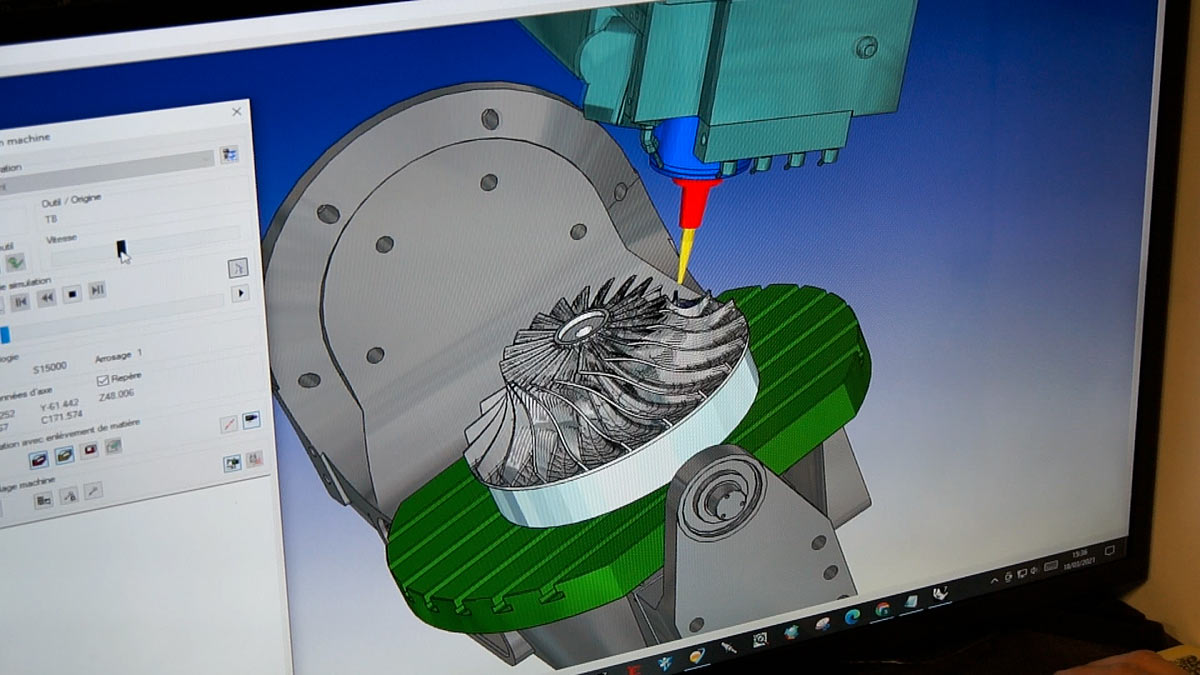
On machine tools, inspections are mainly carried out by probes to ensure the most accurate measurements. This is sometimes supplemented by some traditional measurements (callipers, comparators). The tolerances determine the choice of measuring method, with probes best suited to position tolerances which often lie between 0.05 mm and 0.02 mm. The scanner itself is best used to measure free form surfaces, where general machining tolerances are around 0.1 mm and are then analysed by colour mapping or sections. This means the scanner and probe applications complement each other perfectly.
Sébastien Korczack, founder of K-MP, explains:
“The system identifies faults that formerly were not visible, and this improves the quality of the parts we produce.”
Staff at K-MP attest to the ease with which the Ace arm can be integrated in workflows. In fact, half of the 8 employees use it regularly, since their training in the use of the arm and familiarisation with the basic software functions quickly made them operational and autonomous.
The purchase of the measuring arm with the Kreon scanner has also allowed K-MP to go beyond simply responding to its needs regarding inspections, and to diversify its business activities. Apart from its main activity of machining parts, K-MP can now offer reverse engineering services thanks to the capabilities of the Skyline Open 3D scanner.


