The below article is written by GJS Puri.
Optical Profile Projector in Metrology – An instrument that is known for non-contact measurement. We can define it as the instrument which measures 2D dimensions of manufactured parts by applying the principle of optics.
It is widely used in Production line, R & D department, and Quality Inspection.
Least Count: 1 micron and 0.1 microns (Depends on Manufacturer)
Application:
- Plastic Parts
- Machined Parts
- Gears
- Threads
- Sheet Metal Parts
- Rubber Parts, etc.
Types of illumination:
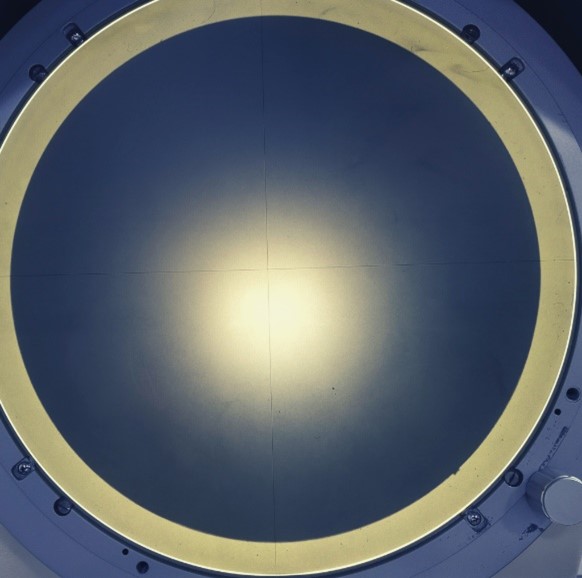
Contour Illumination– An illumination method to observe any components by bottom light or transmitted light and used mainly to measure the contour of any components. Please refer to the below image where we can easily measure the diameter of the coin.

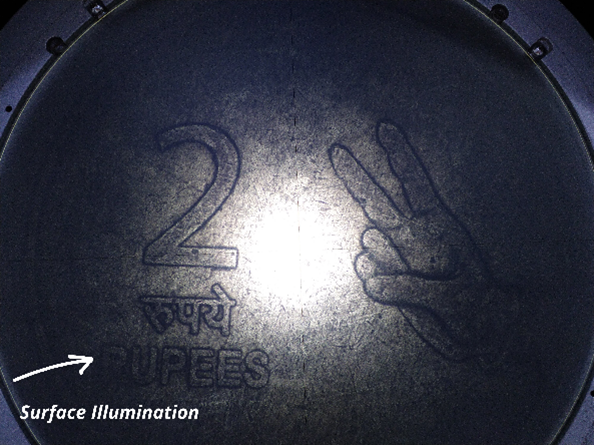
Coaxial Surface Illumination– An illumination method to observe any components by light transmitted coaxially. To utilize this, we used half reflecting mirror so that light can easily fall on the surface of any component. It may be installed inside the lens or can be installed outside the lens. Please refer to the below image where we can easily measure the surface of the coin.

Oblique Surface Illumination– This type of illumination is used to enhance the contrast and thus allowing us to see the object more clearly. The main region of interest is the edges.
Lets learn brief about its working.
Working:
As we know, it is 2 axis machine so we can only measure in X & Y directions. Z-Axis movement used only for focusing on the object.
Now, suppose we placed a coin on the X-Y stage with a 10x magnification lens. So we will get a shadow of coin on the protector screen. As we are using here lenses, so we will get the only shadow not live image. Please refer to the images in Types of Illumination.
Now we can easily measure the diameter of the coin with the help of contour illumination. For measurement, we have two options:
By Digital Counters: They are built-in in Profile Projector. We can easily see the reading in X & Y and also we can reset both the X-Y counter to zero. We can only measure linear-direction only.
For Angle measurement, we have to rotate the projection screen manually.
By Software or Data Processor: For the above method, we can measure only in linear-direction. But what if we have to measure radii, PCD, Center Distance, Parallelism, Perpendicularity, measurement of the diameter of the circle by 3 points method or more.
For measuring these types of applications, we generally use software or Data Processor. In this, we can easily measure the above-mentioned parameters and can also save the results.
For Angle measurement, here we can select the two intersecting lines and can easily measure the angle between the two intersecting lines.
Conclusion:
In the end, we can say that Profile Projectors or Optical Comparators are the non-contact measurement machine that can easily measure the desired dimensions in 2D. Because of its rugged and robust design, it can be used in the Shop floor and in the Quality inspection room/Standard room.
For non – contact measurement, we can say that this is the basic 2D measuring machine. It can easily measure the dimensions which we cannot easily measure from the Micrometer or Vernier Caliper.


