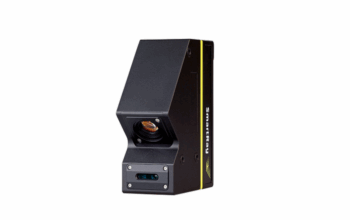
3D Scanners UK has recently partnered with Measurement Solutions and Virtek Vision to showcase an innovative inspection workflow in their latest video release. The collaboration brings together the industry-leading solutions of PolyWorks® and Virtek Vision, promising to redefine inspection processes for heightened efficiency and real-time defect detection.
The core of this revolutionary workflow lies in the ability to scan, analyse, and project deviations in real-time back onto the part surface. By combining the precision of PolyWorks® and the advanced capabilities of Virtek Vision, users can experience a level of accuracy that significantly improves in-process efficiency. This real-time feedback loop allows for immediate adjustments and corrections, ensuring the production of high-quality components. The video showcases 3 applications:
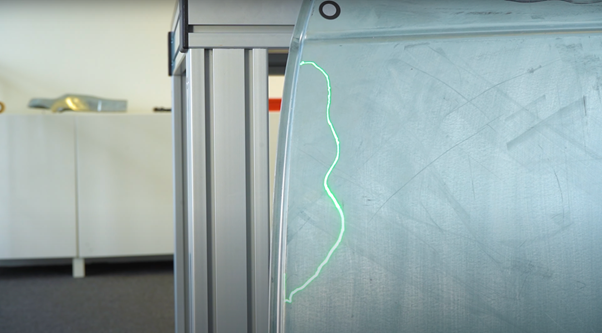
Outlining Deviation Contours:
By utilising PolyWorks in conjunction with Virtek Vision, you have the capability to showcase deviation contours in real-time directly onto the part undergoing inspection. This instant feedback loop facilitates prompt adjustments and corrections, guaranteeing the manufacturing of components of the highest quality. This feature is particularly advantageous in applications like composites, sheet metal dents, paint, non-destructive testing (NDT), and material control on castings.
Nominal Projection for Guided Inspections:
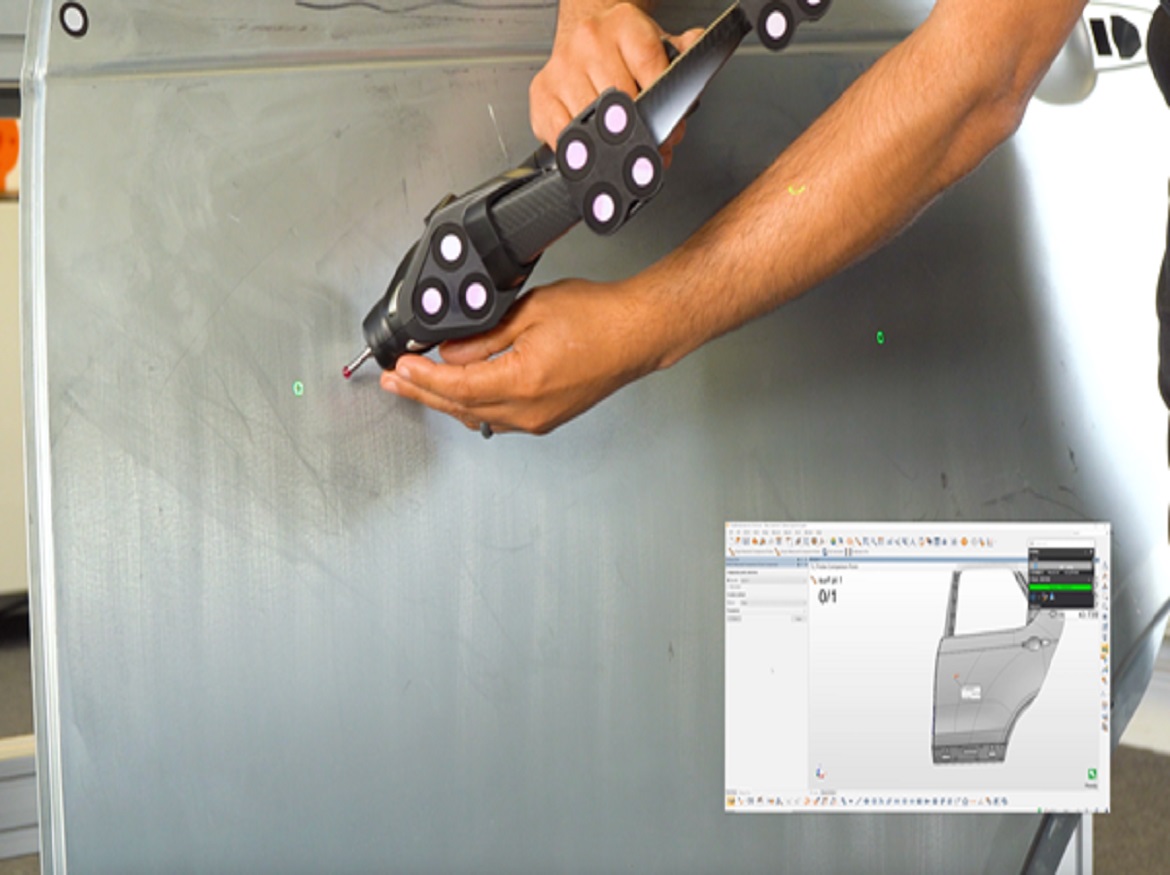
Another application PolyWorks can use the Virtek system for, is to guide probe points effectively. With Virtek’s capability to project probe points directly onto the part, users gain a visual guide, eliminating the need to constantly reference the screen to gauge proximity. This feature ensures precise probing without the inconvenience of constant screen checks.
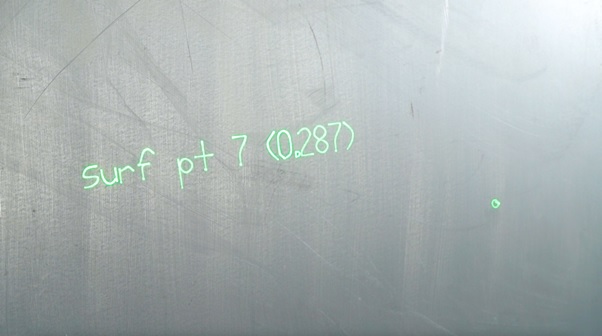
Annotated Measurements out of Tolerance:
The third application lets us see points on the part which are out of tolerance. This advanced feature not only identifies these points but also annotates them with crucial information, including the specific deviation amount and the associated name.
Flexible for Varied Applications:
Flexibility is a key advantage of this inspection workflow, as it is fully customizable for both small and large-volume applications. Whether in-line or portable, the solution adapts to the specific needs of the user, providing a versatile toolset that accommodates a wide range of manufacturing scenarios. This adaptability ensures that manufacturers can seamlessly integrate the technology into their existing processes with minimal disruption.
The collaboration between PolyWorks® and Virtek Vision represents a leap forward in inspection workflows. By combining the strengths of PolyWorks® and Virtek Vision technologies, this collaboration provides manufacturers with a powerful toolset for real-time scanning, analysis, and deviation projection. The customizable and flexible nature of the solution, coupled with its seamless connectivity and automated monitoring features, positions it as a game-changer in the realm of quality control.
Watch the full video here – https://www.youtube.com/watch?v=2Ixp26H2aNk
Contact 3D Scanners UK to find out more information.


