Precision Automated Feature Measurement
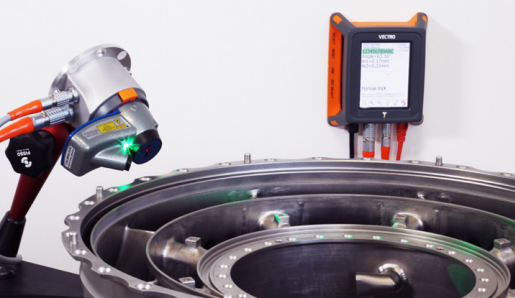
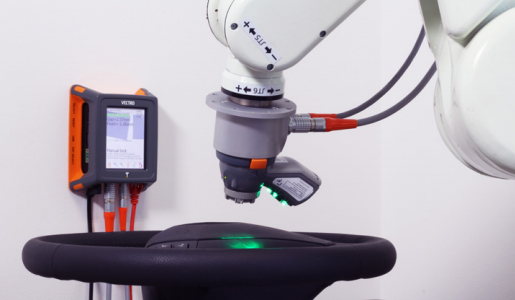
Vectro® delivers fast and accurate quality inspection on a wide range of parts and surface finishes. Get digital and traceable inspection results from this reputable system.
1. Fast and efficient
Vectro measures quickly and automatically, allowing more to be manufactured every hour, without sacrificing quality.
2. Accurate, repeatable and reliable
Consistent positioning with fixtured or robotically guided measurements eliminates human error and ensures accurate results every time. Vchange sensor heads come with full calibration certificates, traceability, and a 2-year warranty.
3. Automatic manufacturing decisions
Vectro automates checking of parts against their dimensional specification with real-time go/no-go decisions, or statistical analysis.
4. Modular and versatile
Vectro is compatible with the full range of VChange sensor heads, allowing the measurement of a diverse range of feature shapes, sizes, and surface types.
5. Easy to integrate
Vectro can be built into any application with Third Dimension’s easy-to-use Link integration software. Simple commands trigger measurements and retrieve results, leaving more time to focus on the production process.
6. Dynamic user interface
The Vectro display presents live profile information and measured values, making it even easier to focus on improving the quality of products.
Automated feature measurement from a fully integrated system.
The VECTRO Base System Includes:
• Vectro data collector
• VChange sensor head mount
• Controller to sensor head mount cables
• Power supply
• Mains power cables
• GapGun version 7 software
Optional Sensor Head Pack Includes:
• VChange sensor head
• Calibration artifact & holder
Optional Cable Pack Includes:
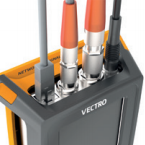
• Vectro control and signal cables
To know more, please check Third Dimension.


