Air gauging can be a suitable method for doing this, however, it only offers the flow area in relation to the diameter and no form information. There might not be another practical option, though, because these holes are so tiny.
However, when the size increases, a full family of bore gauges that can measure from 1 mm to 20 mm is available. Or, for these tiny bores, a whole family of bore gauges. Comparative measurements are used by these precise mechanical bore gauges to identify bore size and shape discrepancies. These small comparative gauges essentially remove the mechanical transfer from the plug and utilize it as a solo probe to measure small bores, in contrast to fixed plug gauges that use a ground cylinder and sensitive contact to compare a bore to a master.
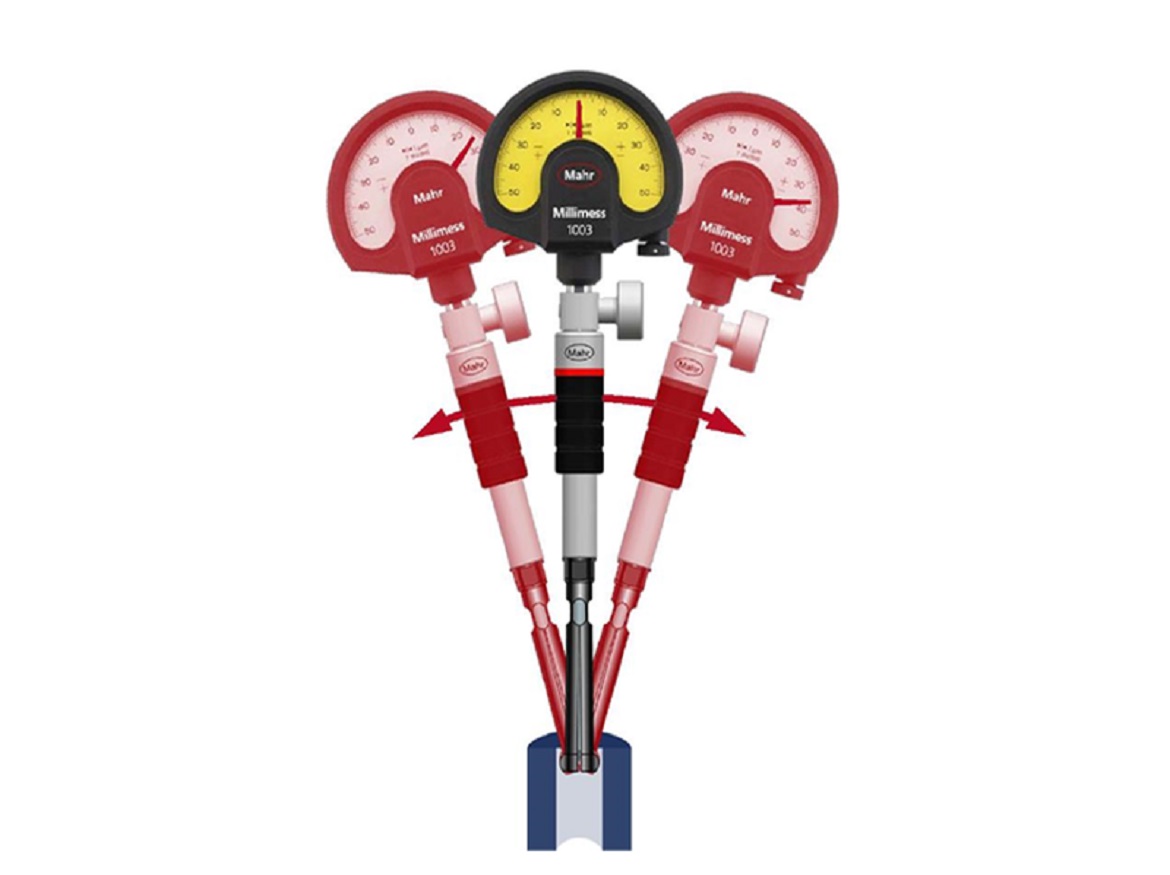
In much the same way as the tried and reliable adjustable bore gauge, the small-bore probe is rocked through the bore being measured to capture the smallest value relative to the diameter of the bore because there is no centralizing stopper.
The main distinction is that this form of probe bore gauge is far more capable of measuring smaller bores than the conventional adjustable bore gauge (maybe I should have said the small difference). The adjustable bore gauge is exactly as advertised; it can be adjusted to fit a wide variety of parts but has a very small measuring range. A small-bore probe with a nominal size of 1 mm, for instance, may measure a bore between 0.95 and 1.15 mm.
The measurement range of a nominal 10 mm probe is 9.4–10.6 mm, while that of a nominal 20 mm probe is 19.4–20.6 mm. These bore probes have repeatability better than 1 um and will be accurate to 1% of the measuring range despite their constrained range.
What exactly is going on with these small-bore probes then? As was mentioned, they function pretty much like fixed plug gauges. Two delicate contacts are kept together by flexures. The contacts transmit the size to the indicating device through a tapered pin as the contacts vary with the hole diameter. The indications could be a comparator, dial, digital indicator, LVDT probe and amplifier, or even a dial.
These tiny probe gauges need a setting master, just like any comparator gauge. Placing the master on the bore probe, the operator of these bore probes will rock the bore plug side to side while keeping an eye on the indicator reading and searching for the reversal point, or the least value. This point will then be changed by the user to zero or the nominal size. After being set, the gauge is brought to the bore to be measured, where the diameter is determined using the same rocking motion. These days, many digital indicators include dynamic memory that can hook onto the minimum value, removing the need for the operator to remember the reversal point and making the process easier.
These tiny probe gauges need a setting master, just like any comparator gauge. Placing the master on the bore probe, the operator of these bore probes will rock the bore plug side to side while keeping an eye on the indicator reading and searching for the reversal point, or the least value. This point will then be changed by the user to zero or the nominal size. After being set, the gauge is brought to the bore to be measured, where the diameter is determined using the same rocking motion. These days, many digital indicators include dynamic memory that can hook onto the minimum value, removing the need for the operator to remember the reversal point and making the process easier.
Read More About Us @ https://metrologicallyspeaking.com/


