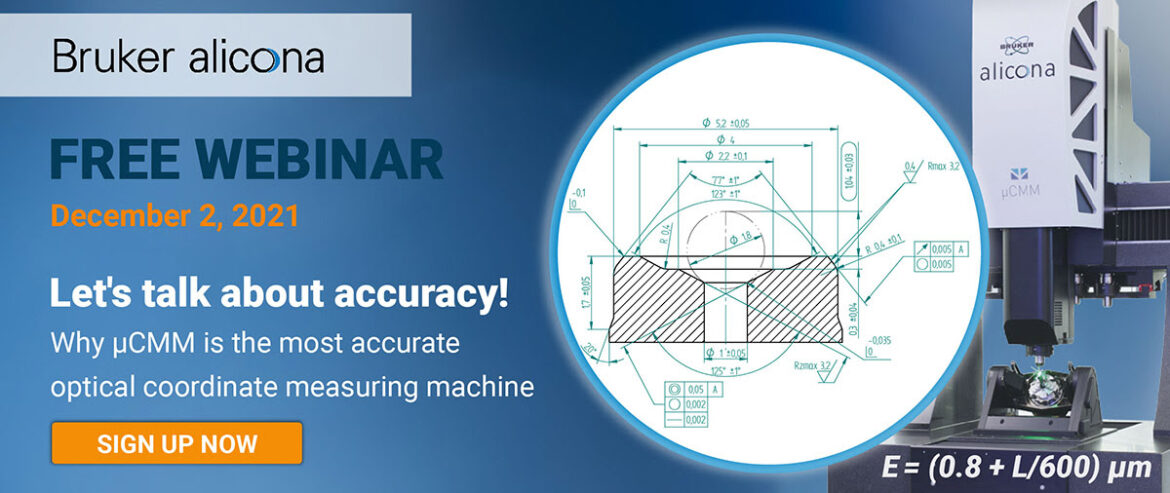
| Do you love accuracy?? That’s why the focus on this topic in our next free webinar which we cordially invite you to attend: Let’s talk about accuracy! Why µCMM is the most accurate optical coordinate measuring machine December 2, 2021 Remember, after the webinar, it’s time to ask your questions in our live Q&A session! To shorten the waiting time, we have compiled some insights into the topic: See in our vlog how, thanks to Vertical Focus Probing, optical lateral probing of surfaces is now possible, and learn what there is to know in the field of standardization. Let’s have a look into applications with our measurement report on the measurement of a 3-up stamping insert with the µCMM. We look forward to welcoming you on December 2! Your Bruker Alicona team PS: Sounds interesting, but you don’t have time? Register anyway – we’ll send you a recording after the webinar. Register here |
| Something about technology |
| Lateral probing also works optically! |
| Since the launch of the µCMM, there is also the Vertical Focus Probing technology. For the first time, you can also optically probe vertical surfaces to measure, e.g., holes and internal geometries. In this vlog, we show how this works and what is possible with it! |
| Something about standardization |
| The ABC of standards in measurement technology |
3D measurement of a 3-up stamping insert

| Dimensional accuracy, positional accuracy and surface quality – these are measurement tasks from Stepper, one of the technology leaders in the field of high-performance stamping technology. This measurement report shows you the results achieved with the µCMM in combination with an automatic rotation unit (Advanced Real3D Rotation Unit). Download measurement report |


