Why use 3D Scanning?
A 3D scanner is a device that analyzes a real-world object or environment to collect data on its shape and size. The collected data can then be used to construct digital, three dimensional models. These models can be used to optimize or alter the original design or to produce duplicates of the original object.

3D scanners come in many forms; laser triangulation, projected light, large area, and CT (X-ray computed tomography) scanners, to name a few.
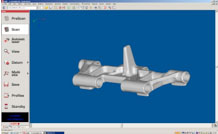
The most versatile 3D scanner uses a laser stripe sensor, mounted on a portable localizer, to capture lines of points as it sweeps across the surface. This quickly builds into a cloud of points defining the complete surface of the object being scanned.
This point cloud is converted from its simple XYZIJK point format into an STL (StereoLithography) format, in which the data is now a raw triangulated surface for use in reverse engineering, measurement, inspection, or rapid prototyping.
Why use NVision’s engineering contract services?

Traditionally, parts have been measured using hand tools or a CMM (Coordinate-measuring machine), which is fine if the object has a very simple geometric shape or only a low number of specific data points that need to be taken.

When the parts becomes more complex, with an abstract shape, or the entire surface area of an object needs to be measured then the use of a high speed 3D capture scanner becomes more efficient. A 3D scanner can capture the geometry of a lerge and/or complex object in a much shorter period of time, and with greater accuracy, than either a CMM or hand tool.
The data captured can be used for Reverse Engineering and Inspection, the most common applications, producing a result in a fraction of the time that more traditional methods would have taken.
Why purchase a scanning system from us?

For 30 years, we have been a leader in the 3D scanning industry.
Our engineers have collected data, created CAD (Computer-Aided Design) models, and provided inspection reports for a wide variety of commercial, industrial, military, and design projects. And we have learned to be innovative in method and use of hardware/software in order to make the most efficient use of the available hardware and software to successfully complete your project.
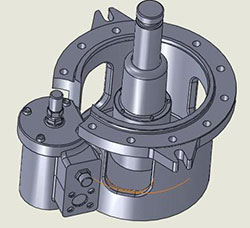
CAD models can be delivered in your native CAD format, just as though they had been designed from a blank screen.

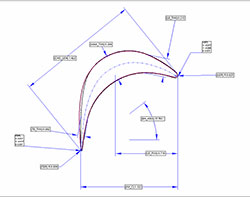
Comprehensive inspection reports can be delivered including color deviation, cross section analysis, specific 2D/3D dimensions, feature analysis and GD&T (Geometric dimensioning and tolerancing).
We have full array of 3D capture systems available to successfully complete your project, including portable laser stripe, large area scanning, and CT machines. And we will always use the most cost efficient method to fulfill your projects needs.
If your reverse engineering/inspection needs are significant enough to warrant acquiring a 3D system of your own, then we can recommend the best solution to suit your application. We will provide you with full training on your new system, tailored to fit your specific needs and applications. And you’ll learn from the experts, the NVision engineers who will train and support you on every part of your new system, use it every day to complete projects for our service customers.

If we’re not the right people for the job, we’ll say so and point you in the right direction.
Please contact us by phone (817.416.8006) or email (sales@nvision3d.com)(link sends e-mail) to discuss your 3D Scanning/Measurement needs.


