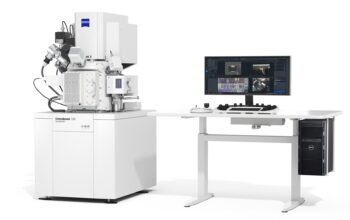
ZEISS introduced an entirely new realm of non-destructive insights into submicron details with ZEISS Xradia Versa X-ray microscopes. Now with the new ZEISS offering of Metrology Extension (MTX) for ZEISS Xradia 620/520 Versa, dimensional measurements can be made with an accuracy that far exceeds the limits of conventional X-ray computed tomography (CT) technology. With a simple calibration to a Maximum Permissible Error (MPE) value of (1.9 + L/100) μm, ZEISS is opening up completely new fields of application for X-ray microscopes in industrial manufacturing and fundamental research. Continuing with Protect Your Investment strategy for customers, ZEISS extends the capabilities of the existing install base by making MTX available as a field upgrade option — in addition to offering it with new instruments.

The industry’s highest resolution and sharpest contrast, achieved through ZEISS X-ray technologies, has already enabled the inspection of intact samples on a sub-micron scale, including in-situ imaging for the non-destructive characterization of microstructures in controlled environments and over time. “The miniaturization and integration of components in smaller devices is creating an increasing demand for high-resolution metrology in industrial manufacturing,” says Herminso Gomez, X-ray Quality Solutions Manager at ZEISS Industrial Metrology. “With adding the Metrology Extension for ZEISS Xradia Versa X-ray microscopes, users now have the most accurate CT metrology package in the world for this purpose.”
The MTX option now adds the ability to make measurements in small volumes (in a cube of five millimeters per side, for instance) with high dimensional accuracy. For this purpose, ZEISS has developed XRM Check, a new length measurement standard, in accordance with the relevant VDI/VDE 2630-1.3 guidelines. Thanks to the integrated, user-guided calibration workflow, users can calibrate their ZEISS Xradia Versa X-ray microscopes to a verified market-leading measurement accuracy of MPESD = (1.9 + L/100) μm, where L is the measured dimension in millimeters. This allows for the most accurate measurements to be made and the collected data to be accessible for further dimensional analyses with standard metrology software.
New applications for X-ray microscopy
The non-destructive insights provided by X-ray microscopes have always offered tangible advantages for research, development, and quality assurance. Now, the combination of high-resolution X-ray microscopy and high-precision metrology reveals entirely new applications of the technology. Its strengths shine in the assessment of internal and external structures, particularly for components that are not accessible to traditional tactile or optical CMMs (e.g., internal cavities, difficult-to-reach or ‘hidden’ features, and flexible or easily deformable materials).

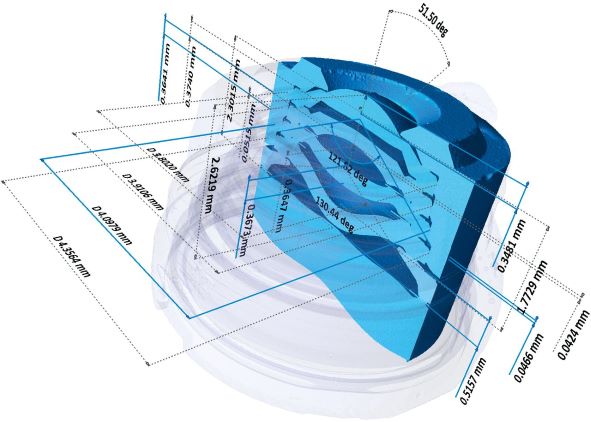
With the Metrology Extension for ZEISS Xradia Versa users can determine dimensional deviations from the nominal geometries defined in computer-aided design (CAD) for functional features in small components such as injection-molded plastic connectors or fuel injector nozzles. Even complex parts, such as a smartphone camera lens assembly, can be measured using a variety of criteria. Compared to destructive methods, the X-ray measurement inspection technique not only saves time and money but also allows manufacturing designs and processes as well as product quality to be improved and taken to a whole new level thanks to highly precise and accurate measurement results.
“With the Metrology Extension, our users receive traceable results in the smallest of volumes,” says Herminso Gomez, “ZEISS is continuing its culture of innovation to drive progress, efficiency and the success of its customers, and, once again, is pushing the limits of what 3D X-ray based technologies can do.”
To know more, check ZEISS.


