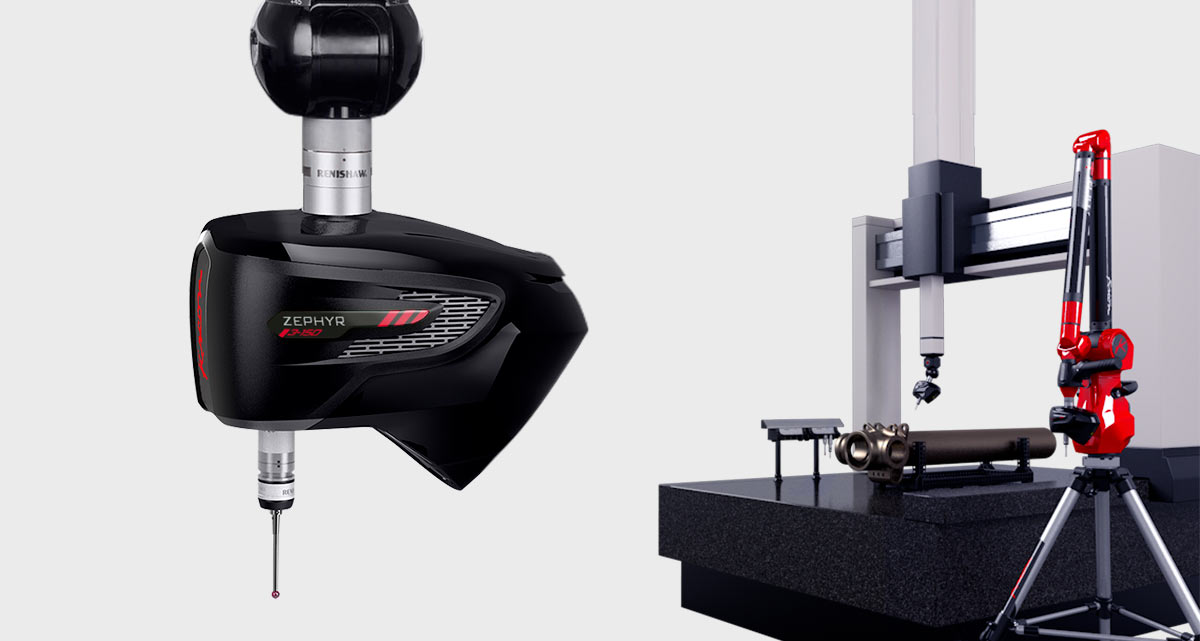
With the Kreon Zephyr III range of 3D scanners, you can optimise the use and thus the profitability of a single scanner by using it on both a CMM and a Kreon Ace measuring arm. The extraordinary scanning capabilities of the Zephyr III range are a real advantage in achieving ambitious goals for a variety of applications: inspection, FAI, reverse engineering, rapid prototyping and more.
1 – Exceptional precision on both machine and measuring arms
The Zephyr III 3D scanners are designed for measuring challenging parts on a CMM. Their exceptional measurement accuracy – up to 5 µm with the Zephyr III 50 – is crucial for achieving the expected results. Designed for scanning the smallest details, the Zephyr III 50 also has a very fine resolution of 15 µm. Like all the Kreon scanners, the Zephyr III range can be equipped with a probe (rigid or touch-trigger) for measuring geometries with extremely tight mechanical tolerances. Their versatility and compatibility with the Kreon Ace measuring arms make them one of the most powerful portable scanning solutions on the market.
2 – Measurements in the lab and in the workshop
A single Zephyr III scanner can easily be used in both the measuring lab on a CMM and then in workshops on measuring arms. Mounting and demounting are fast and easy, and they only require a simple software connection to work. Quickly installed on a CMM or arm, they offer flexibility of use for a wide variety of applications within your company, from automated parts inspection on a CMM to on-site tool wear inspection using a measuring arm.
3 – Return on investment twice as fast
Investing in a Zephyr III scanner for use on both a CMM and measuring arms eliminates the need to buy a second scanner. With a productivity equivalent to other integrated scanners on measuring arms (such as the Skyline scanner), their return on investment is twice as fast.
4 – Choose between two laser line widths depending on applications
The Zephyr III range consists of two scanners with laser lines of 50 mm and 150 mm respectively. Choosing the most suitable model will depend on both your main application and the nature of your parts. Scanning small parts requires high levels of accuracy and resolution, making the Zephyr III 50 the perfect choice, while the Zephyr III 150 is ideal for measuring larger parts and for its ergonomics (speed and ease of use) on measuring arms.
5 – Scanners designed for automation
On a CMM, the Zephyr III scanners use a single software for machine control, scanning and data processing. Combined with a PH10 motorised indexing head (T, M and MQ), all the faces of a part can be inspected one after the other. This highly flexible head lets you use the probe attached directly underneath the scanner or switch between the scanner and probes using an automatic changing rack. In addition to their automation capabilities on a CMM, Zephyr III scanners can also be mounted on a robot for full process automation.
The scanners in the Zephyr III range adapt to every need, ensuring excellence in parts scanning throughout your company. Their flexibility of use and performance make them essential investments to help achieve the highest levels of productivity, quality and profitability.


