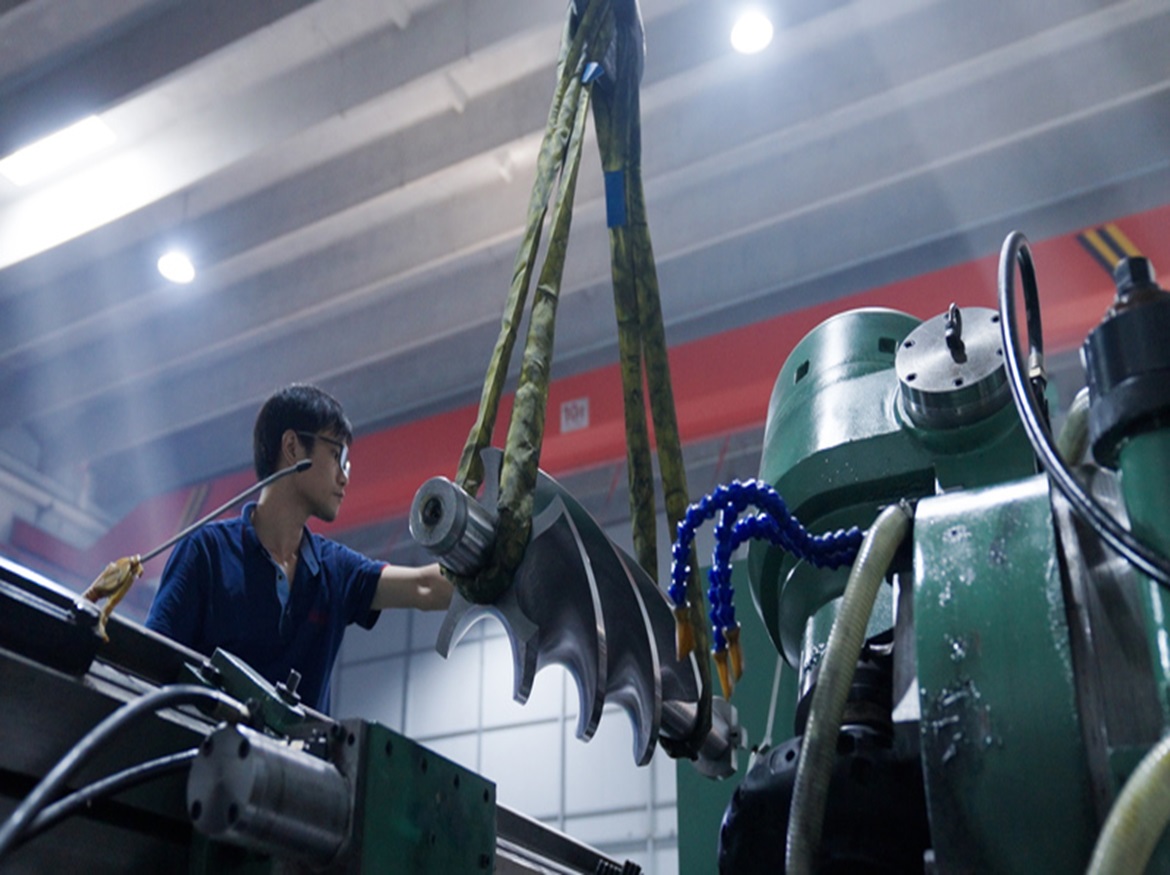
In this case, we explore how using 3D scanning for machining allowance helped a SHINING 3D client go from a 7-day process to a 2-day one.
●Company location: China
●Service: Industrial part manufacturing
●Need: Shorten dimensional inspection delay and simplify workflow
●Solution: SHINING 3D FreeScan UE Pro
●Results:
-Gained 250% efficiency (inspection done in 2 days instead of 7 days)
-Increased yield rate from 80% to 100%
-Improved employee experience (heavy lifting eliminated from the process)
This case study is also available on YouTube (Chinese with English subtitles):
Why Controlling Machining Allowance Matters
In precision machining processes, each shape and surface is important to the product as a whole. Once a single shape is overcut, the entire product becomes unusable and the client must scrap the material.
Therefore, it is critical to control machining allowances to maintain each machine in compliance with strict manufacturing requirements. It also helps prevent material waste.
In this short case study, we’ll take a look at the pain points of traditional product dimension control. Then, we’ll see what our client gained from transitioning to 3D scanning with the FreeScan UE Pro.
Pain Points of Machining Allowance Control
Traditionally, to accurately control machining allowances, manufacturers use CMMs (Coordinate Measuring Machines). They use CMMs for dimensional inspection toward the end of the machining process.
However, with this method, the client must lift off and transport the heavy product from the machine to the CMM room for inspection. Then, they must reclamp the product and re-machine it according to the data they obtained with the CMM.
This process requires a lot of time and physical effort from the client’s team. Plus, after multiple back-and-forths, there may be more room for error.

High-Precision 3D Scanning for Machining Allowance
More and more manufacturers are turning to contactless measurements with portable 3D optical systems such as the FreeScan UE Pro, a high-precision laser 3D scanner. It’s an efficient and lightweight way to control machining allowances directly on the product, without having to transport it off the machine.
In this case, the product was a heavy, 50 x 130 cm end mill fixed onto the machine. With a 3D scanner, the operator can simply “point and shoot” at the tool while moving all around it.
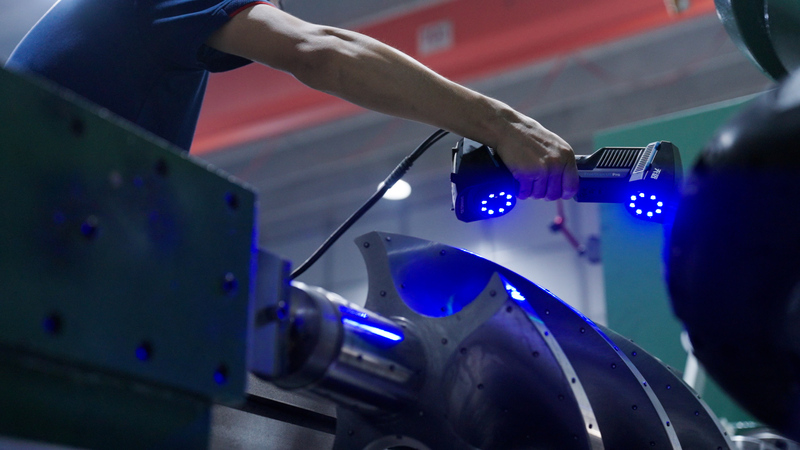
They can see the 3D data appear on the computer screen in real time and can assess which parts they still need to scan.
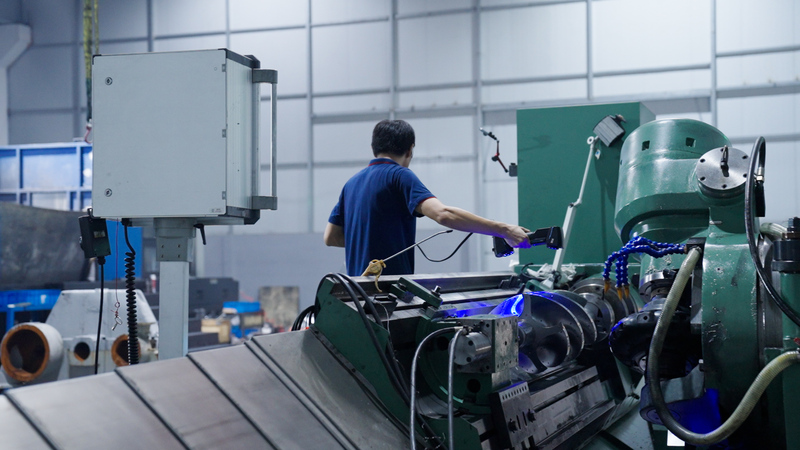
The team can then easily export the 3D data to their preferred 3D inspection software and keep moving along their quality control workflow.
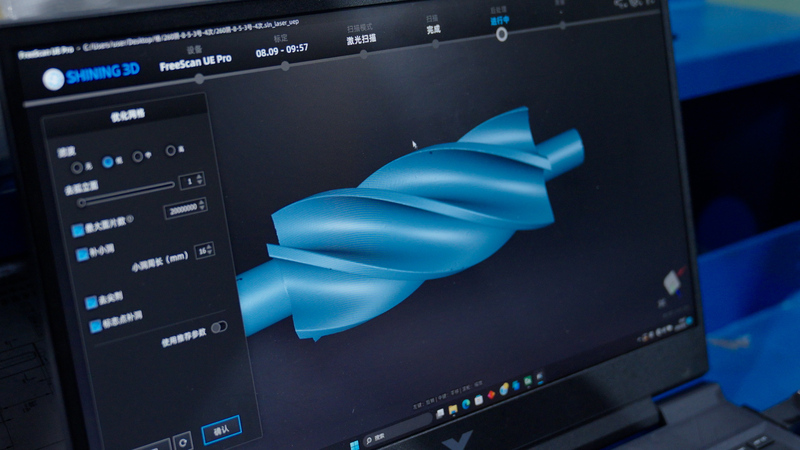
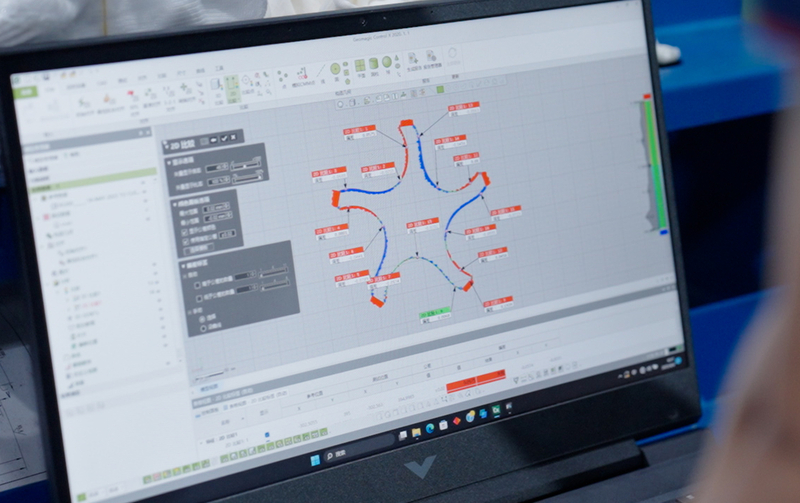
Using 3D scanning for machining allowance greatly simplifies the dimensional inspection process. It eliminates the need for repeated moving, clamping, and CMM inspection.
This results in both efficiency improvements and cost reduction.
On one hand, the client can now reduce their inspection process time to 2 days instead of 7 days. This translates to a 250% gain in efficiency.
On the other hand, the client can increase their yield rate to 100%, compared to around 80% before the FreeScan UE Pro.
“I have been doing machining for 20 years. Generally speaking, high-precision 3D scanning is very useful, especially when we are processing large parts or special parts. This technology can be said to be revolutionary for the improvement of our production efficiency.”
–General Manager of the Client Unit
Conclusion
Replacing traditional control methods with high-precision 3D scanning for machining allowance can unlock several significant advantages. In this case, the client gained in efficiency and reduced costs, all while providing an easier and smoother workflow for their employees.


