Today’s service centers and manufacturers will tell you that the disruption of the supply chain, rising raw material prices, and a manpower shortage constitute a black swan occurrence that has never been witnessed before.
Everything from ketchup packets to foil roaster pans to copper tubing for air conditioners and semi-conductors is affected by inventory shortages. Both the skills gap and the labour shortage have grown. According to Marketplace, a nonprofit news organisation, there are currently about 10.4 million jobs available, but only 8.4 million individuals are looking for employment. Fabricators keep coming up with new ways to incorporate automation in order to address these issues. This entails automating the inspection of items and incorporating the procedure into the production pipeline.
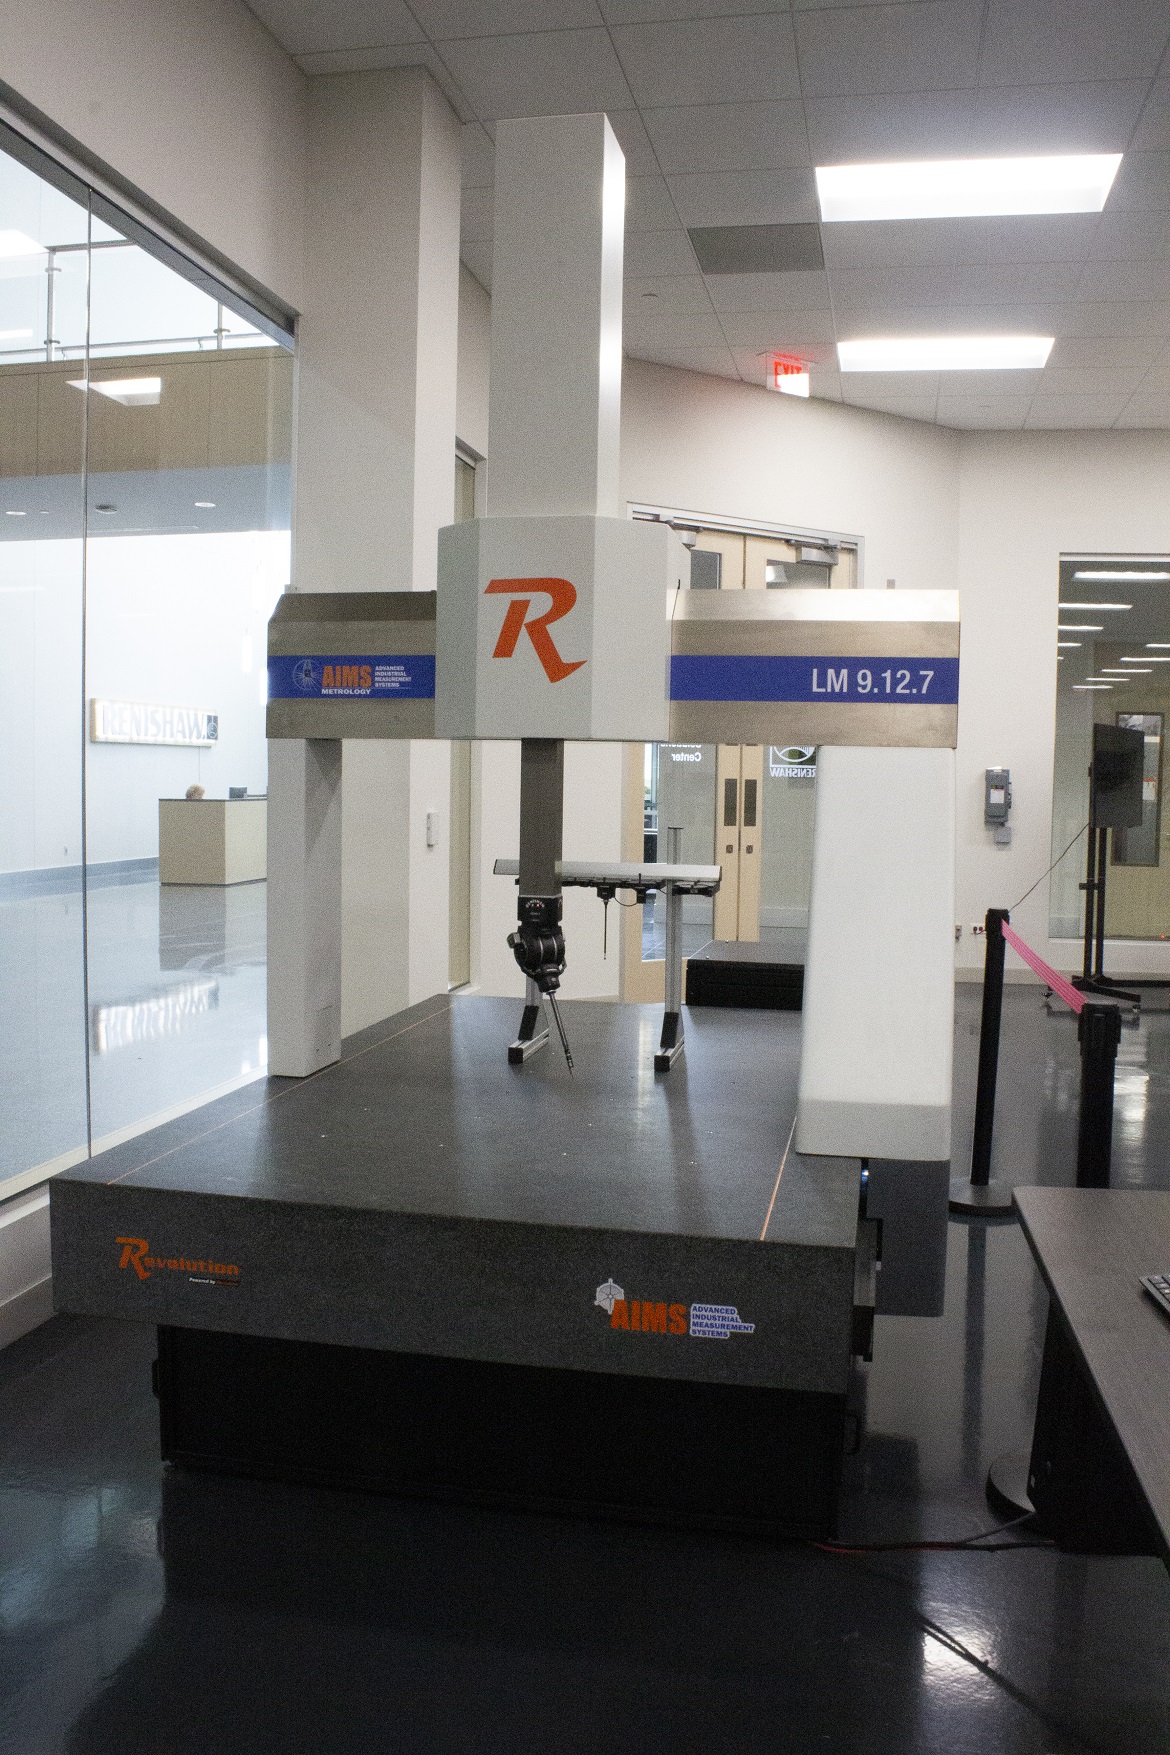
In order to assist manufacturers in overcoming the challenges that are frequently connected with automating inspection, AIMS has stayed one step ahead of these trends as the only Coordinate Measuring Machine OEM to design/build its 5-axis machines in the U.S. The adoption of automation may be hampered by necessary speeds when using conventional equipment. Traditional non-contact inspection techniques frequently use laser-based triangulation or camera-based image processing. While triangulation is susceptible to shadowing effects and optical cameras can be impacted by light, it is challenging for these technologies to get three-dimensional data. Therefore, this device is not appropriate for inspecting large, uneven parts like cast, forged, or machined automotive components.
Businesses can benefit from the adaptability of multisensor capabilities because to AIMS’ 5-axis lab-grade LM. For enhanced part throughput, the REVO-2TM offers measurement speeds of up to 500 mm/second and data collecting rates of up to 4,000 points per second. Rapid calibration increases uptime for all positions. Flexible tip sensing improves precision and flexibility while providing easy access to challenging elements via infinite positioning and 5-axis motion.
For dimensional verification, the HB may be positioned next to or on a production line. Because an operator no longer needs to manually extract parts for inspection, the CMM saves a lot of time and money. The machine is portable and can follow the progress of a process in real time from one site to another. Rapidly obtaining high-density points for feature size, location, and form is possible with Renishaw’s 5-axis PH20. At any stage of the parts production process, a management or machinist can use this information to take appropriate action.
Job shops can free up more time for staff to carry out higher-level duties by automating changeover and simplifying measuring operations with simple HMI (Human Machine Interface. To decrease the number of measurement points and improve the manufacturing process, more measurement data can be obtained and processed. To learn more about how automation tools, robots, and CMM inspection may help you simplify operations and make up for manpower and skill shortages.
click here


