By Sam Golan, Founder & CEO, High QA Inc.
As a provider of Quality Manufacturing Systems software, we frequently see challenges faced by manufacturers with collecting data and turning it into useful, real-time, information. So how do we turn all the data collected at each step of the manufacturing process into something usable?
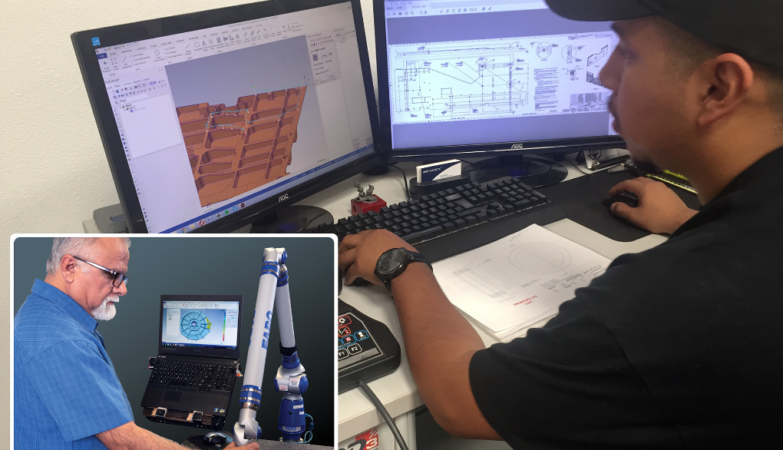
Today’s automation technology gives us the best chance to deliver such information from the beginning of the process, right from the drawing when it is “ballooned” for inspection and fabrication. New one-click digital automation captures all the relevant GD&T data from the drawing along with other quality requirements, such as material characteristics, in-process inspection, finish, and revision tracking.
Adding manufacturing operations information and inspection plans keeps everyone on the same quality-driven page. This is the stage that determines the features and inspection results used for an automated SPC data collection and reporting. So far, so good. We’ve set the foundation for turning data into something that contributes to process improvement decisions.
Storing and Transmitting Data
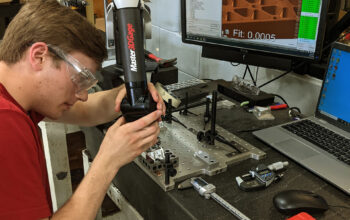
One of the key principles of Quality 4.0 is integration of various inspection systems, processes, tools, and the way we handle data—in our case, stored. Originally, Quality 4.0 blended new technologies with traditional quality methods to arrive at new levels of performance and innovation. It has evolved to include integrating connected devices and data. Many gages and measuring tools today are digital. Yet there are still analog and other non-connected tools. These devices provide data, but in a more manual form, with results written on paper or entered manually into spreadsheets—either directly at the measurement site or afterwards, perhaps in an office.
Acquiring digital information is simple. The connected gage delivers the inspection results electronically.
But here is where the disconnect starts. Each digital gage and tool manufacturer transmits inspection data to its own dedicated software. Tools from the same vendor use the same software across the product line, creating an island of data. In some cases, this data is shared with the ERP/MRP system via a unique interface in a structured file format. Digital gages and tools, along with their companion software, cannot usually communicate with different vendors, causing additional islands of data. Coordinating the various islands becomes the purview of the ERP/MRP system and is separate from the original ballooned drawing information.
Analog Gage Issue
Analog gages bring a different issue. Not only are they subject to individual interpretation of readings from the tool, measurements are also either hand-written on a piece of paper and entered later in a spreadsheet, or entered in a spreadsheet during inspection. Either way, there’s opportunity for errors. We can minimize data entry errors using a tablet or laptop during collection to store data in a centralized database. Inspectors receive a step-by-step set of instructions on what to inspect and what tools to use in the inspection.
By adding all the various islands of digital data automatically, collecting it in a centralized database, enabling real-time SPC and triggered alerts, and reporting it using an integrated view, we get valuable data that can translate into valuable information. Once stored in this centralized database, the data is immediately available to all stakeholders, which could extend deep into the supply chain.
Best of all, we can turn that valuable data-based information into manufacturing process and part quality improvements.
Read the original article on Highqa.


