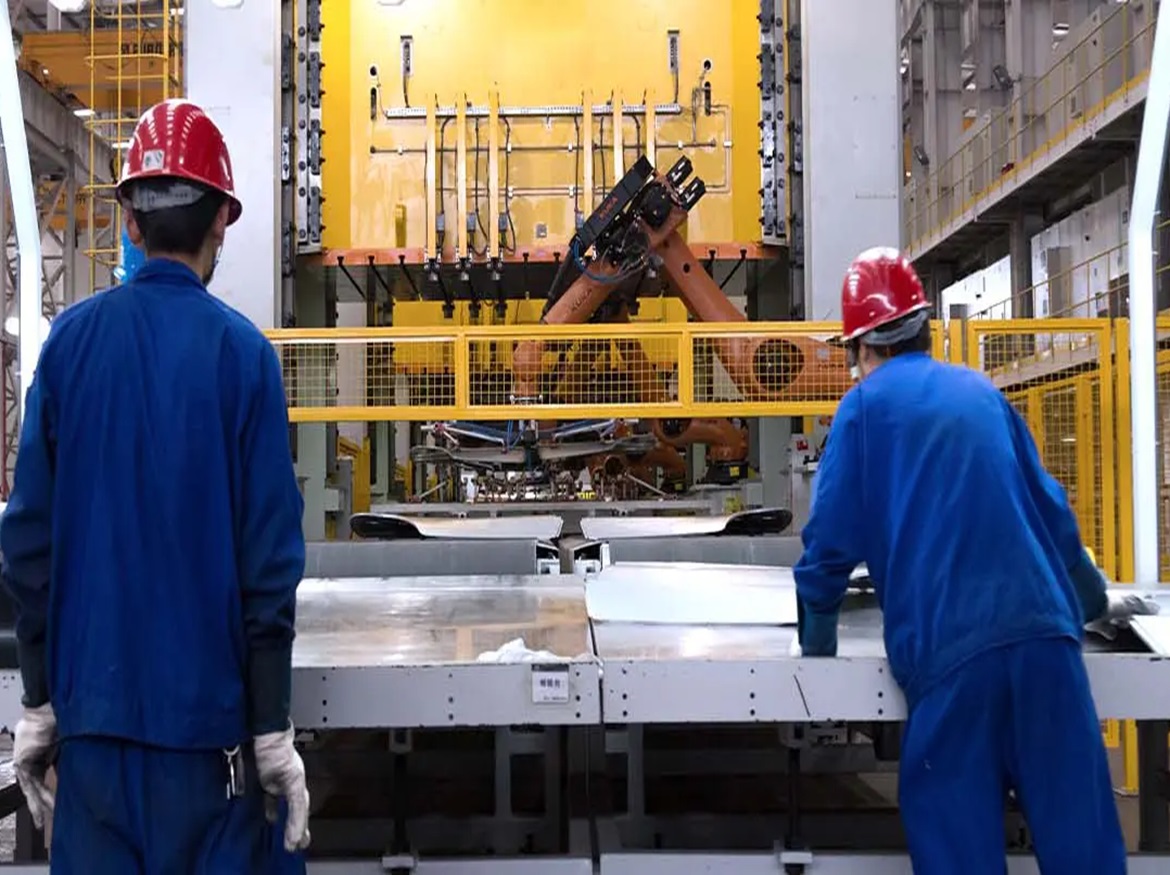
Auto sheet metal stamping parts are essential components of modern vehicles, as they form the body shape and provide structural support.
These parts not only determine the aesthetic design of the vehicle, but also affect its safety, aerodynamics, and fuel efficiency.
Hence, maintaining high standards of quality for sheet metal parts is important for achieving the desired outcomes in new vehicle development.
However, inspecting stamping parts is not an easy task. Traditional inspection tools, such as calipers, gauges, are limited by their low efficiency, high cost, and inability to capture the whole complex surface shape of sheet metal parts.
These tools cannot meet the requirements of large-scale automobile production, especially in the era of rapid new vehicle development.
In this blog, we will introduce how we use Scantech’s 3D laser scanner AXE B11 to provide fast, accurate, and convenient inspections of sheet metal stamping parts.
It can capture the full geometry of stamping parts in a matter of minutes, and compare it with the CAD model to identify any defects or deviations.
Inspect Automotive Stamping Parts
The company, in this case, specializes in designing, manufacturing, and selling high-quality moulds, fixtures, and automotive parts for various industries and applications.
They face a challenge in ensuring the quality and fit of the stamping parts that they produce for a leading Chinese car manufacturer.
The customer needs to inspect the hole position, flush, and overall deformation of these parts, as these affect the assembly and performance of the car.
The customer is looking for a solution that can reduce the inspection time, and improve the inspection accuracy and reliability.

Challenges of Measuring Sheet Metal Stamping Parts
Sheet metal stamping parts are thin, soft, and prone to deform, which is hard to measure. This requires careful handling to prevent damage and distortion during inspection.
The customer used to clamp the stamping part down in a checking fixture, and use a feeler gauge to measure the gap between the part and the fixture along the circumference of the sheet metal. This method has several drawbacks:
When using a feeler gauge, they can only inspect the deformation of the sheet metal in its circumference instead of the whole surface.
It does not provide a clear and intuitive report that can show the deformation of the entire sheet metal, which makes it hard for the customer to improve their production process and communicate with the host factory.
Different inspection tools are required for different stamping parts. This means that various plug gauges are needed to inspect hole positions. This adds to the costs of designing and manufacturing inspection tools.

When inspecting the stamping parts with 3D scanners, it is also necessary to fix them on a fixture to keep the part stable during the measurement. However, fixing the part creates challenges for 3D scanning.
The sheet metal and the fixture fit tightly together, and the sheet metal is very thin. This makes it hard to get accurate data of the holes. This also adds to the difficulty of getting accurate data from scanning.
Moreover, the customer also faces some scanning difficulties, such as the obstruction of the clamp of inspection tool.
The Solution: 3D Laser Scanner AXE B11
To solve these problems, the customer decided to use Scantech’s portable 3D laser scanner AXE, which can quickly and accurately scan the stamping parts and offer comprehensive and intuitive reports.

AXE handheld 3D scanners are widely used in the automotive industry for fast, accurate, and complete inspection of car parts’ surfaces, edges, and holes, as well as for designing and developing new components and vehicles.
Unlike traditional measurement methods, AXE 3D scanner measured the stamping part without touching it. Therefore, it measured the part without causing damage or affecting its integrity.
It 3D scanned the sheet metal parts from multiple angles with high flexibility, overcoming the issues of limited positioning and inflexibility of traditional methods.
AXE has a special function for inspecting holes. It useda high-power light source that can enhance the contrast between the holes and the surrounding background, which made it easy to identify holes on stamping parts.
It identified holes quickly and accurately and obtained their 3D data, including their geometries and positions, which improved the inspection efficiency.

It did not require customized plug gauges for different inspection tools, which reduces the costs and simplifies the inspection process.
It scanned the entire sheet metal part in an average of 3-5 minutes, depending on the size of the product, and generated a report that can show the flush and deformation of the whole stamping part.
It made their detection methods more standardized and evidence-based, which is more market competitive to meet customers’ demands.

This project demonstrates how AXE 3D scanner can help sheet metal manufacturers and suppliers improve their quality inspection process and achieve better results.
AXE is a versatile and powerful 3D scanner that can be applied to various industries and scenarios, such as aerospace, shipbuilding, mold making, and more.


